Roles
Roles allow you to manage how Clinician Portal users access your studies. Roles have permissions that can be customized to suit your preferences or the needs of users. Roles are then assigned to users to enforce their permissions.
See Assigning Roles to assign roles to users.
Creating a Role
To create a role, follow these steps:
-
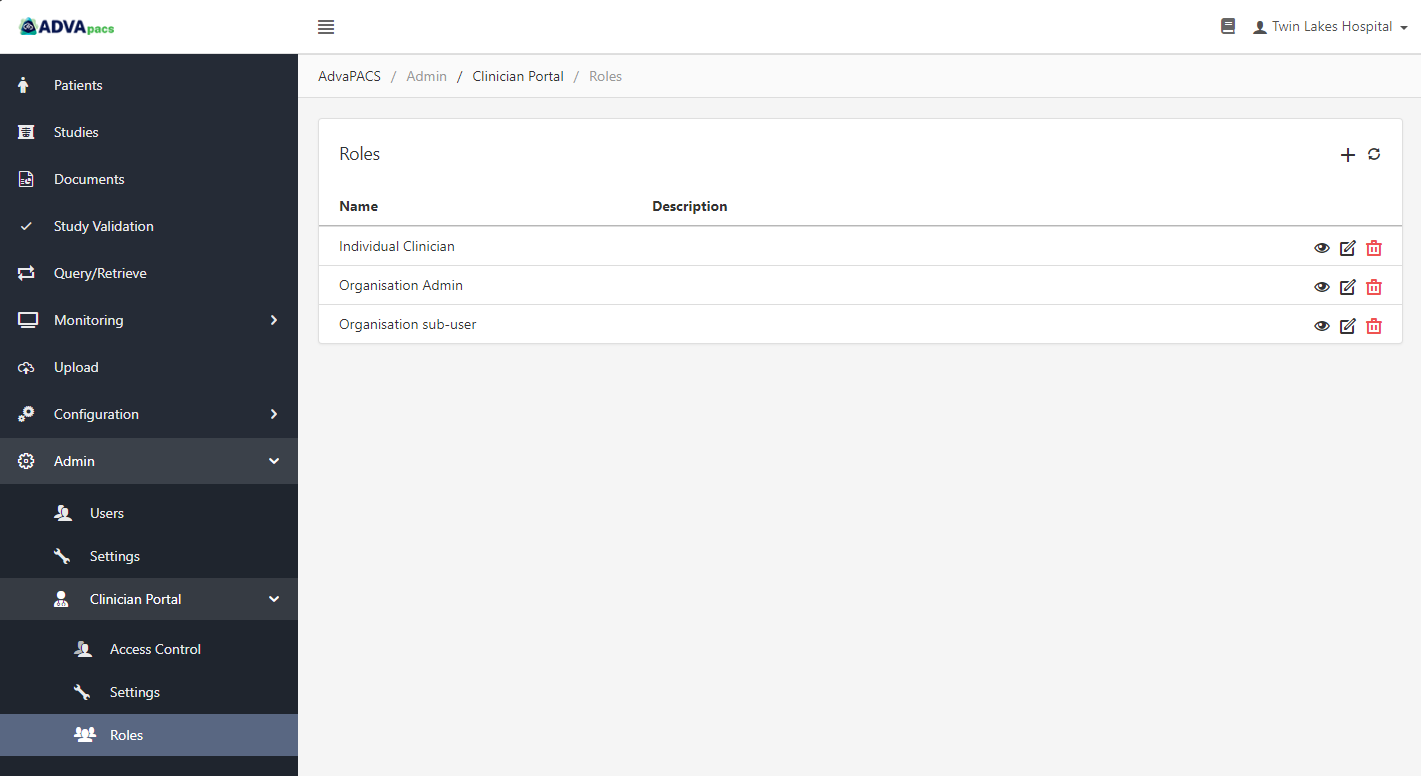
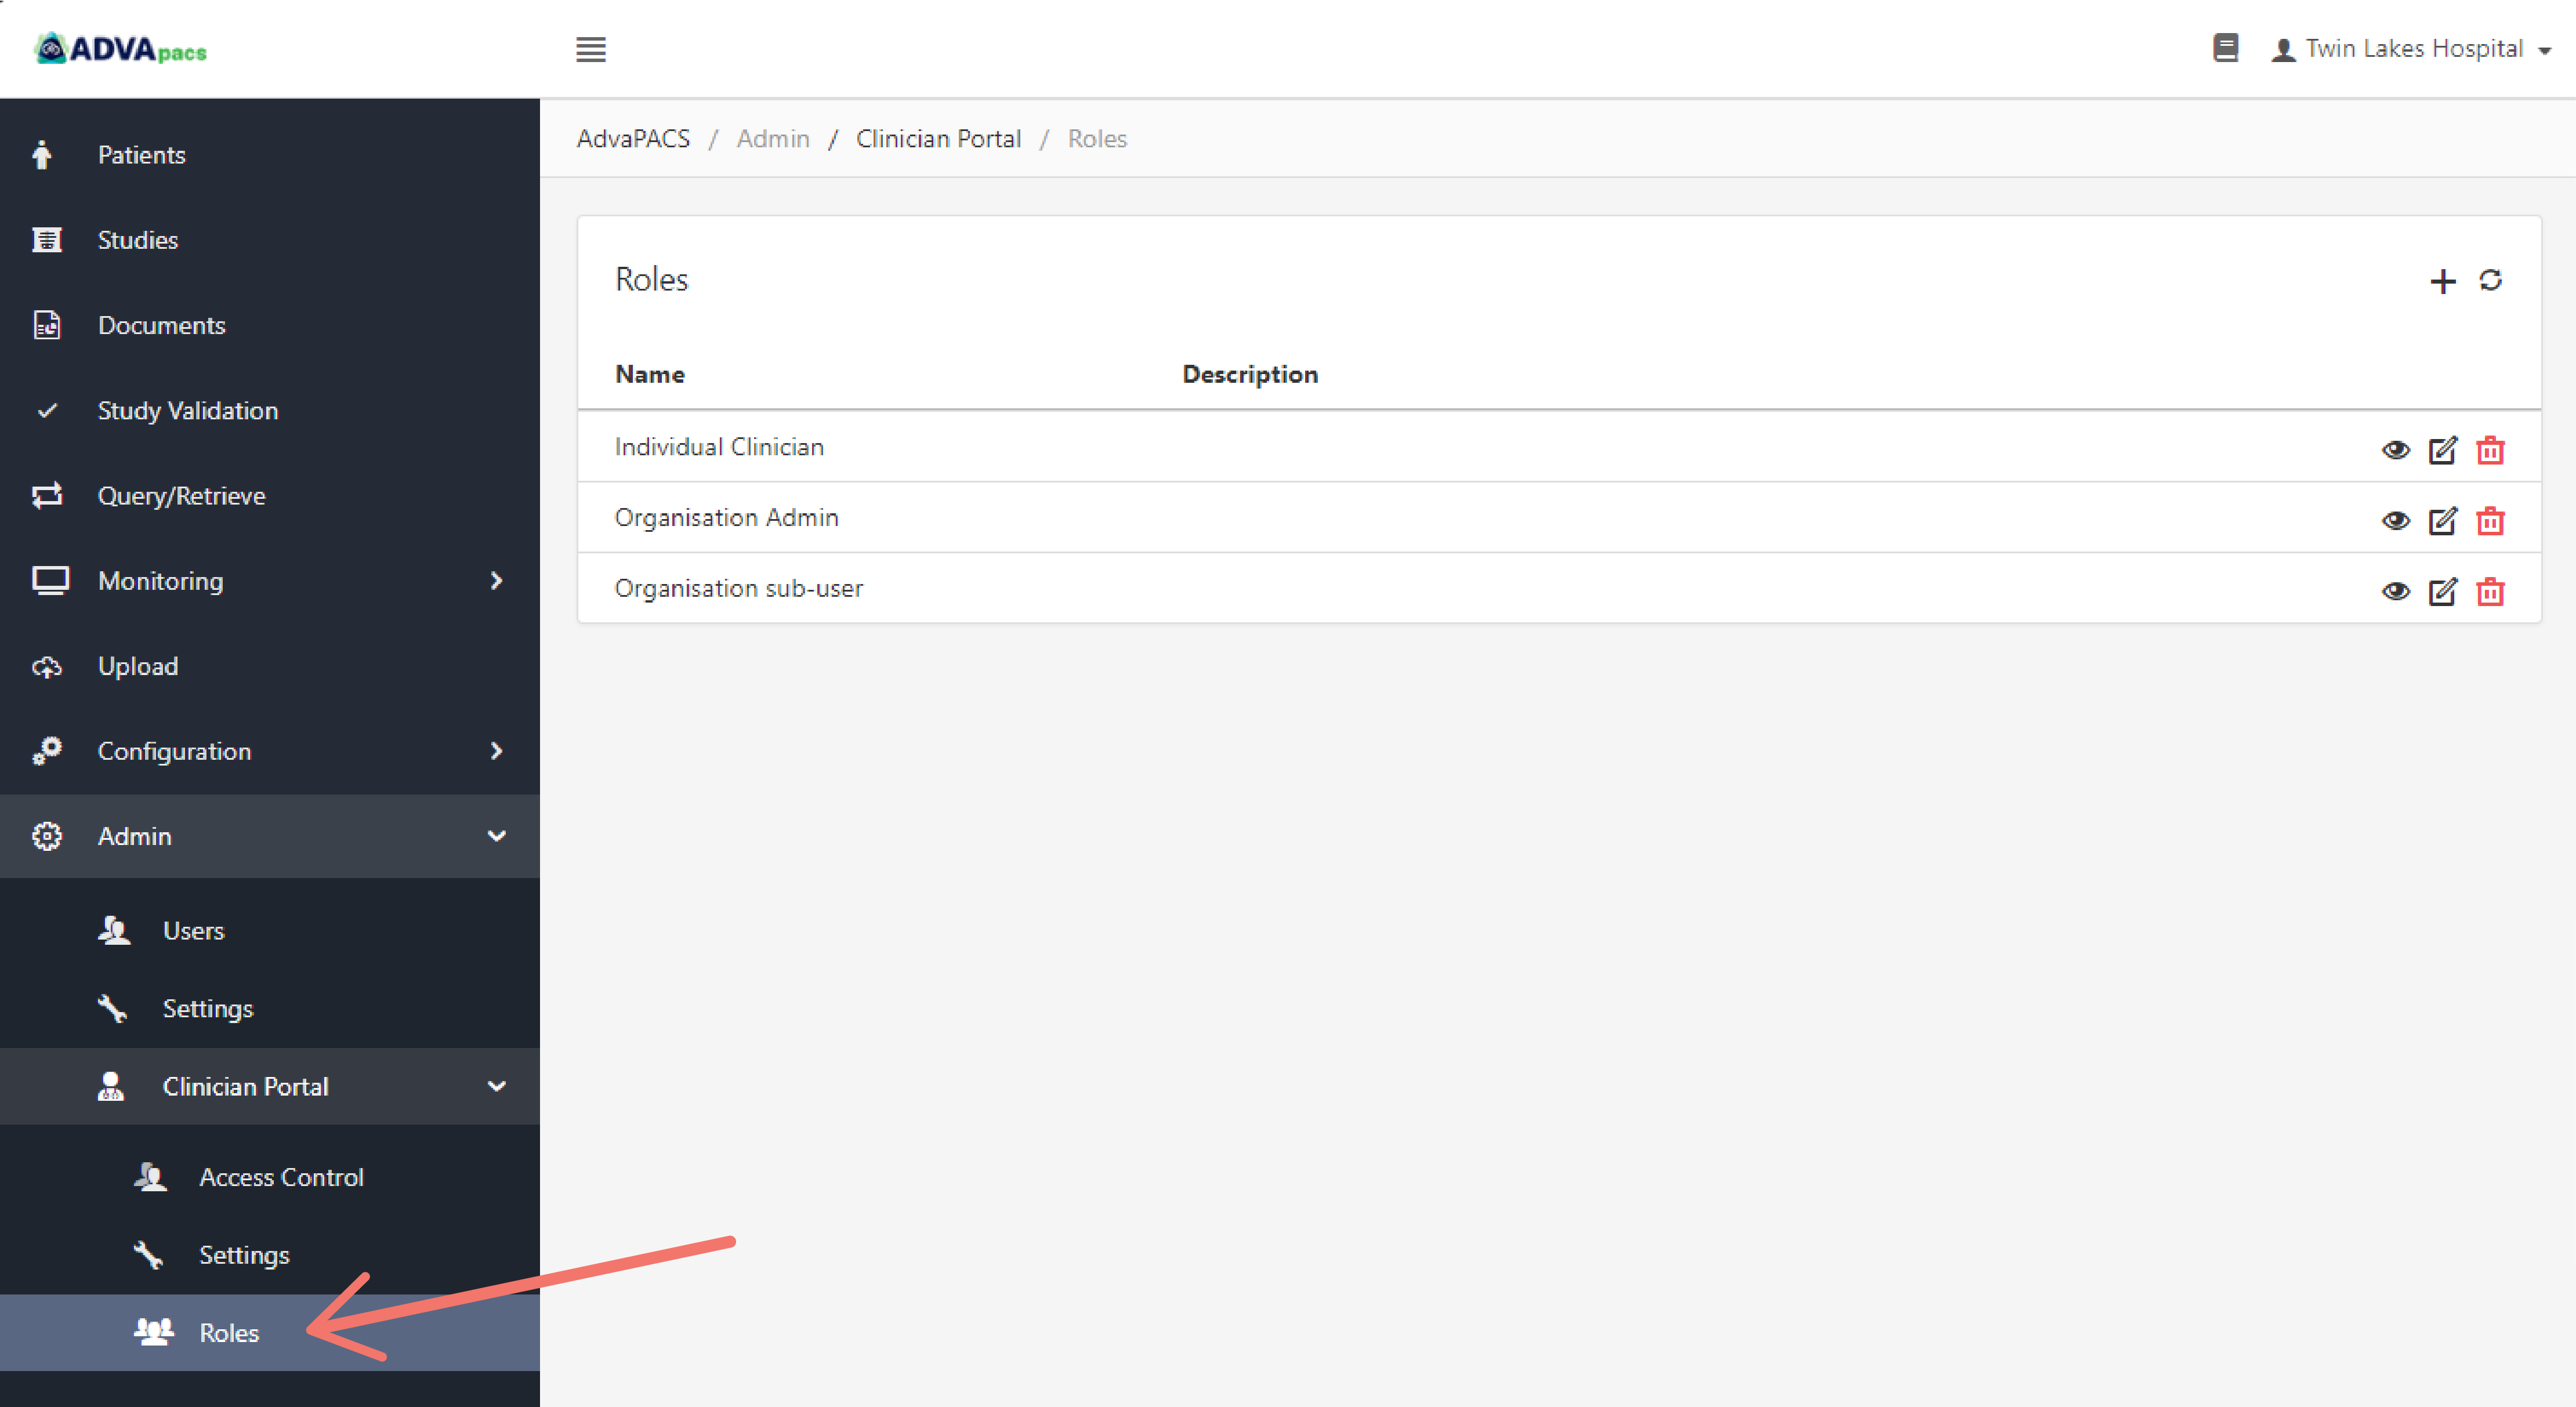
Navigate to the Roles screen.
-
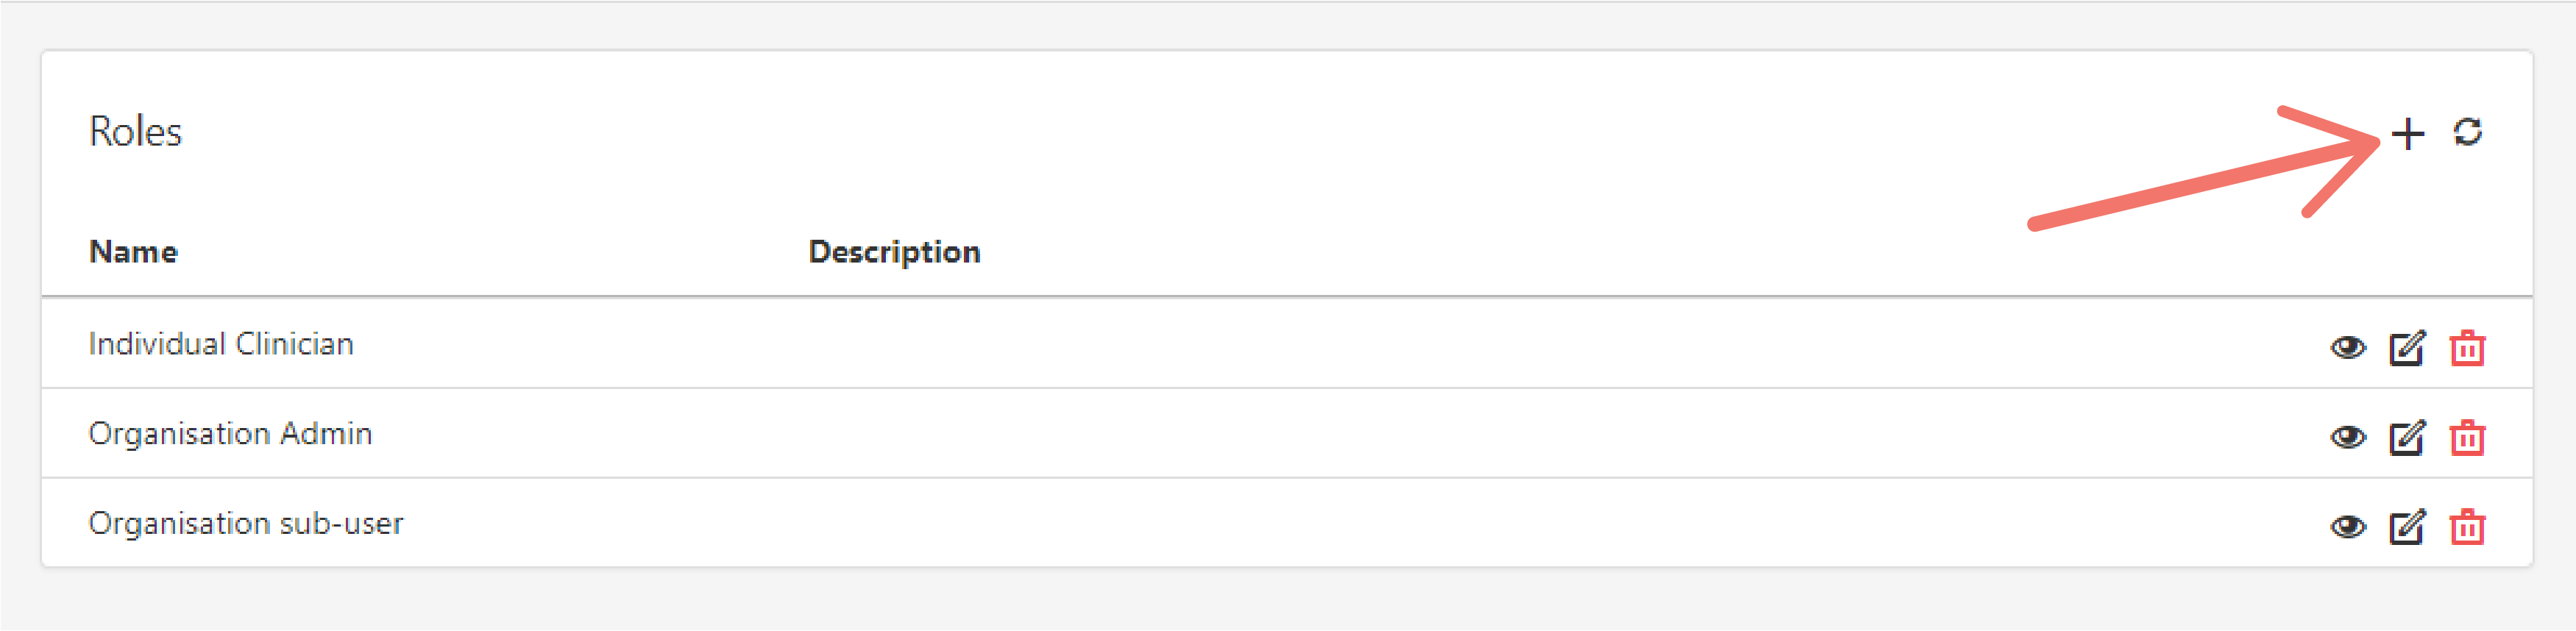
Click on the "plus" icon to create a new role.
-
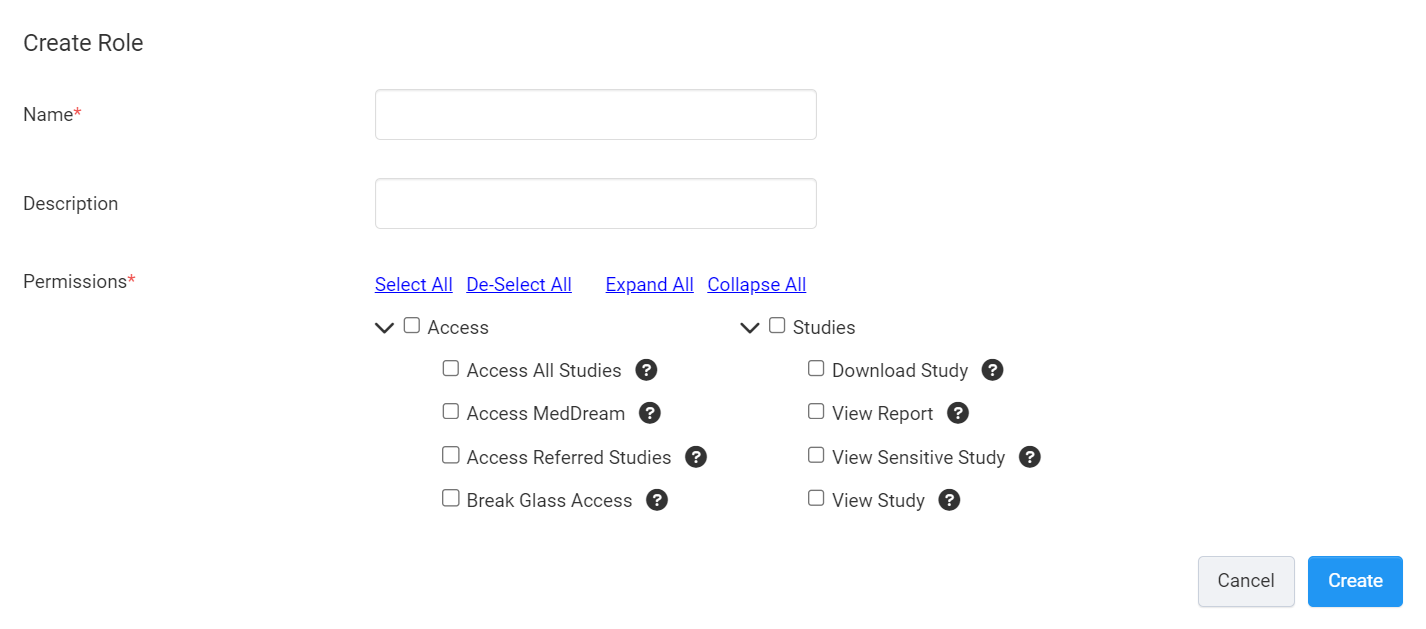
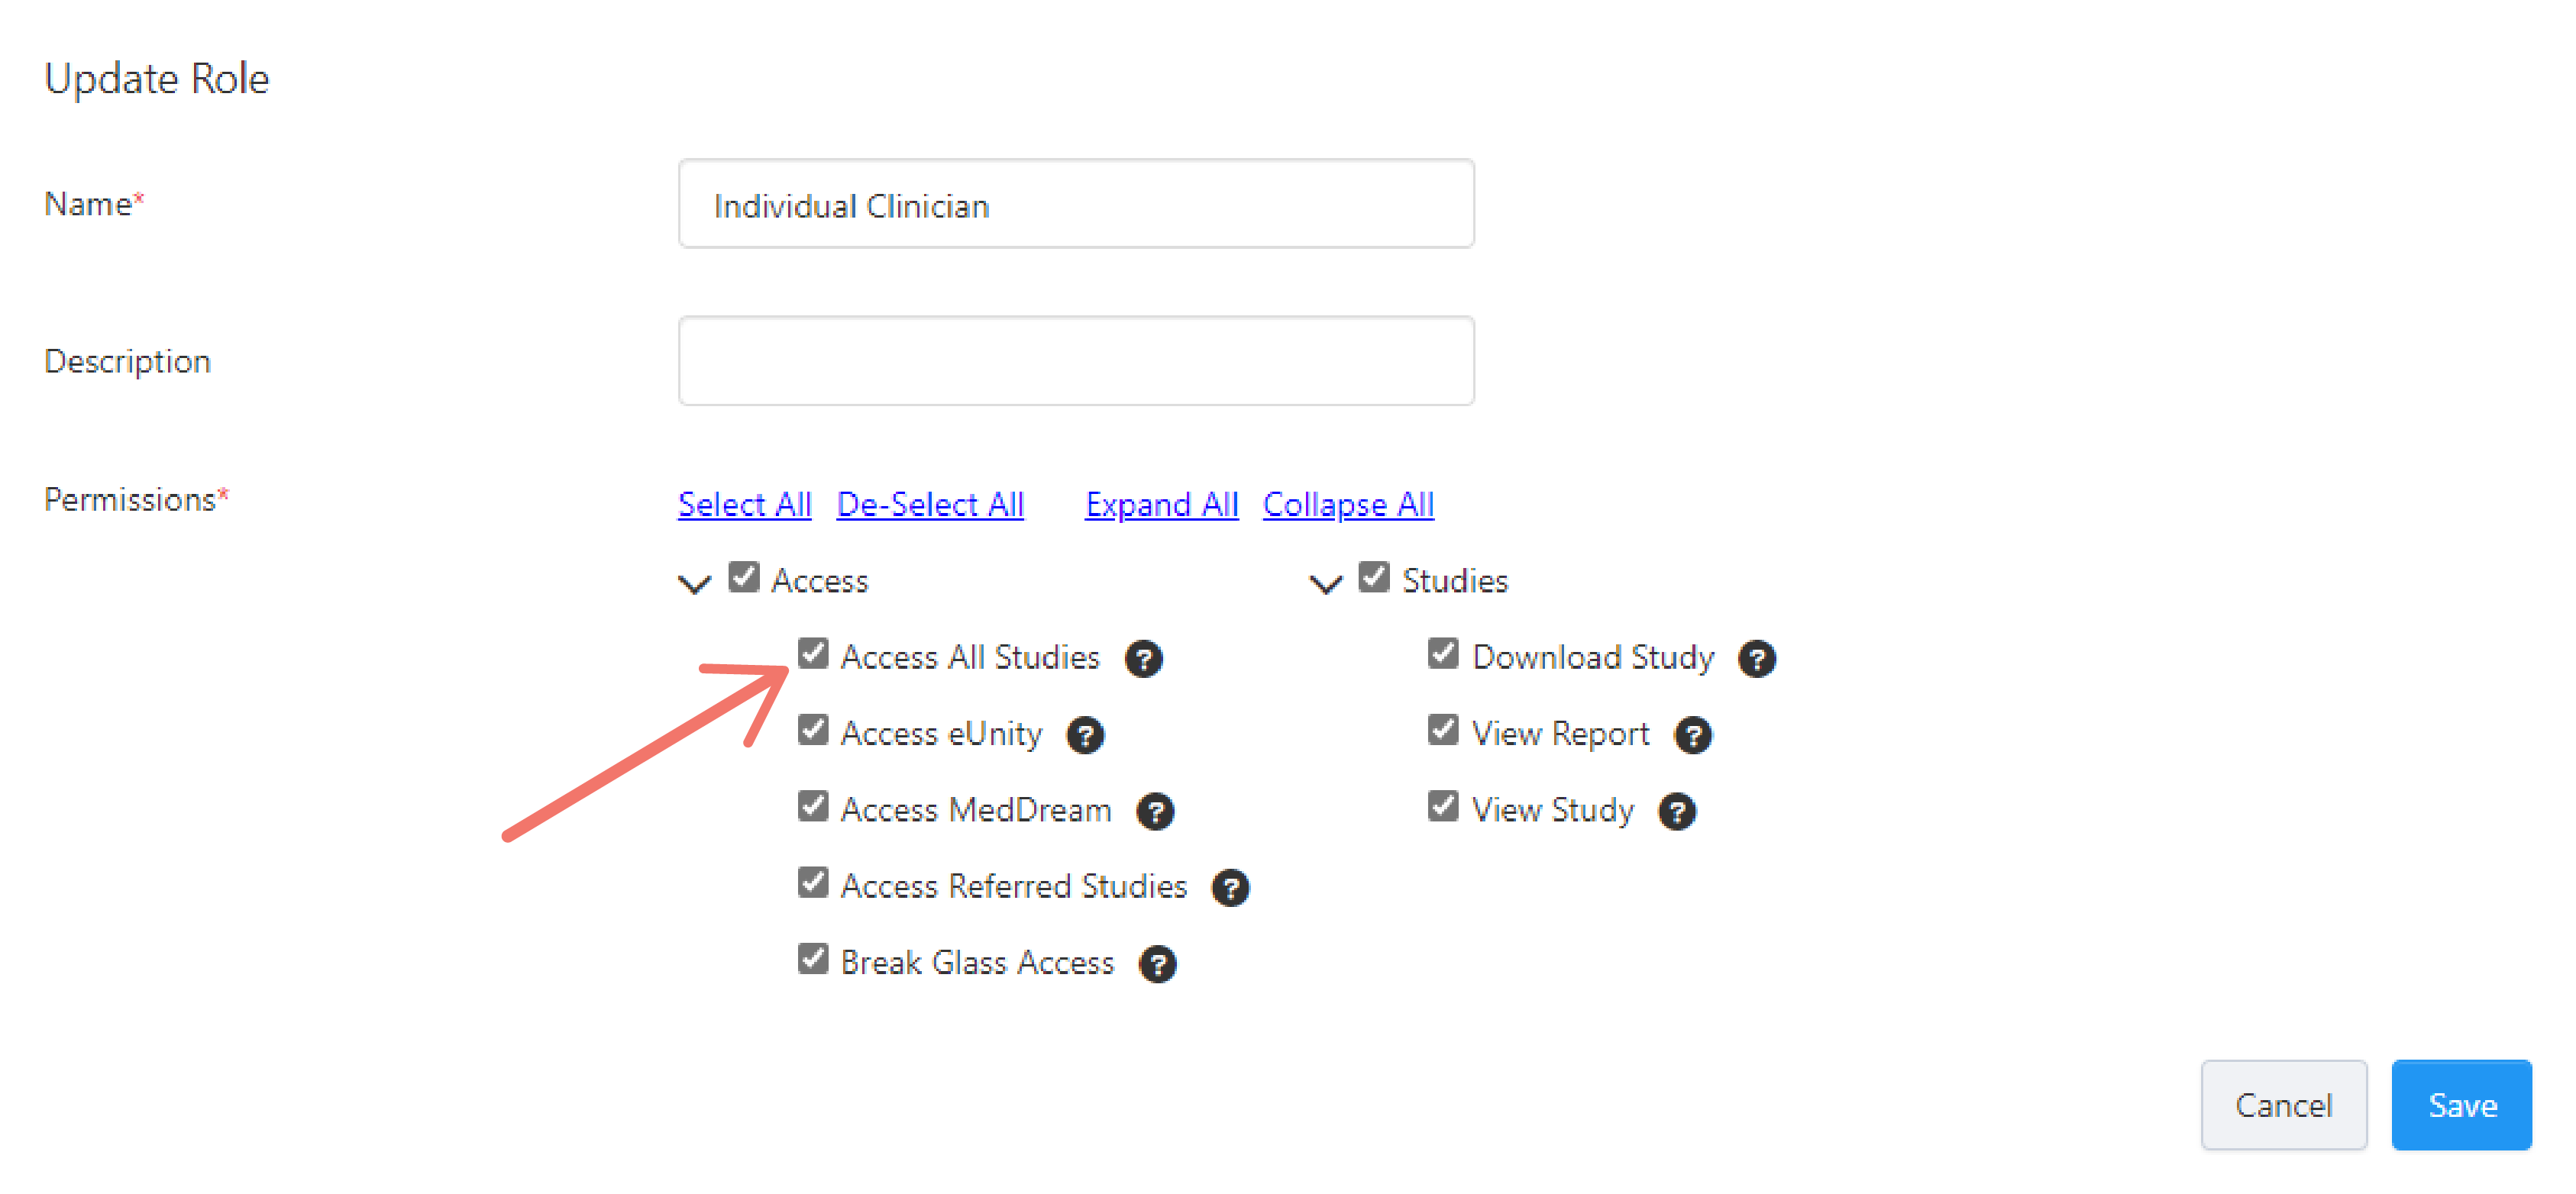
Enter a Name and Description for the role and set its Permissions by ticking the checkbox beside each chosen permission.
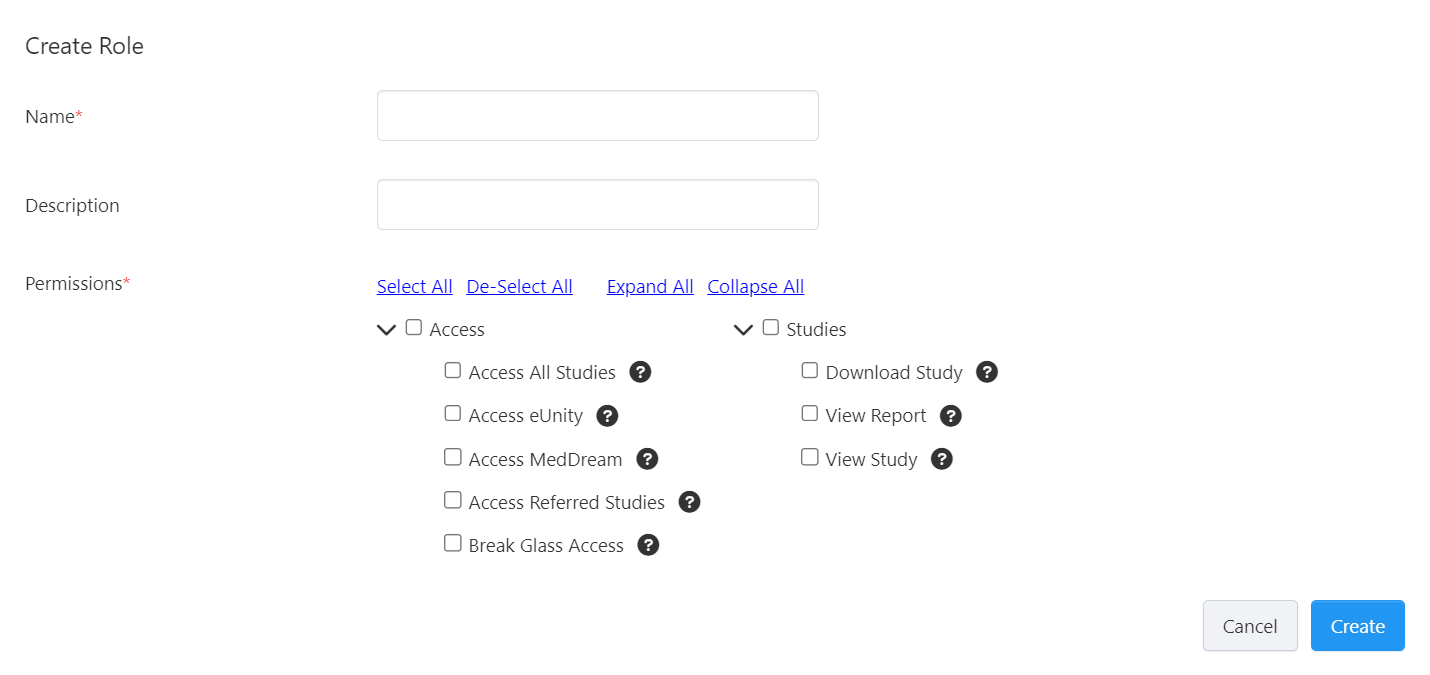
You can hover over the "question mark" icon on each permission to see its description or refer to Role Permissions for more information.
-
Click Create to create the role.
Role Permissions
Role permissions allow you to control which studies and features Clinician Portal users can access in your account.
The permissions are grouped into two categories:
Access
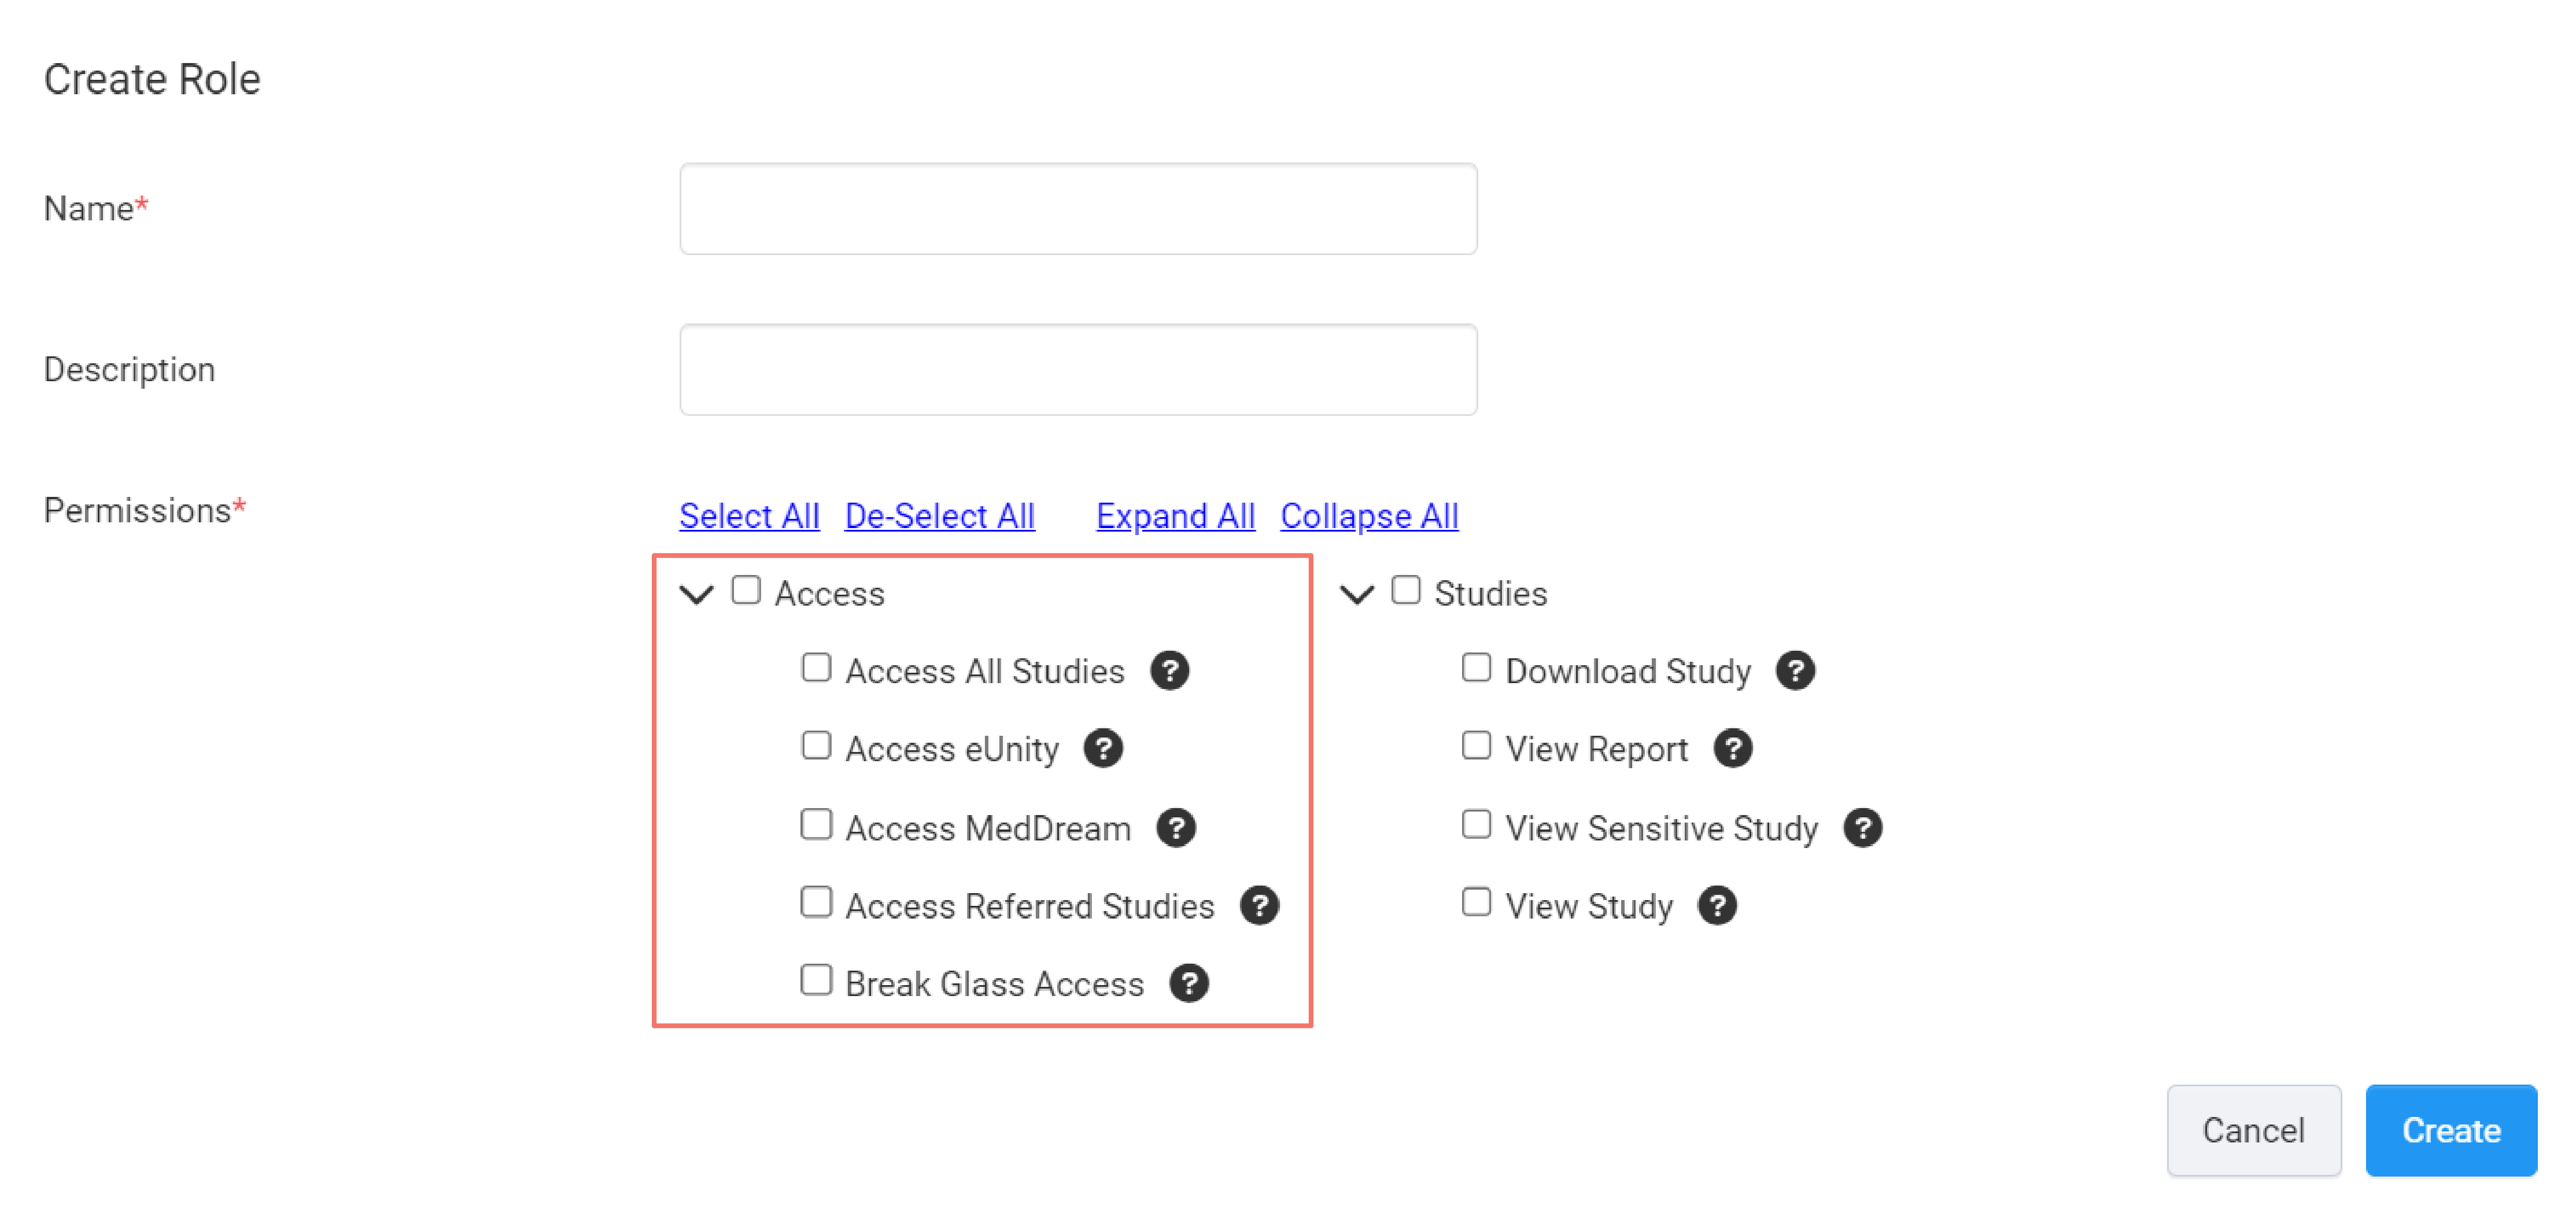
This set of permissions control Clinician Portal users' access to your studies and DICOM viewers that they can use when viewing studies.
Access All Studies
This permission allows a user access to all of the studies in your account.
When enabling this permission in a role, make sure to check the role is only assigned to clinicians you want to provide this type of access.
Access eUnity
This permission allows a user to view studies using the eUnity DICOM Viewer.
Before you can grant clinicians permission to use the DICOM viewers, ensure that your AdvaPACS tenant has enabled the viewers. If you need it enabled, please reach out to us via email, phone, contact form or through the in-app live chat feature.
Access MedDream
This allows a user to view studies using the MedDream DICOM Viewer.
Before you can grant clinicians permission to use the DICOM viewers, ensure that your AdvaPACS tenant has enabled the viewers. If you need it enabled, please reach out to us via email, phone, contact form or through the in-app live chat feature.
Access Referred Studies
This permission allows a user to automatically gain access to studies with a Referrer ID that matches their Referrer ID.
To grant users with this type of access, enable this permission and follow the Steps to Provide Referred Acccess to assign a Referrer ID to a user in the Access Control page.
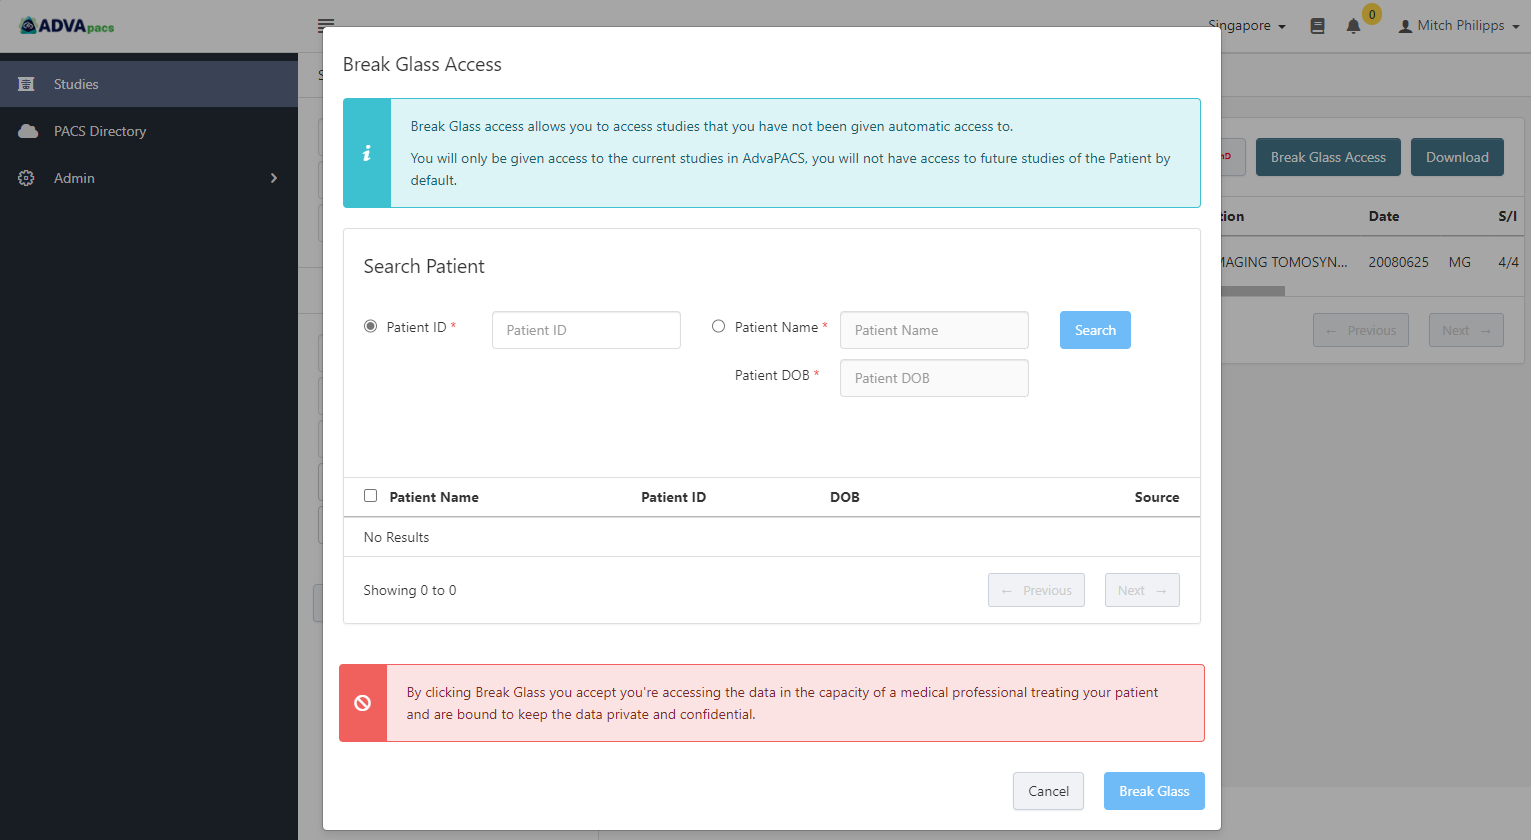
Break Glass Access
In an emergency situation, this permission allows users to access patient studies they would otherwise not have access to.
If this permission is enabled, a user can access a patient's studies by providing any of the following patient information:
- Patient ID
- Patient Name and Patient DOB
In the Clinician Portal, they would enter them in the Break Glass Access dialog box to search for the patient and gain instant access to the patient's studies.
Studies
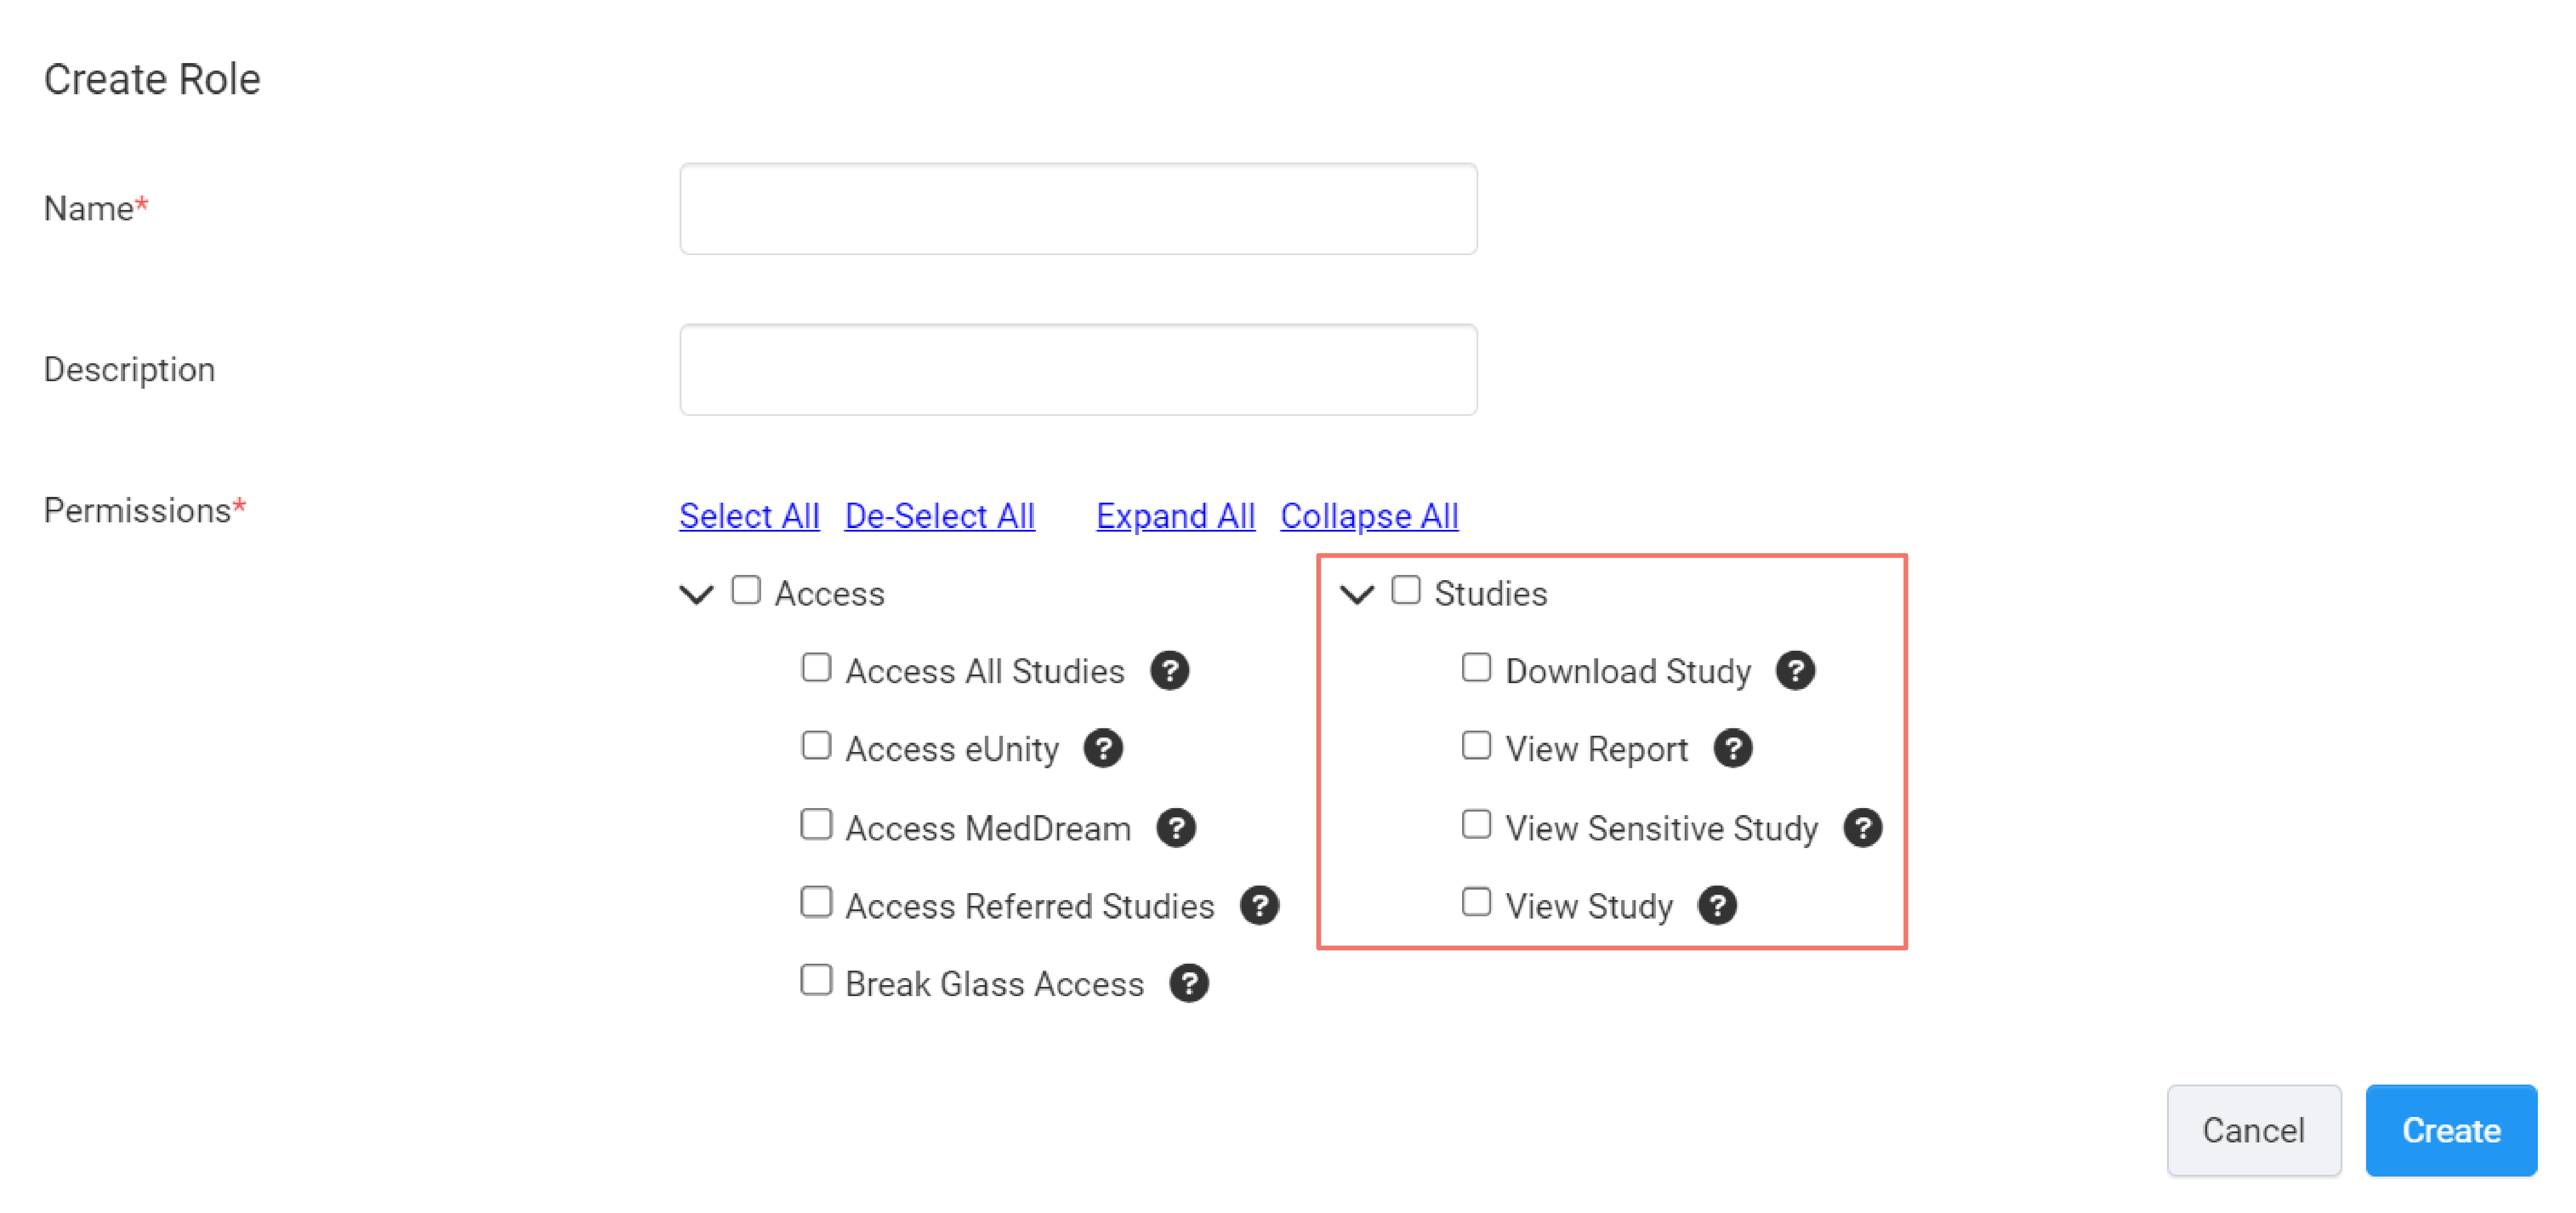
This set of permissions control users' access to the following features in the Clinician Portal:
Download Study
This permission allows clinicians to download studies.
View Report
This permission allows clinicians to view study reports.
View Sensitive Study
This permission allows clinicians to view studies tagged as sensitive.
View Study
This permission allows you to explicitly grant a user access to studies. Explicitly granting access means you have explicit control over which studies a user can access. Which is done in the Manage Clinician Access study option. If this permission is disabled, the user will not show up in the Manage Clinician Access study option.
However, since this permission grants you complete control over which studies a clinician can access, this permission is only useful if the following permissions on the same role are disabled:
This is because if any of these permissions are enabled on a role, your explicit control over which studies a user can access is overridden. If Access all studies is enabled, they can access all of the studies. If Access Referred Studies is enabled, any uploaded study with a Referrer ID that matches the user automatically grants them access to the study. If Break Glass Access enabled, the user can access any study if they have the patients' Patient ID, Patient Name, and DOB.
Therefore, if you prefer to have complete control over which studies a user can access, enable the View Study permission and disable the aforementioned permissions.
Editing Role Permissions
Modifying role permissions should be done with caution. Always check which users the role is currently assigned to before making any changes to avoid unauthorized access to certain studies and features.
Role permissions are initially configured when creating a role. However, you may modify the permissions of existing roles to customize users' access as needed.
To modify role permissions, follow these steps:
-
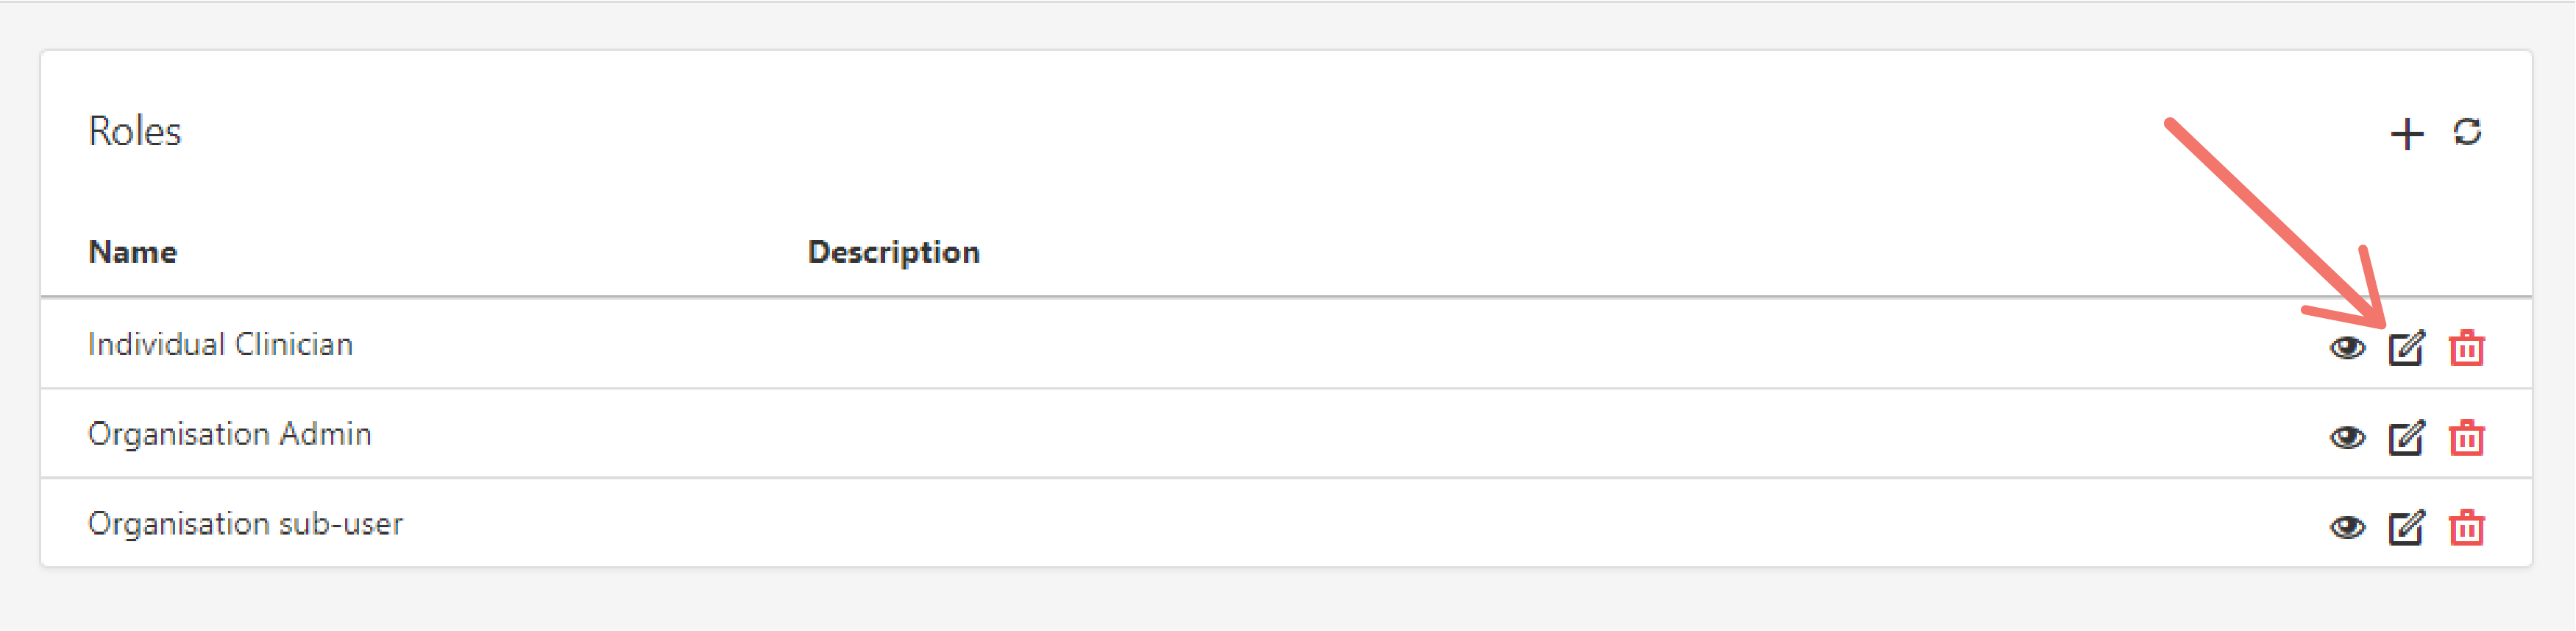
Navigate to the Roles screen.
-
Click on the "edit" button on the role you wish to modify.
-
Tick the checkbox next to the permission you want to allow and then click Save.
Clinician Portal users who have been assigned the role should now have access to features based on the permissions they have been granted.