Overview
This documentation discusses the Clinician Portal. It goes over how you can manage study access requests from AdvaPACS Clinician Portal users.
The documentation for the AdvaPACS Clinician Portal application itself, on the other hand, can be found at docs.clinician.advapacs.com, where it discusses its interface and functionality.
The Clinician Portal and its features are only accessible if the role assigned to you have permission to use it. To follow along this documentation and test its features you need the following role permissions enabled in your account:
- Clinician Portal
- Explicit Access Grant
- Manage Clinician Portal
- Studies
- Manage Clincian Access
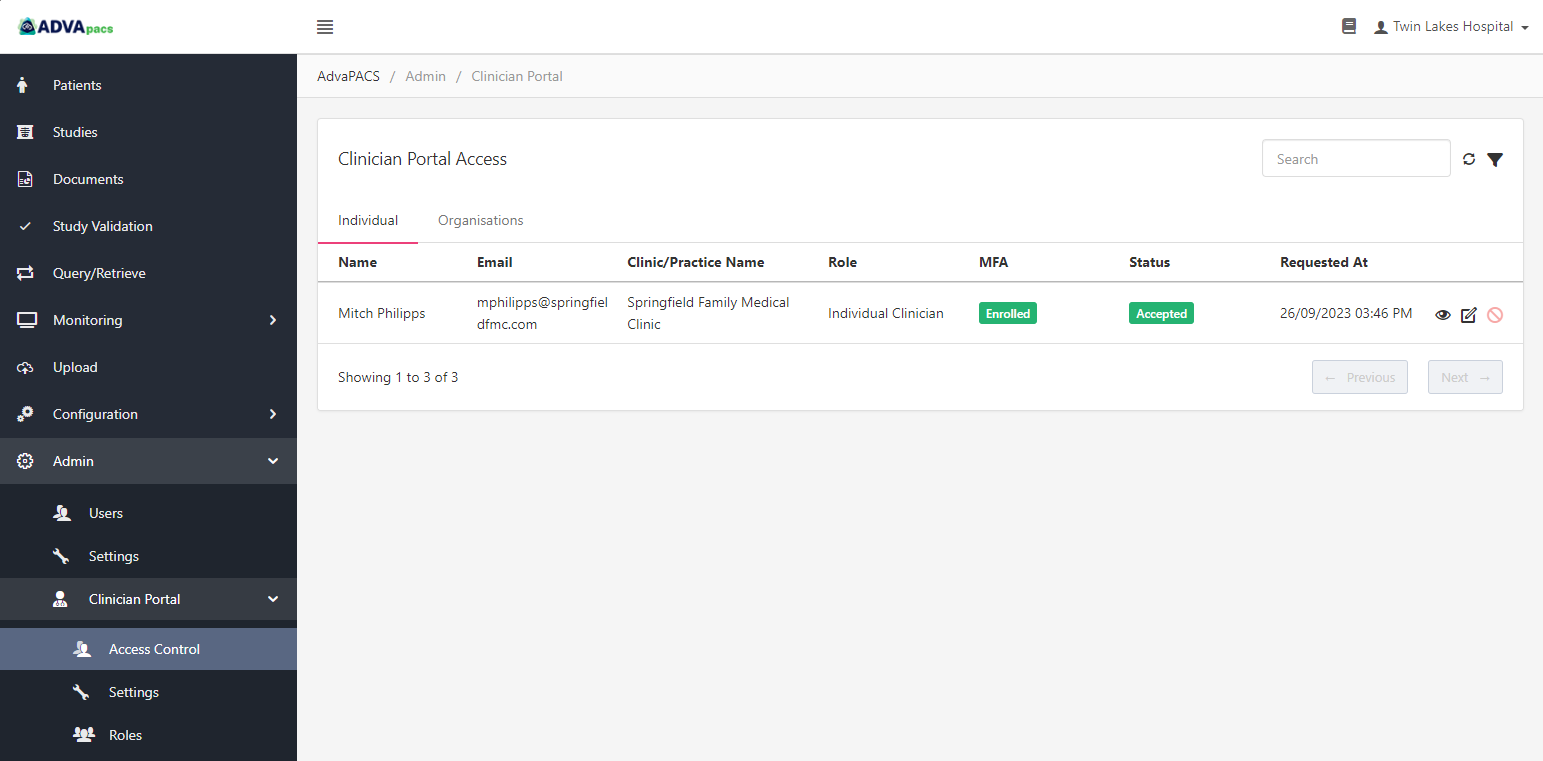
The Clinician Portal allows you to provide Clinician Portal users controlled access to your patients' imaging and reports.
It lets you share studies with clinicians while maintaining control over your data. You can manage who can access your data, which studies to share, and what they can do with the studies they have access to.
Enabling the Clinician Portal
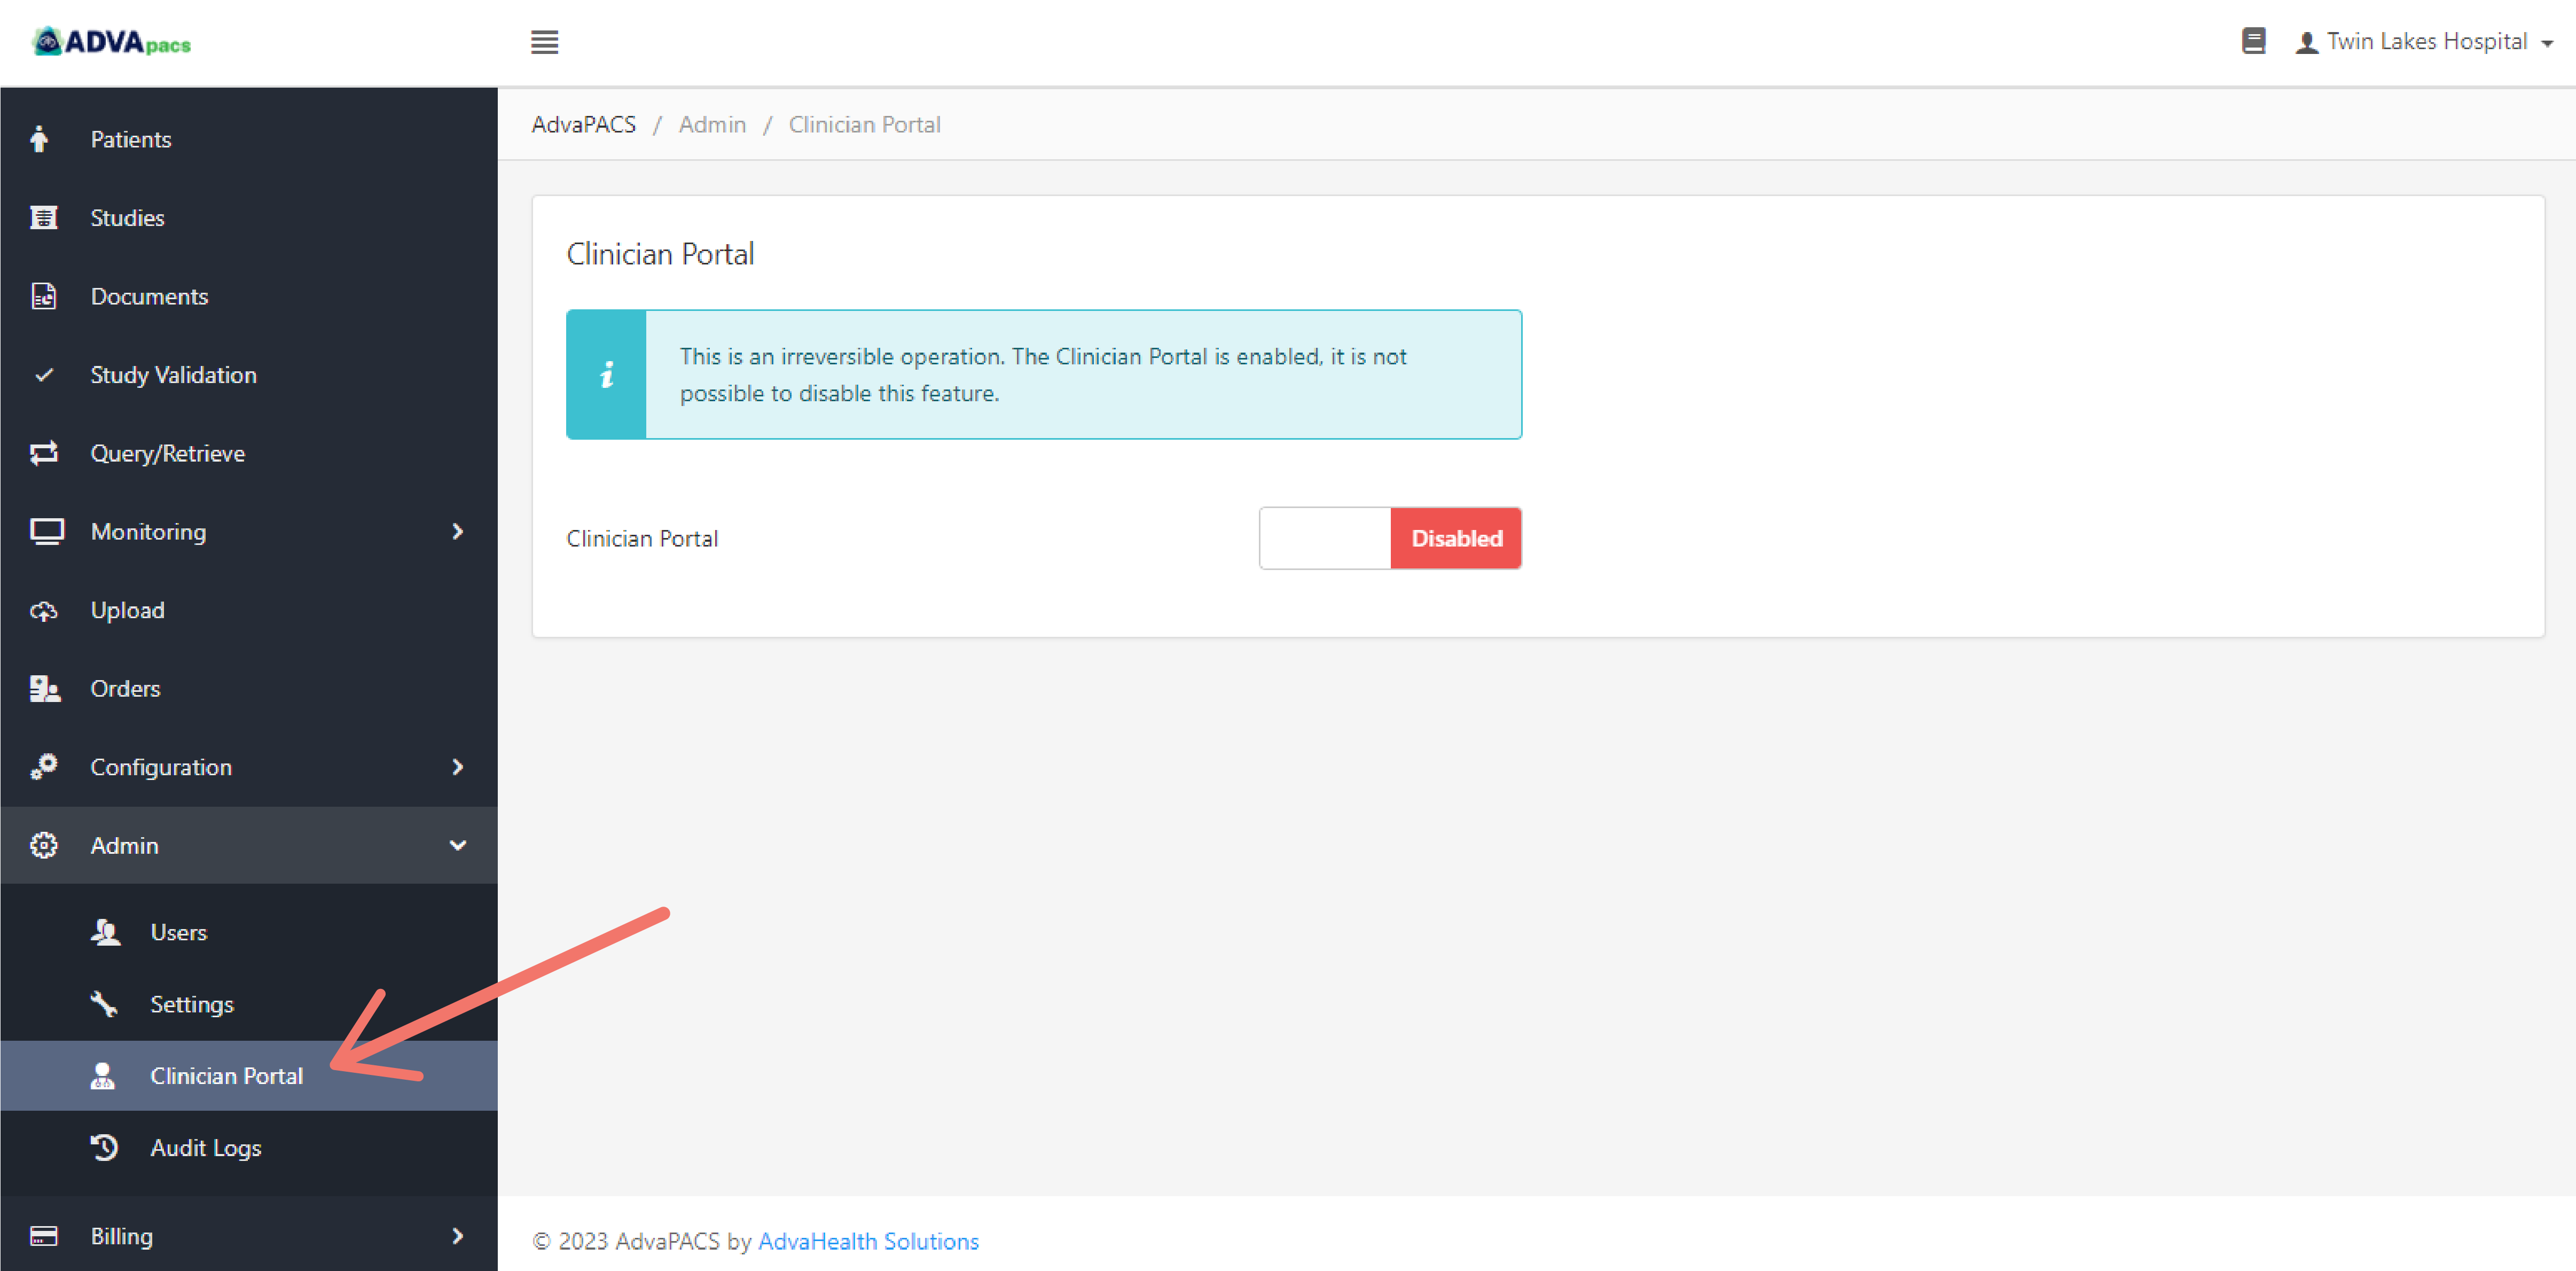
Before you can start accepting requests and share studies to Clinician Portal users, the Clinician Portal needs to be enabled first.
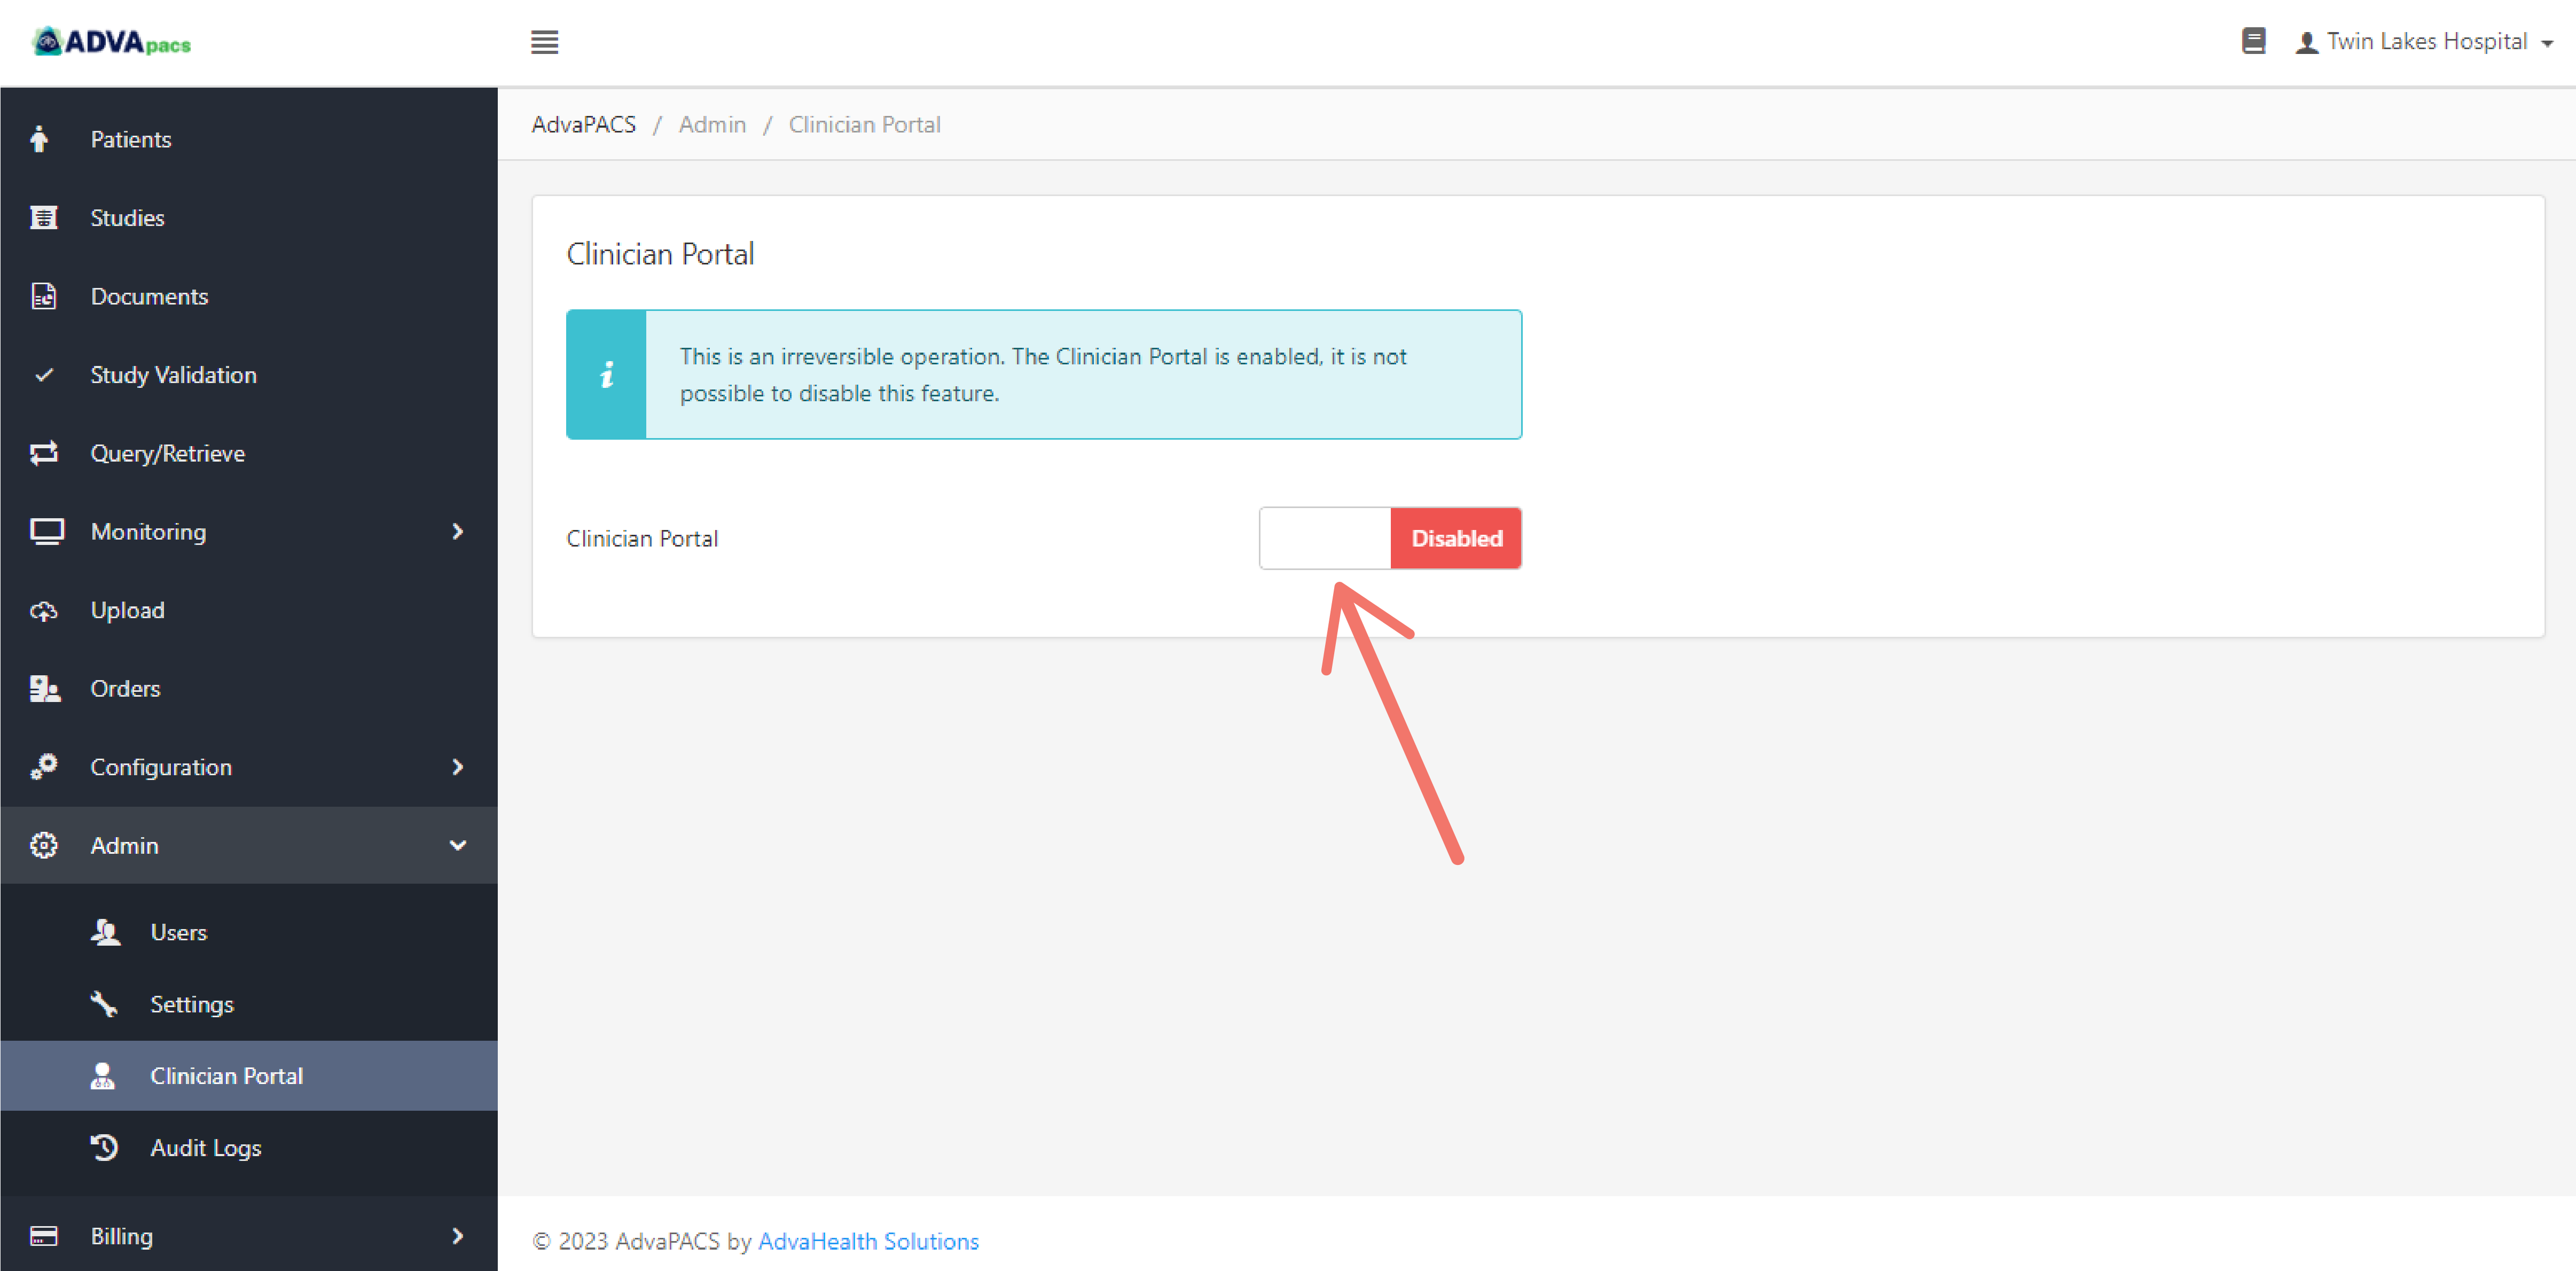
Once enabled, the Clinician Portal cannot be disabled.
Follow these steps to enable it:
-
Navigate to the Clinician Portal.
-
Toggle the switch to Enabled.
-
Enter your Password used to login to your account to confirm.

-
Upload a photo for your institution, enter a Display Name, and a brief Description.

These are used to display your AdvaPACS tenant profile in the PACS Directory in the Clinician Portal where users can request access to your data, as shown in the image below.

-
Click Save.
You will then be redirected to the Settings page, where you can further edit your account.
At this point, the Clinician Portal should be enabled, and your account is now visible in the PACS Directory of all Clinician Portal users where they can request access. You can manage their requests in the Access Control page.
infoIf you want to stop receiving requests from Clinician Portal users, you can enable the Unlisted setting in the Branding settings to hide your account's visibility in the PACS Directory.
-
The next step step is to create a role.
Once you have successfully enabled the Clinician Portal and created a role, go to Access Control to learn how to assign a role and further customize Clinician Portal users' access to your data.