Documents
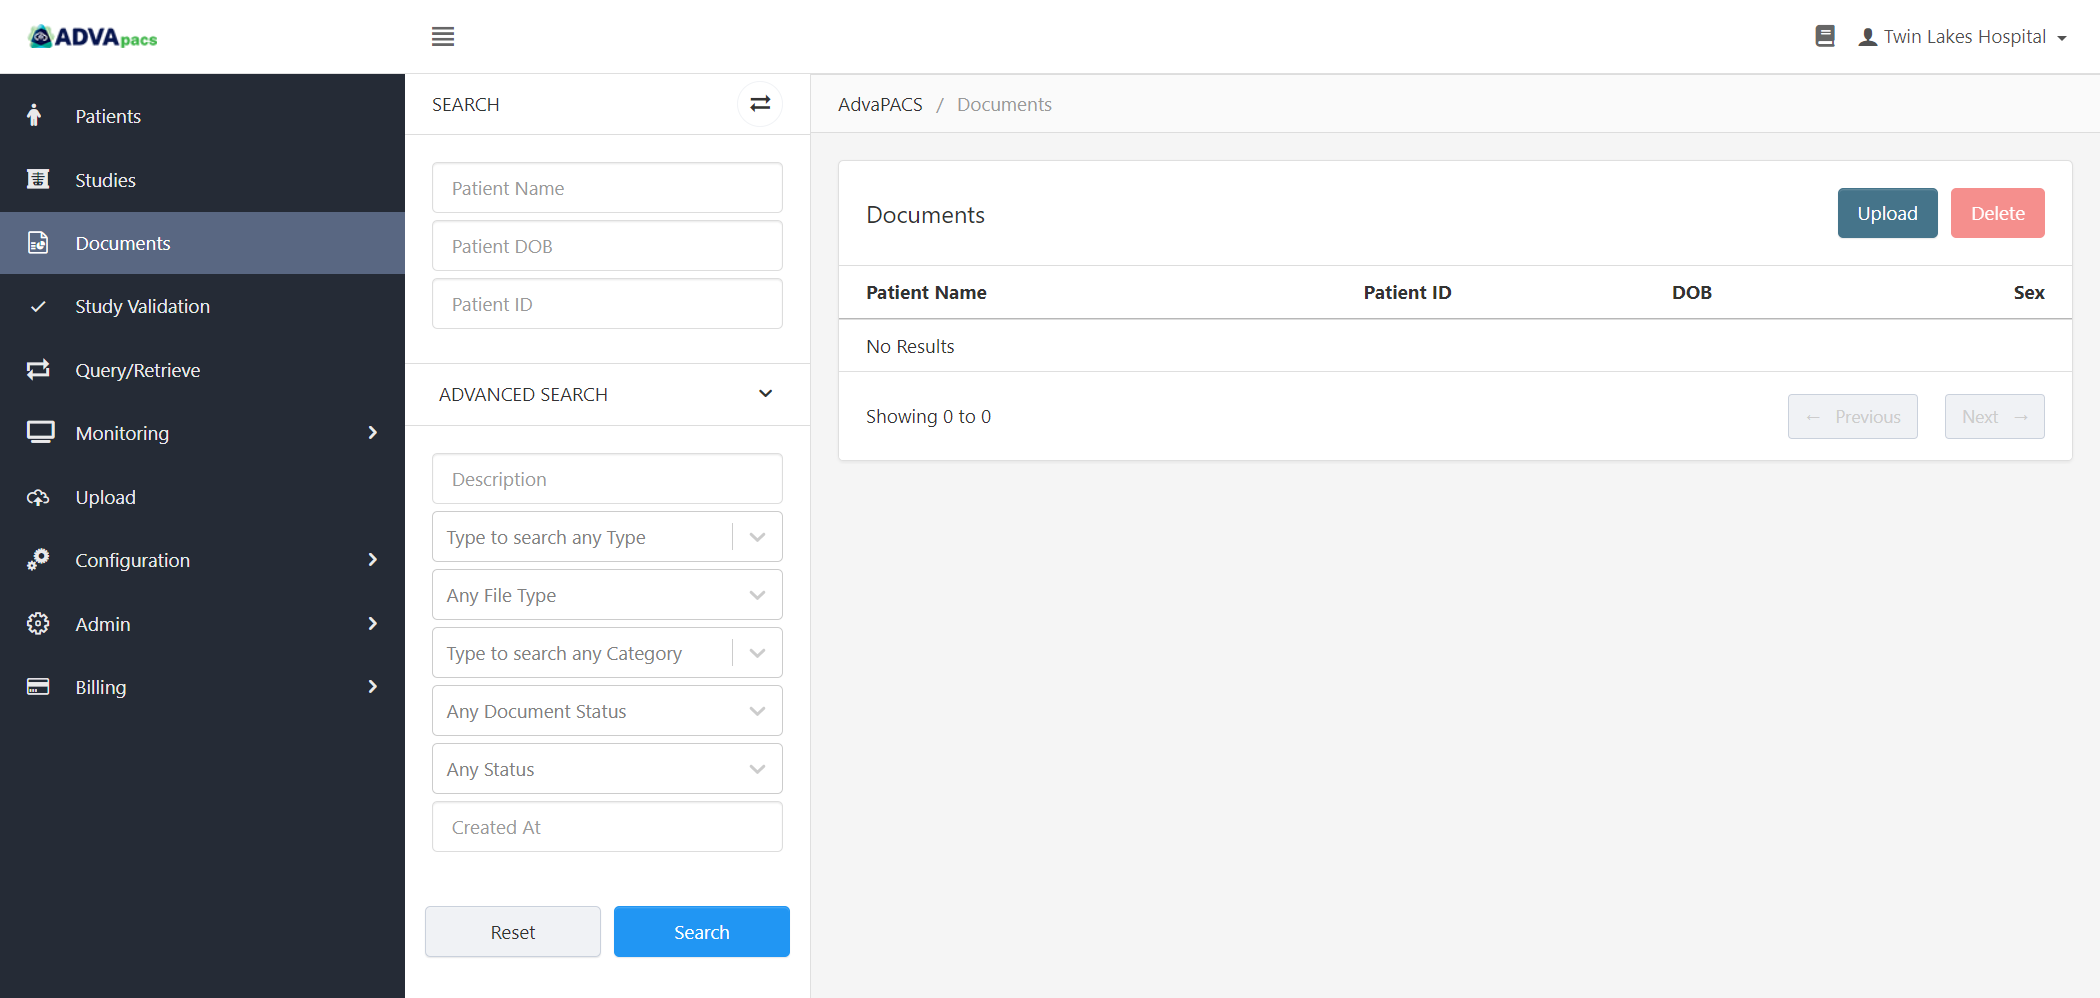
The Documents page allows users to search, view, manage, and upload documents to patients and studies.
Search Document
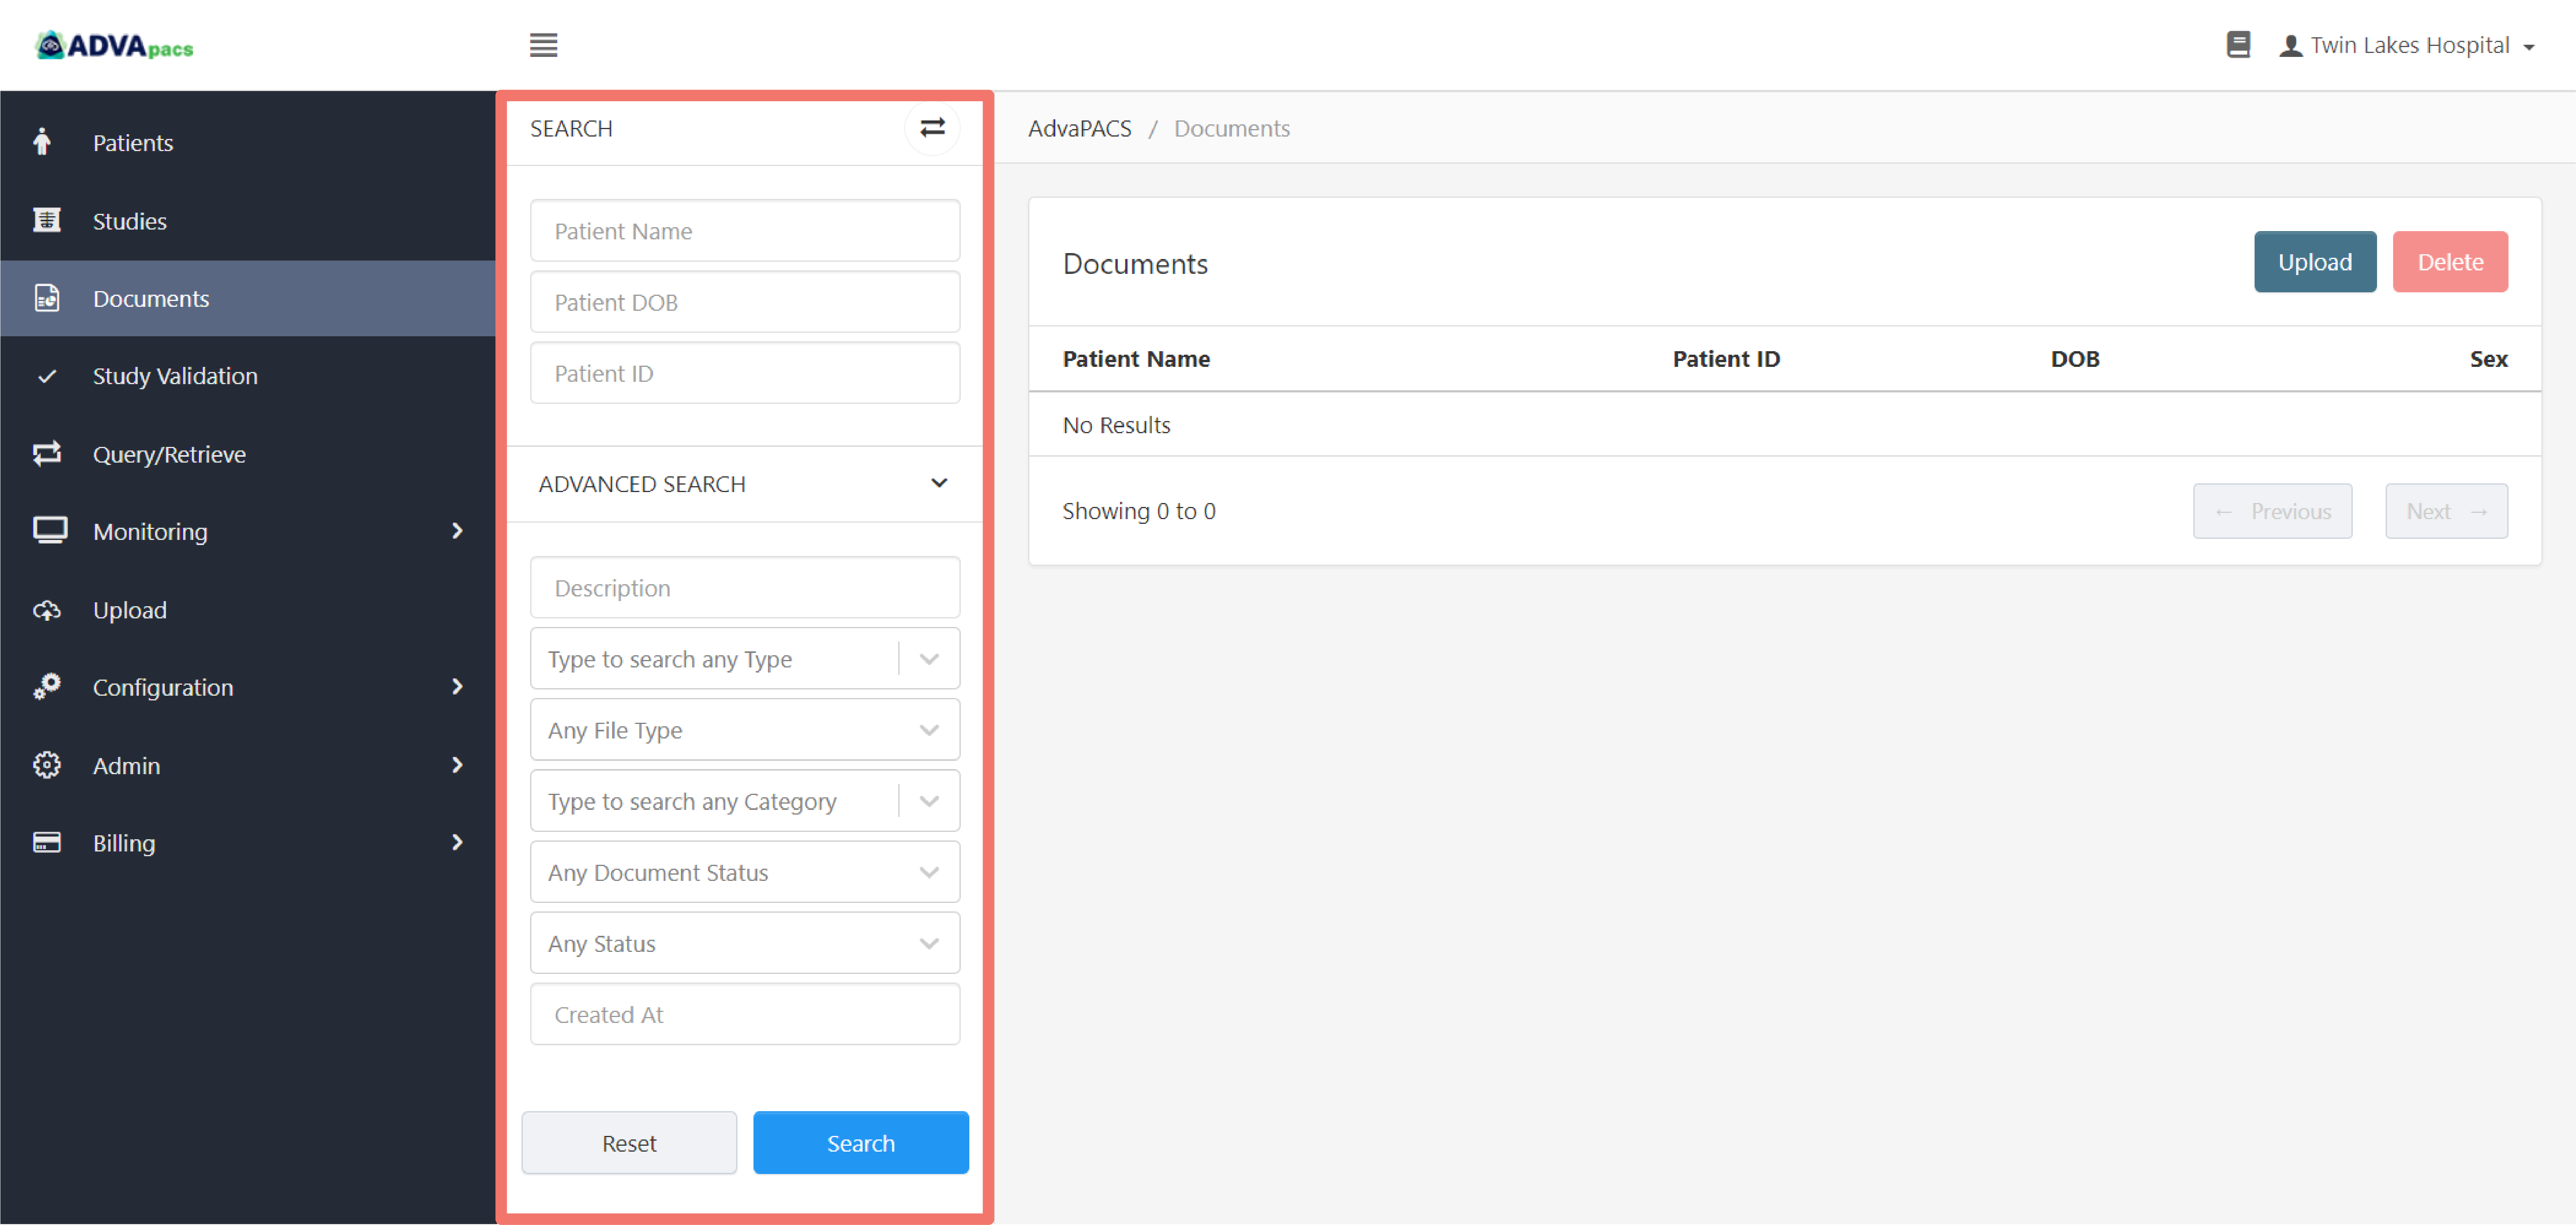
The search section allows you to search for documents. Fill out or select one or more of the following inputs to search.
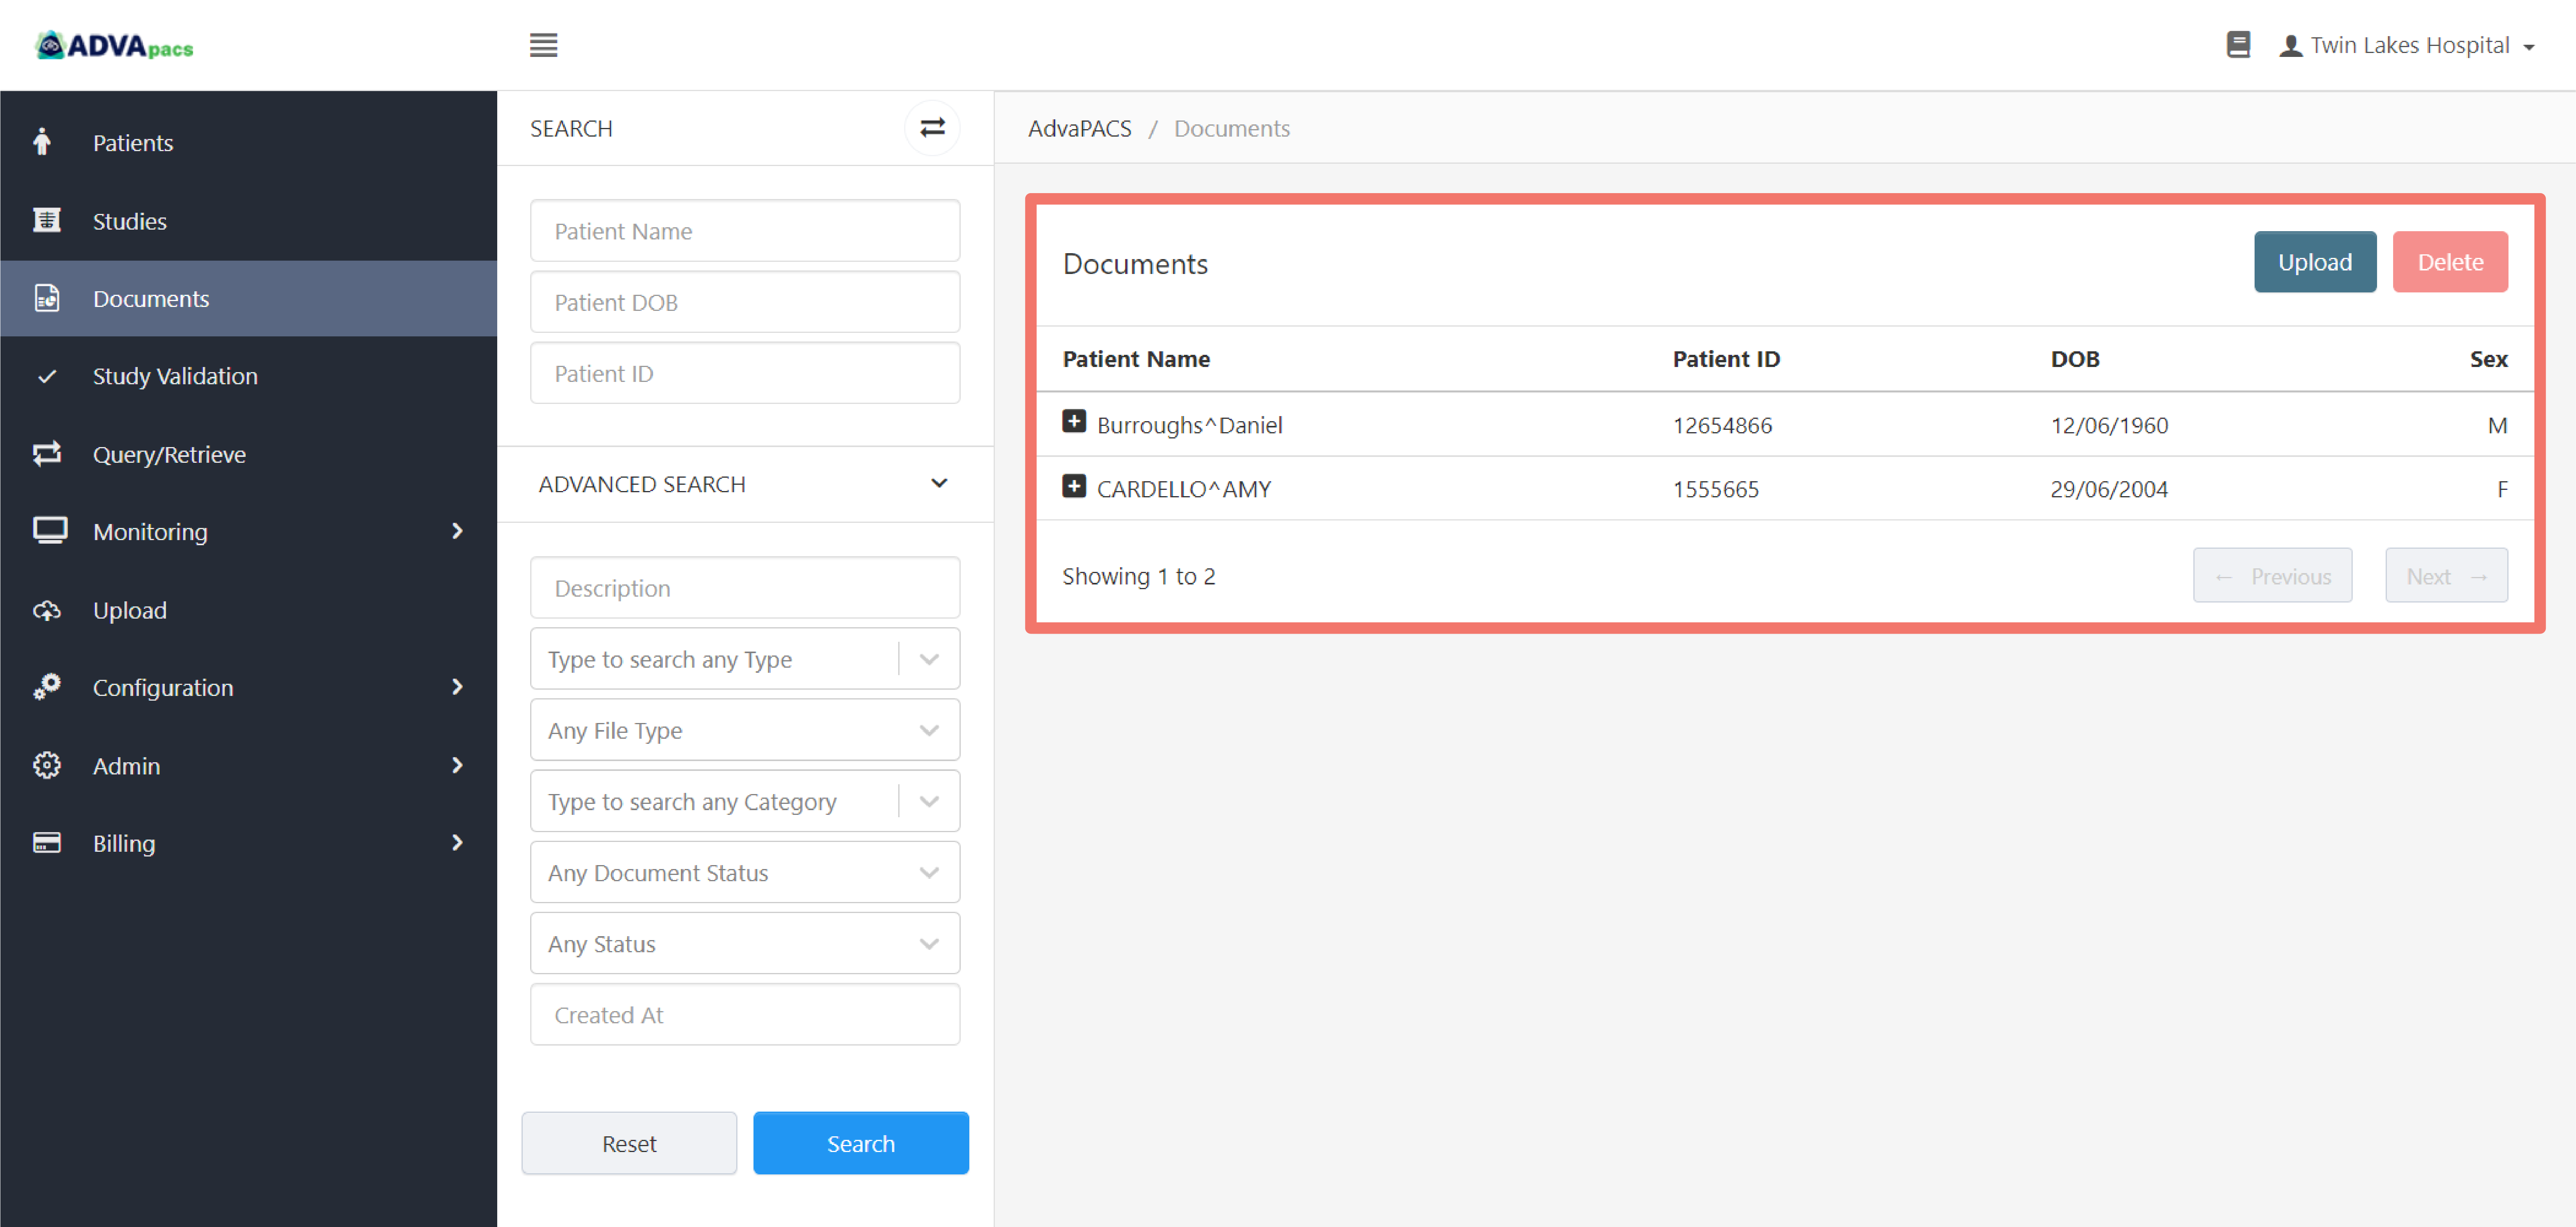
The search results are displayed in the documents listing table.
View Document
Viewing a document displays information about the document: its linked patient, study, and metadata.
To view a document, click on the "plus" icon next to the patient's name to view its documents.
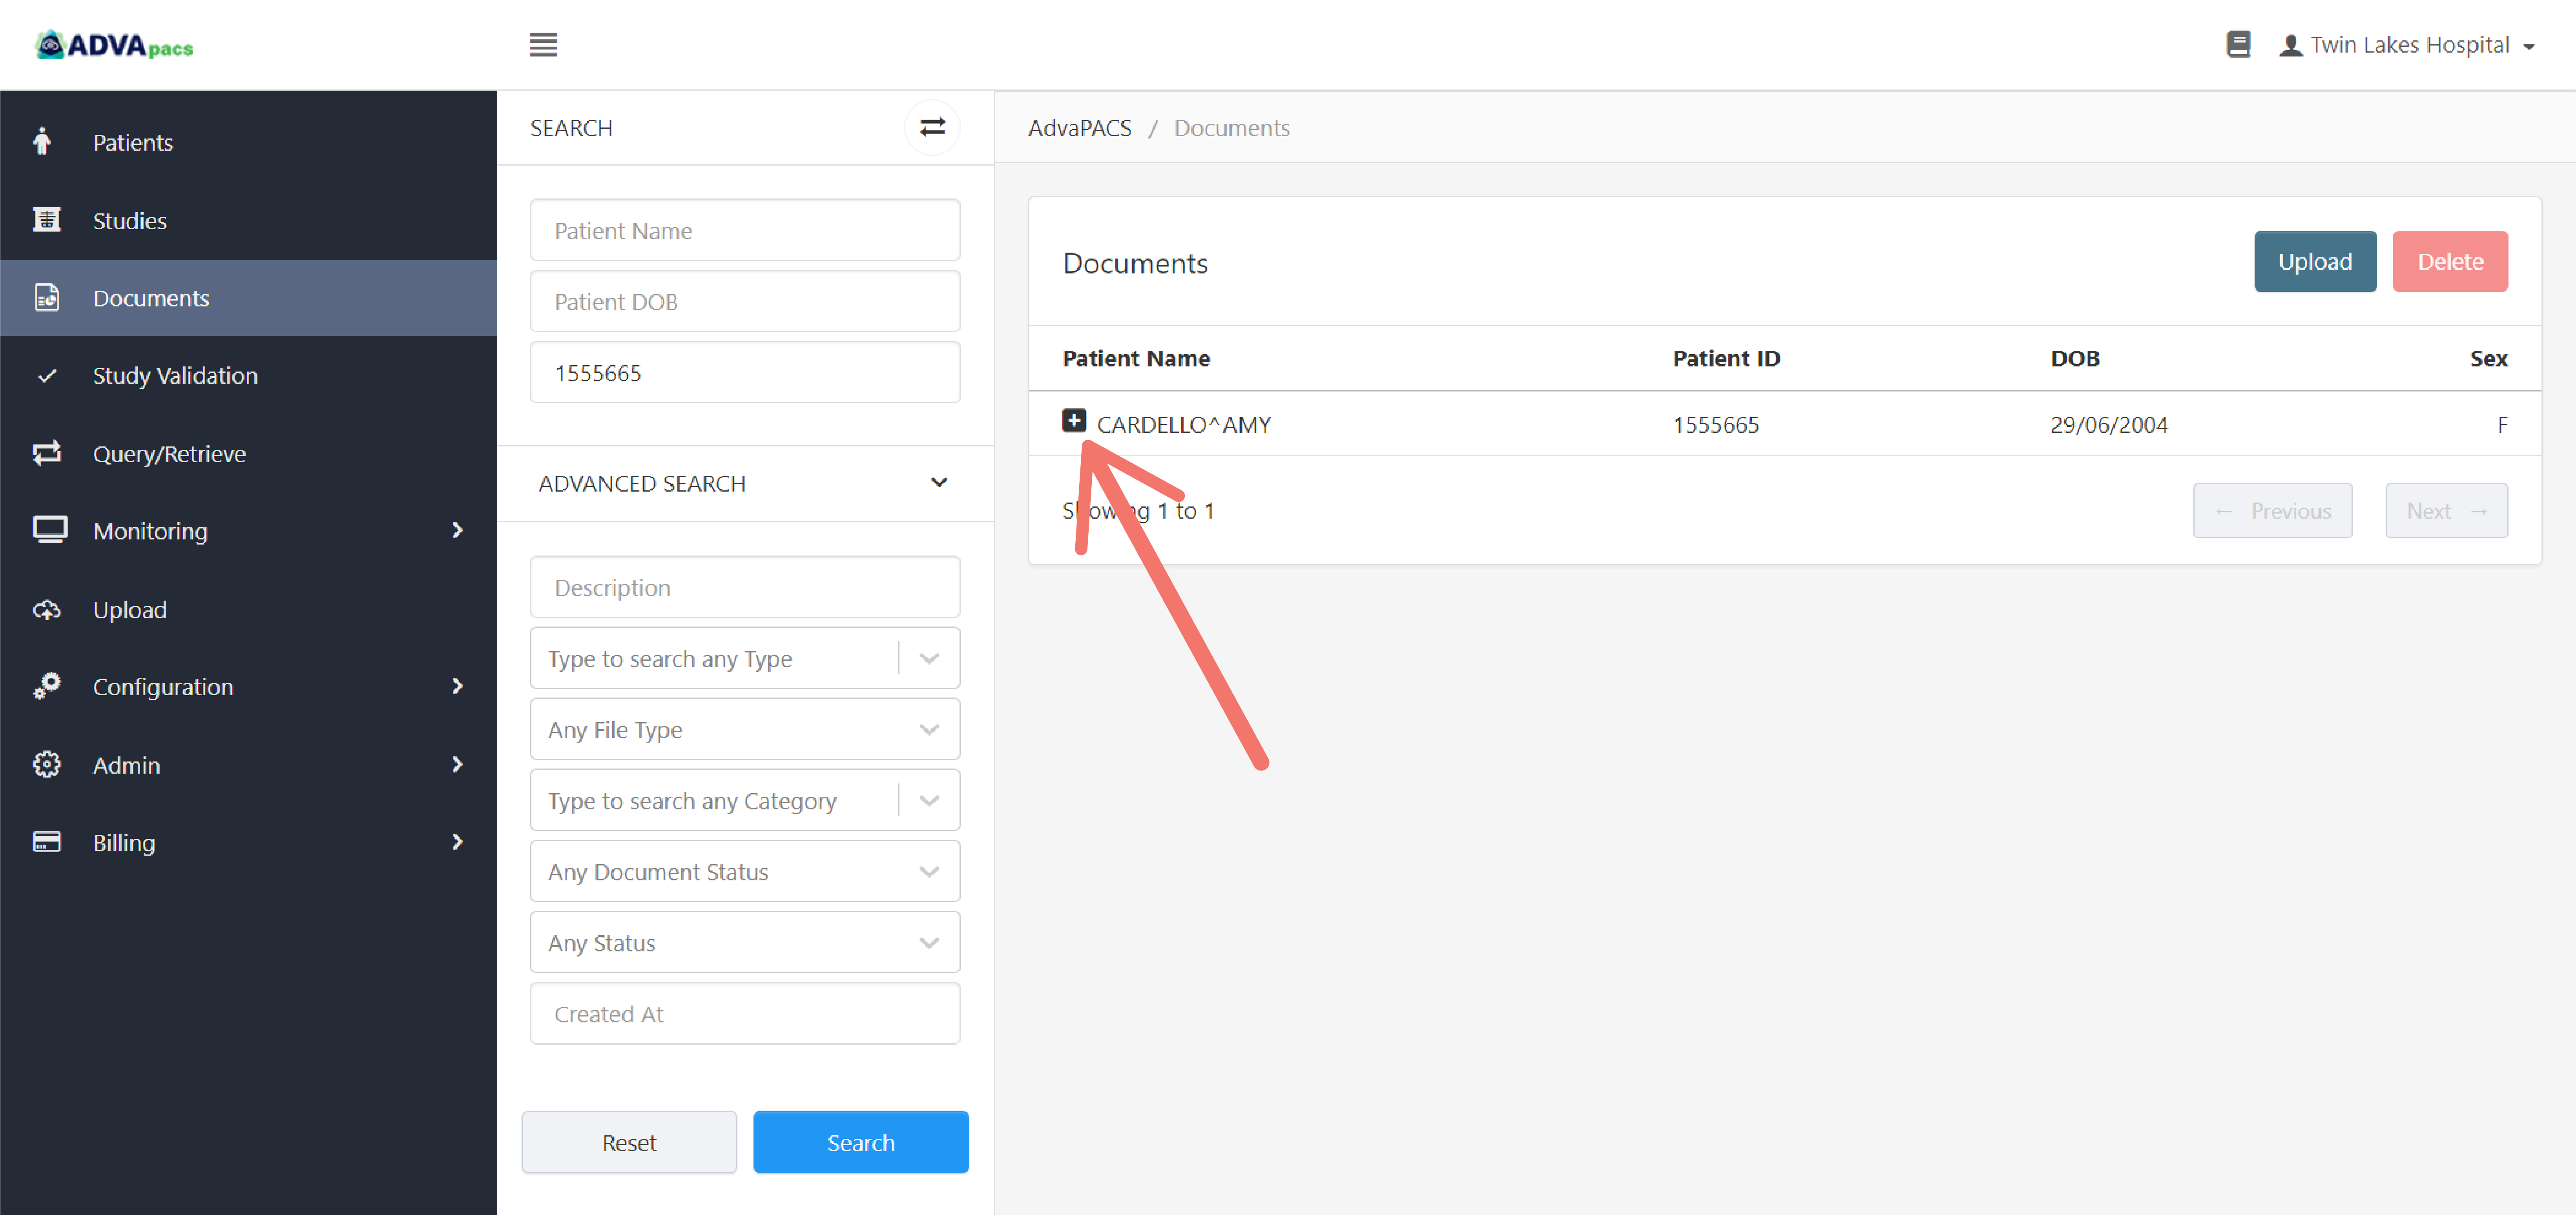
Then, click the "eye" icon to view a document, which navigates you to the View Document Metadata page.
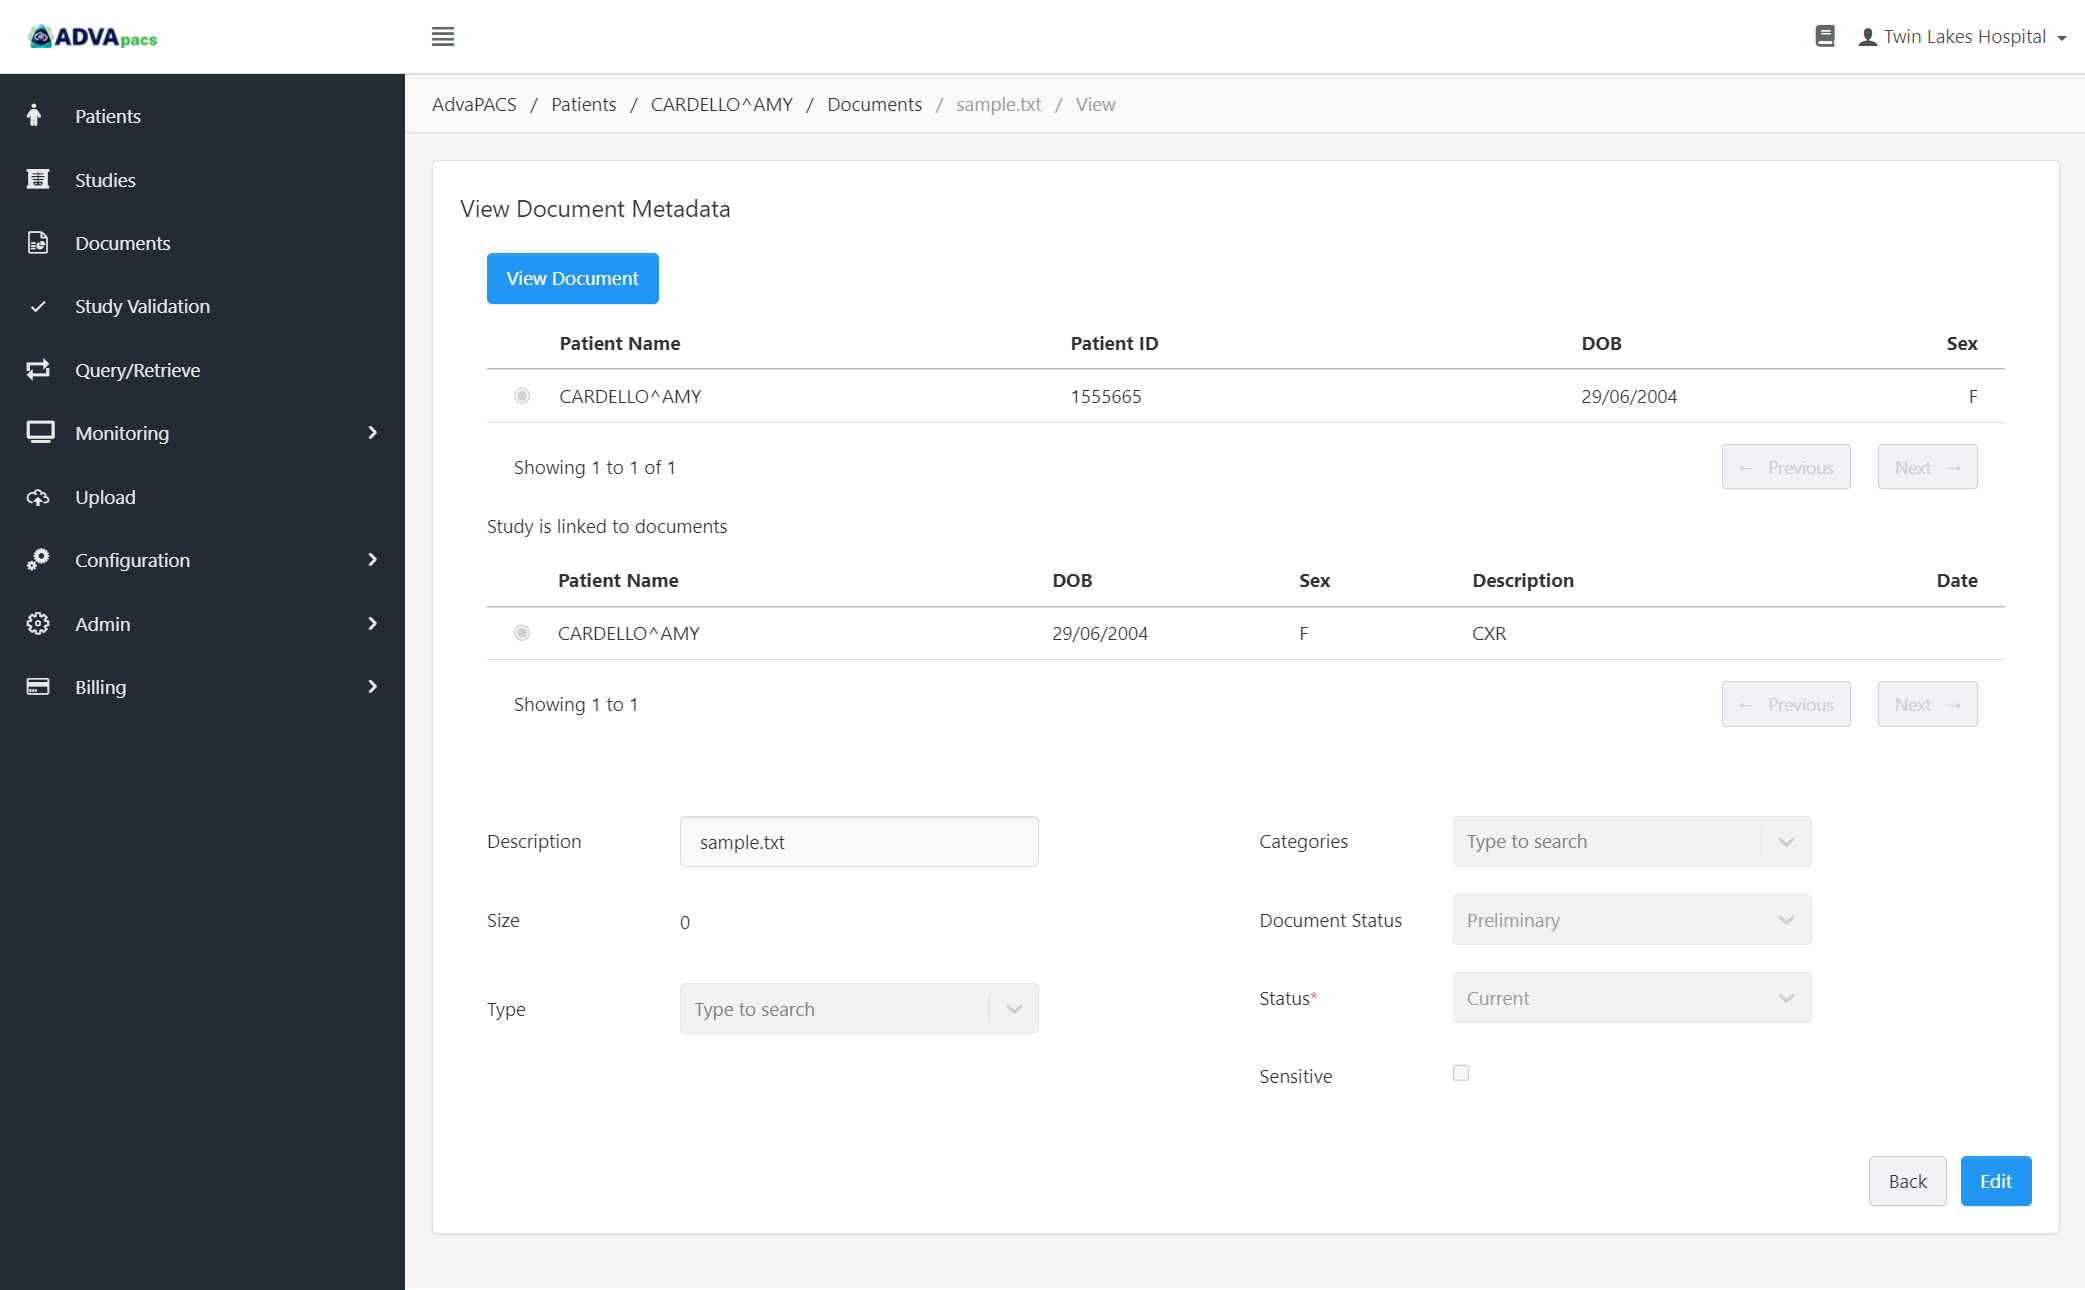
The View Document button opens or downloads the document.
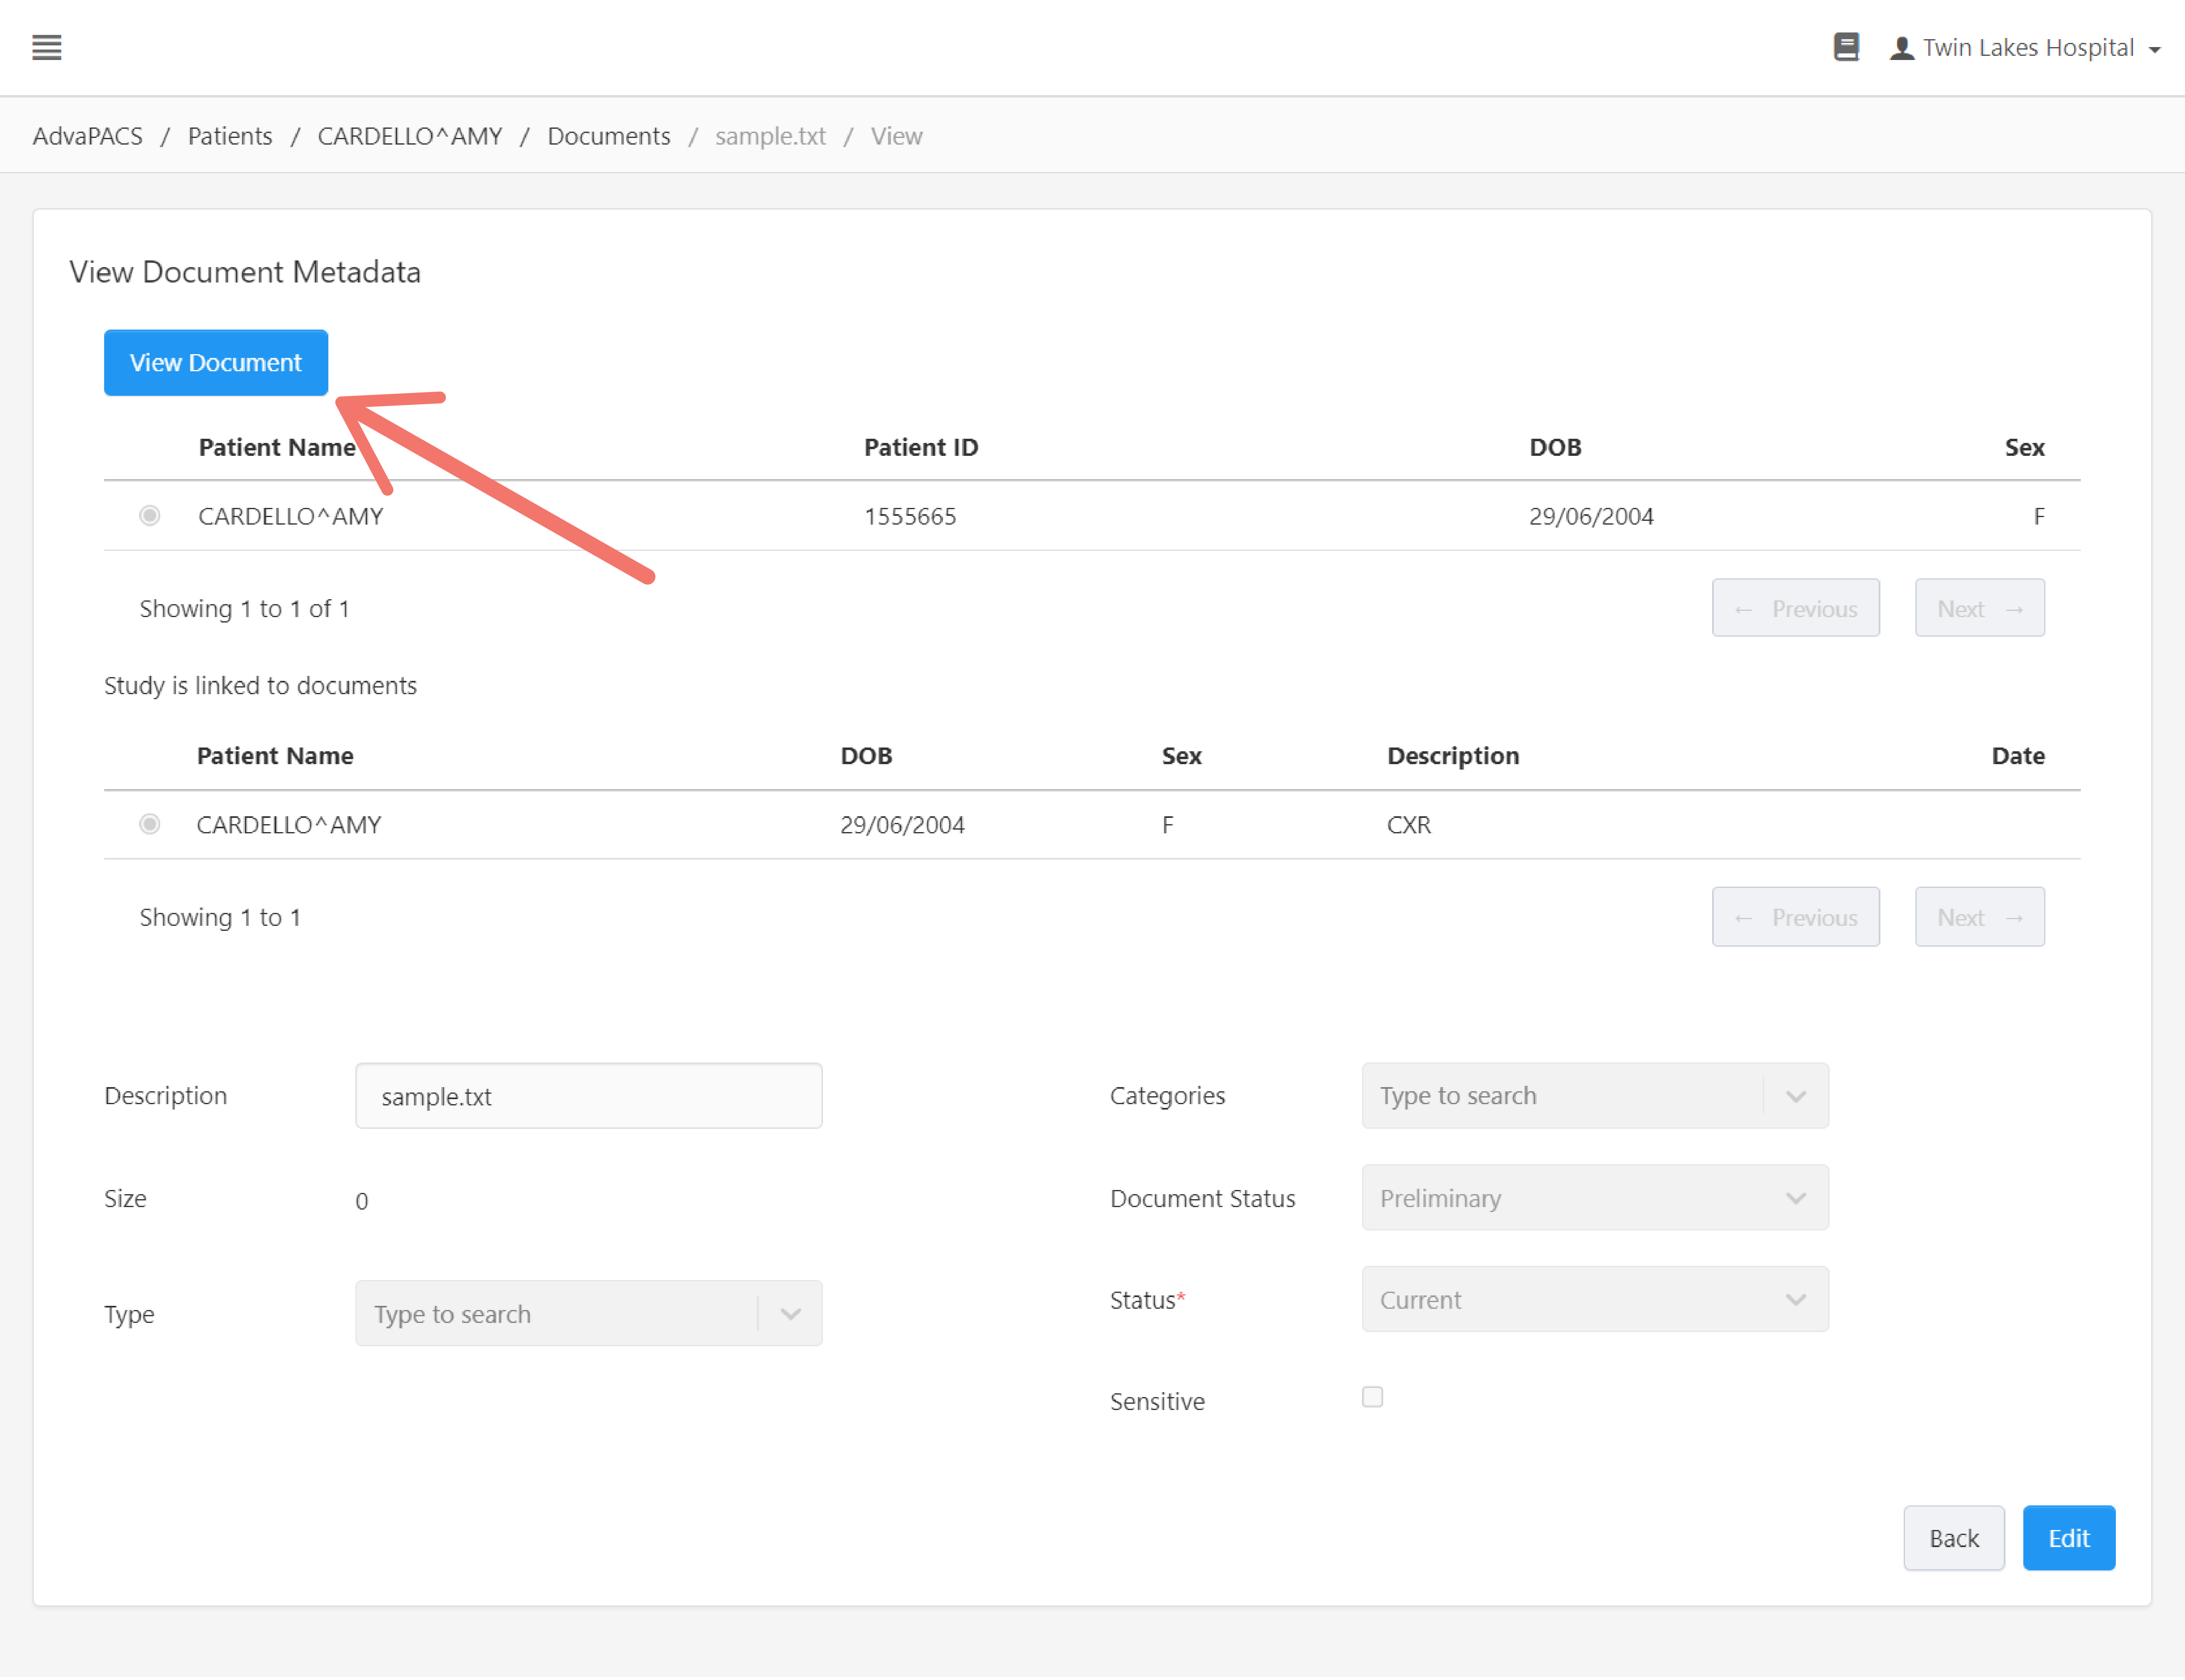
This section shows to which patient the document is currently linked.
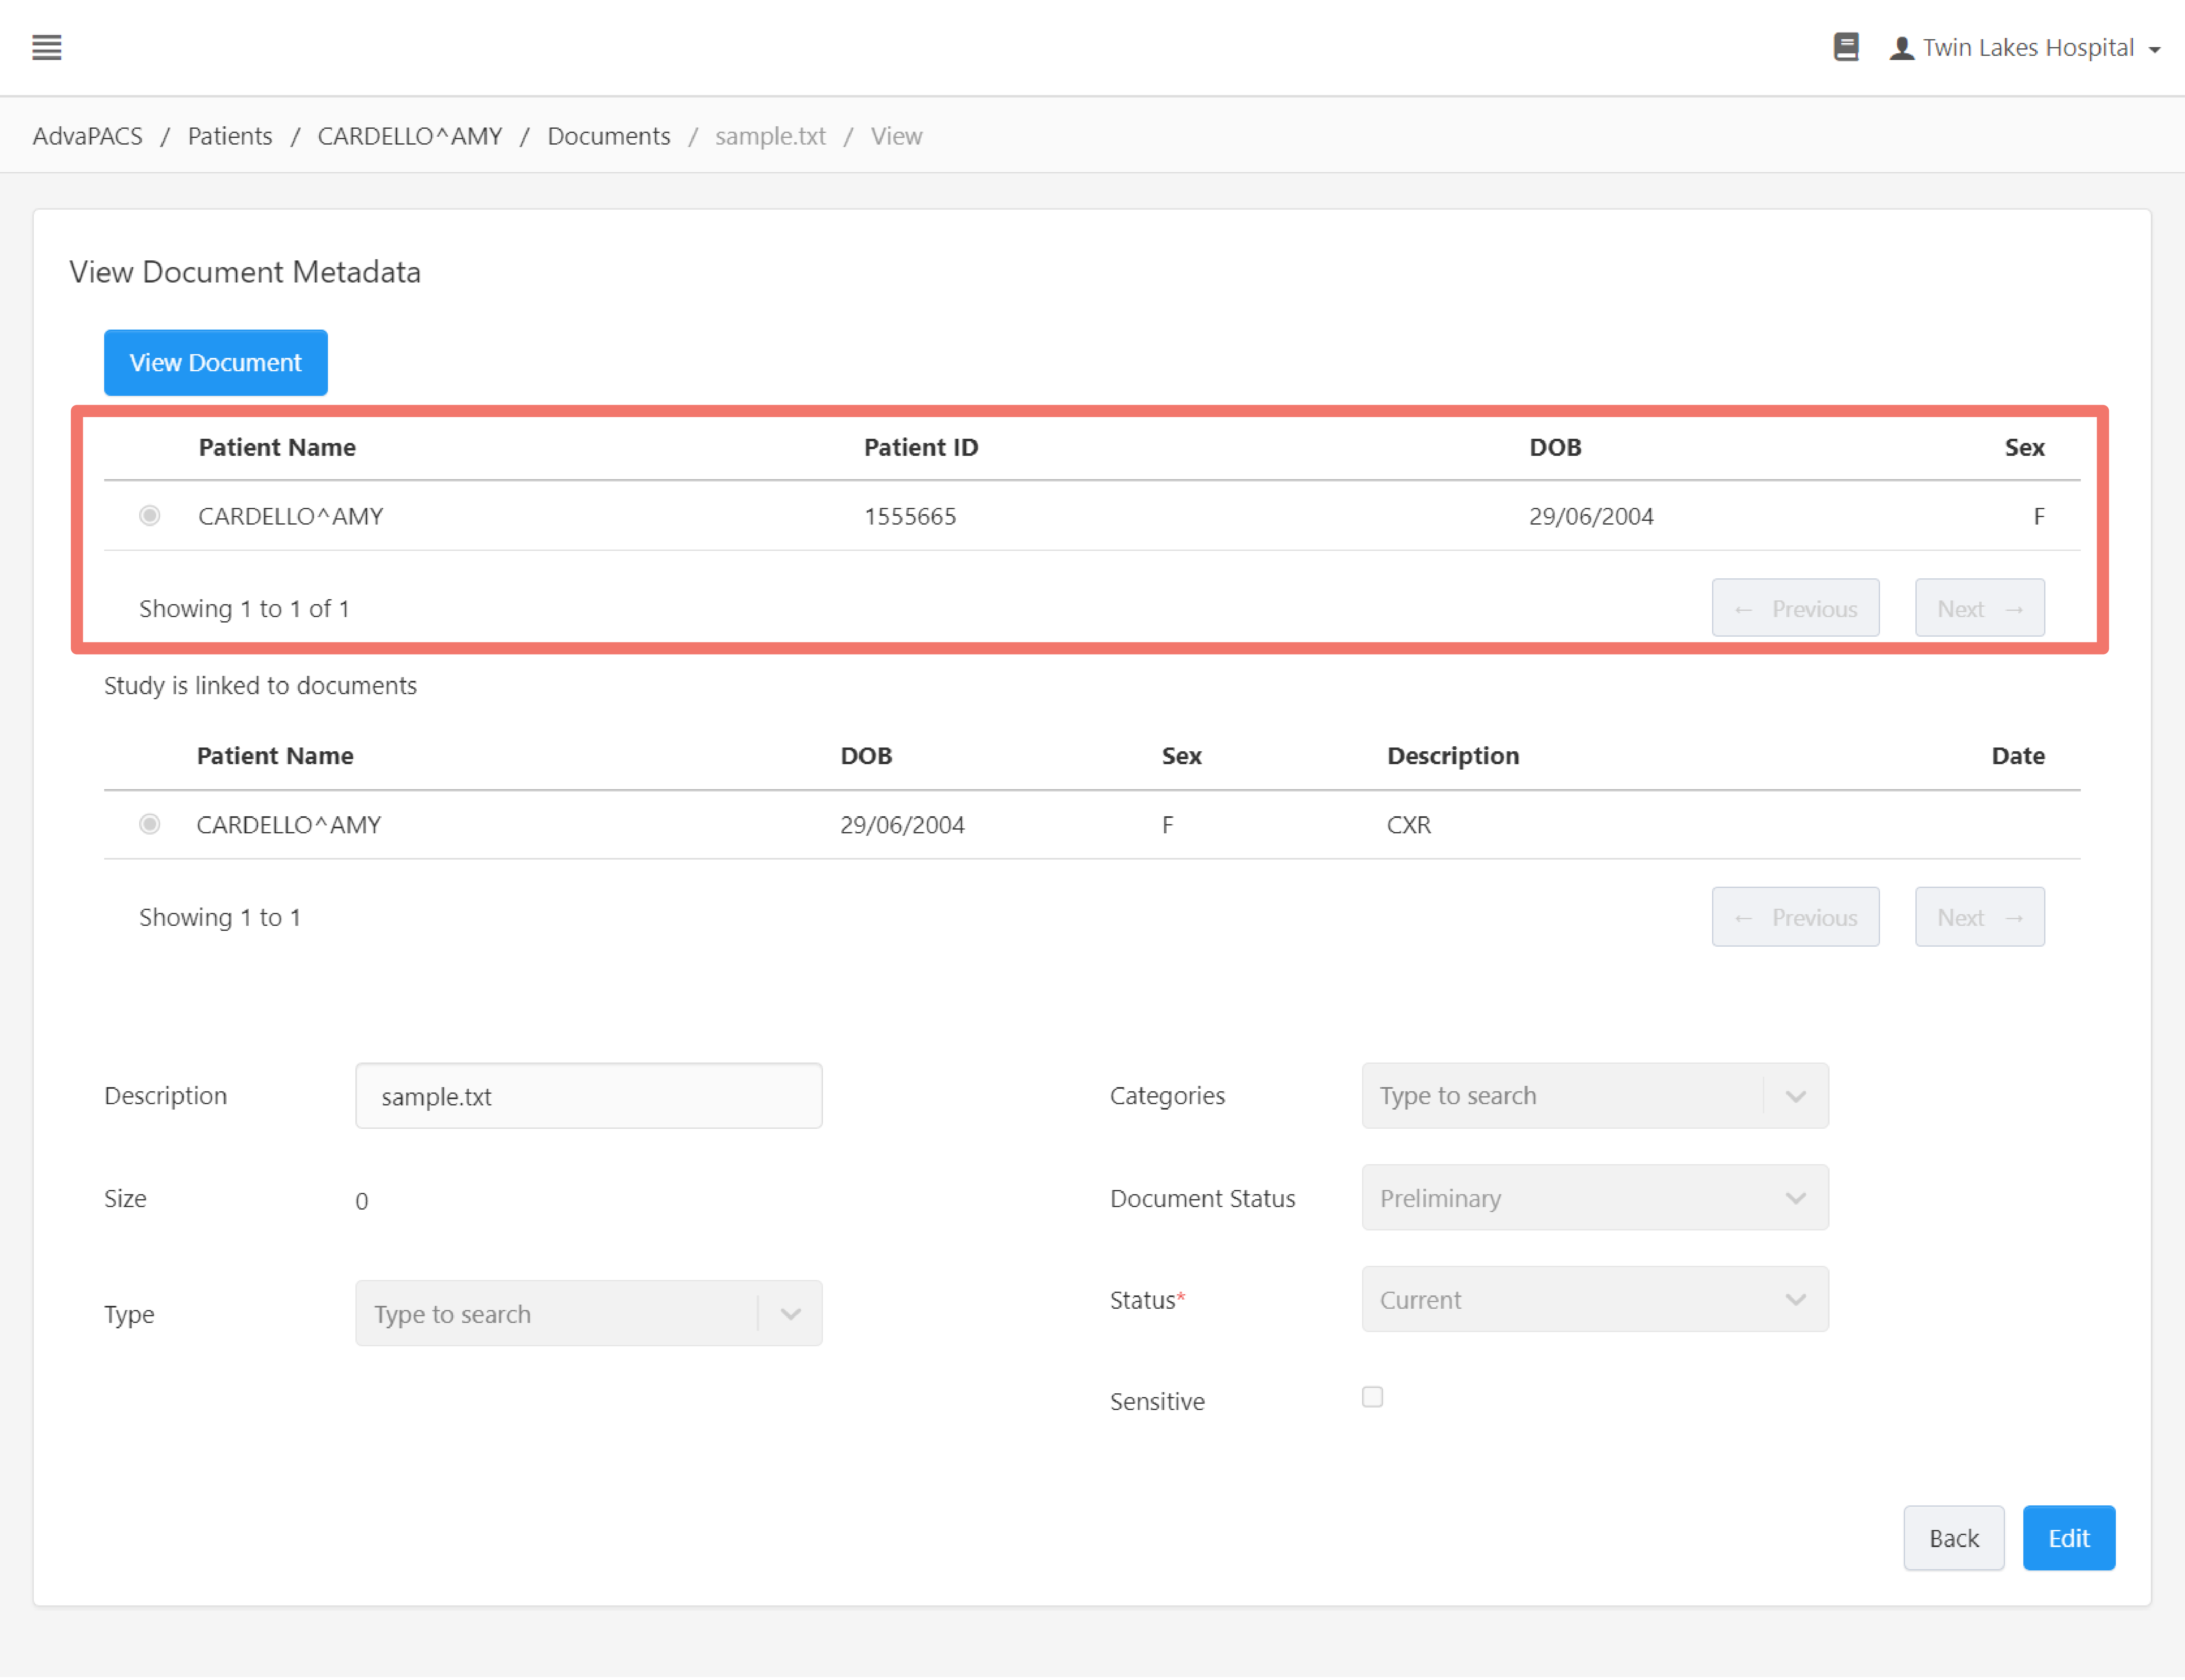
This section shows to which study the document is currently linked.
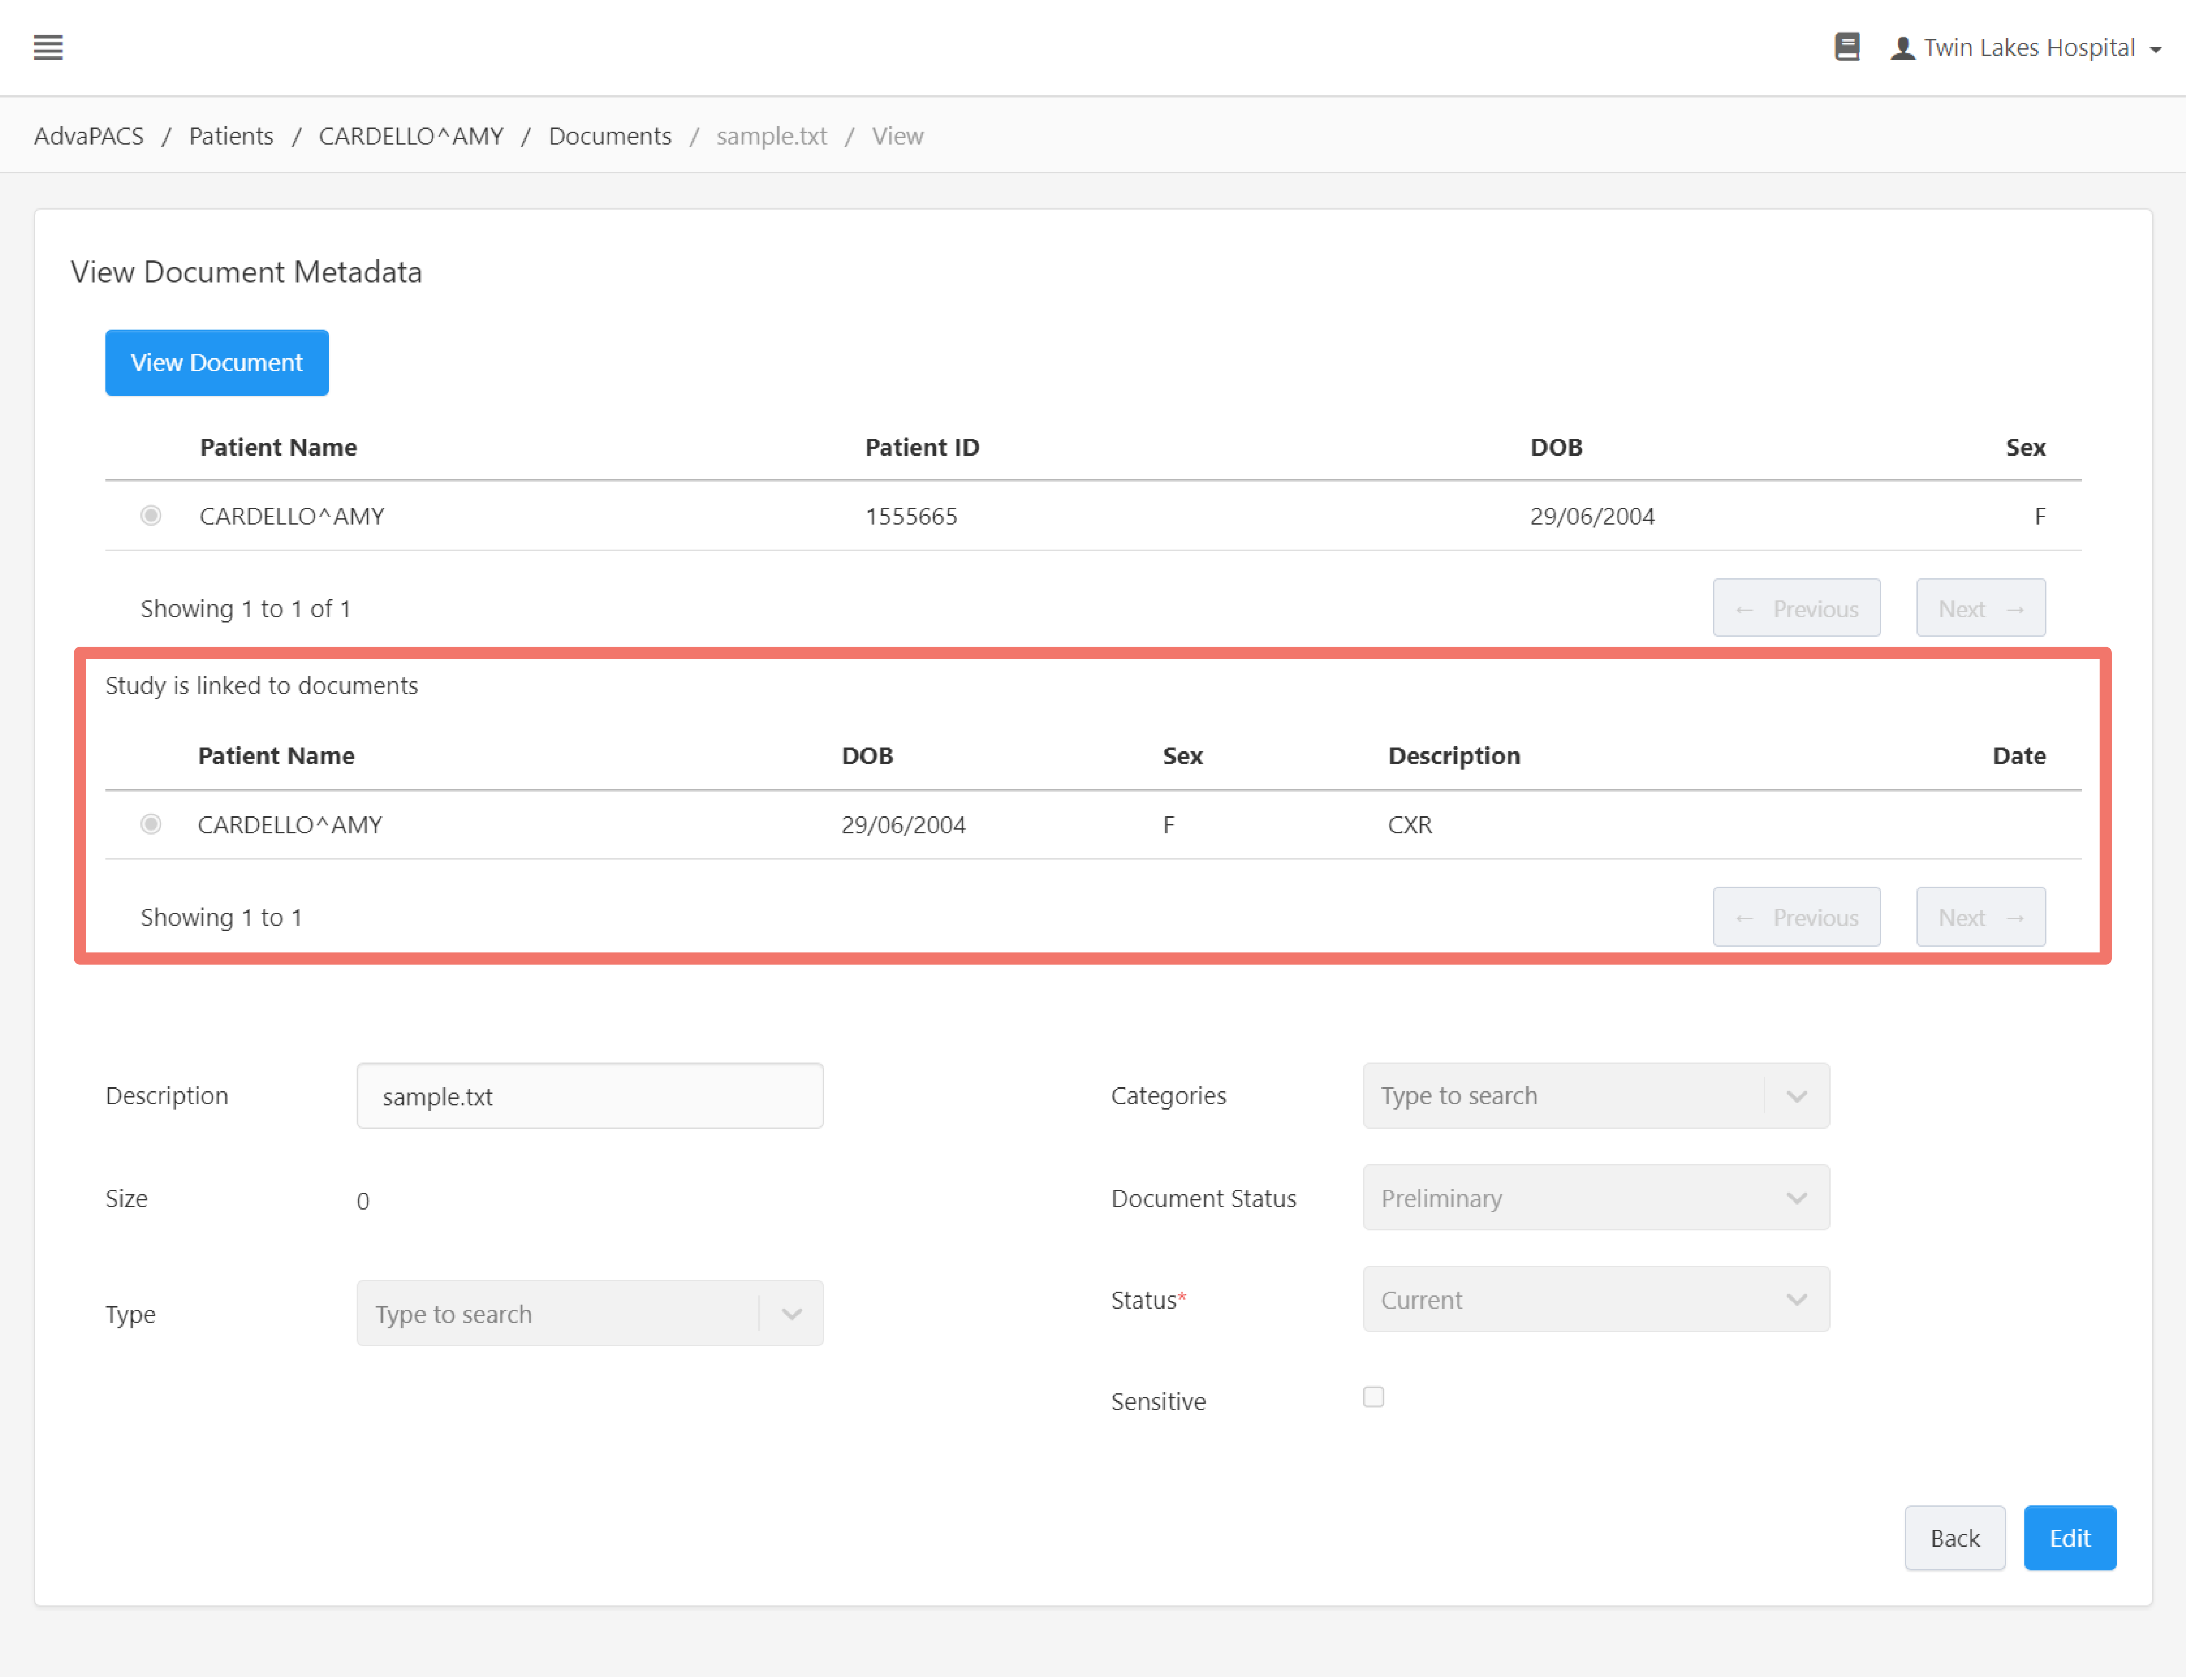
This section shows the document's metadata.
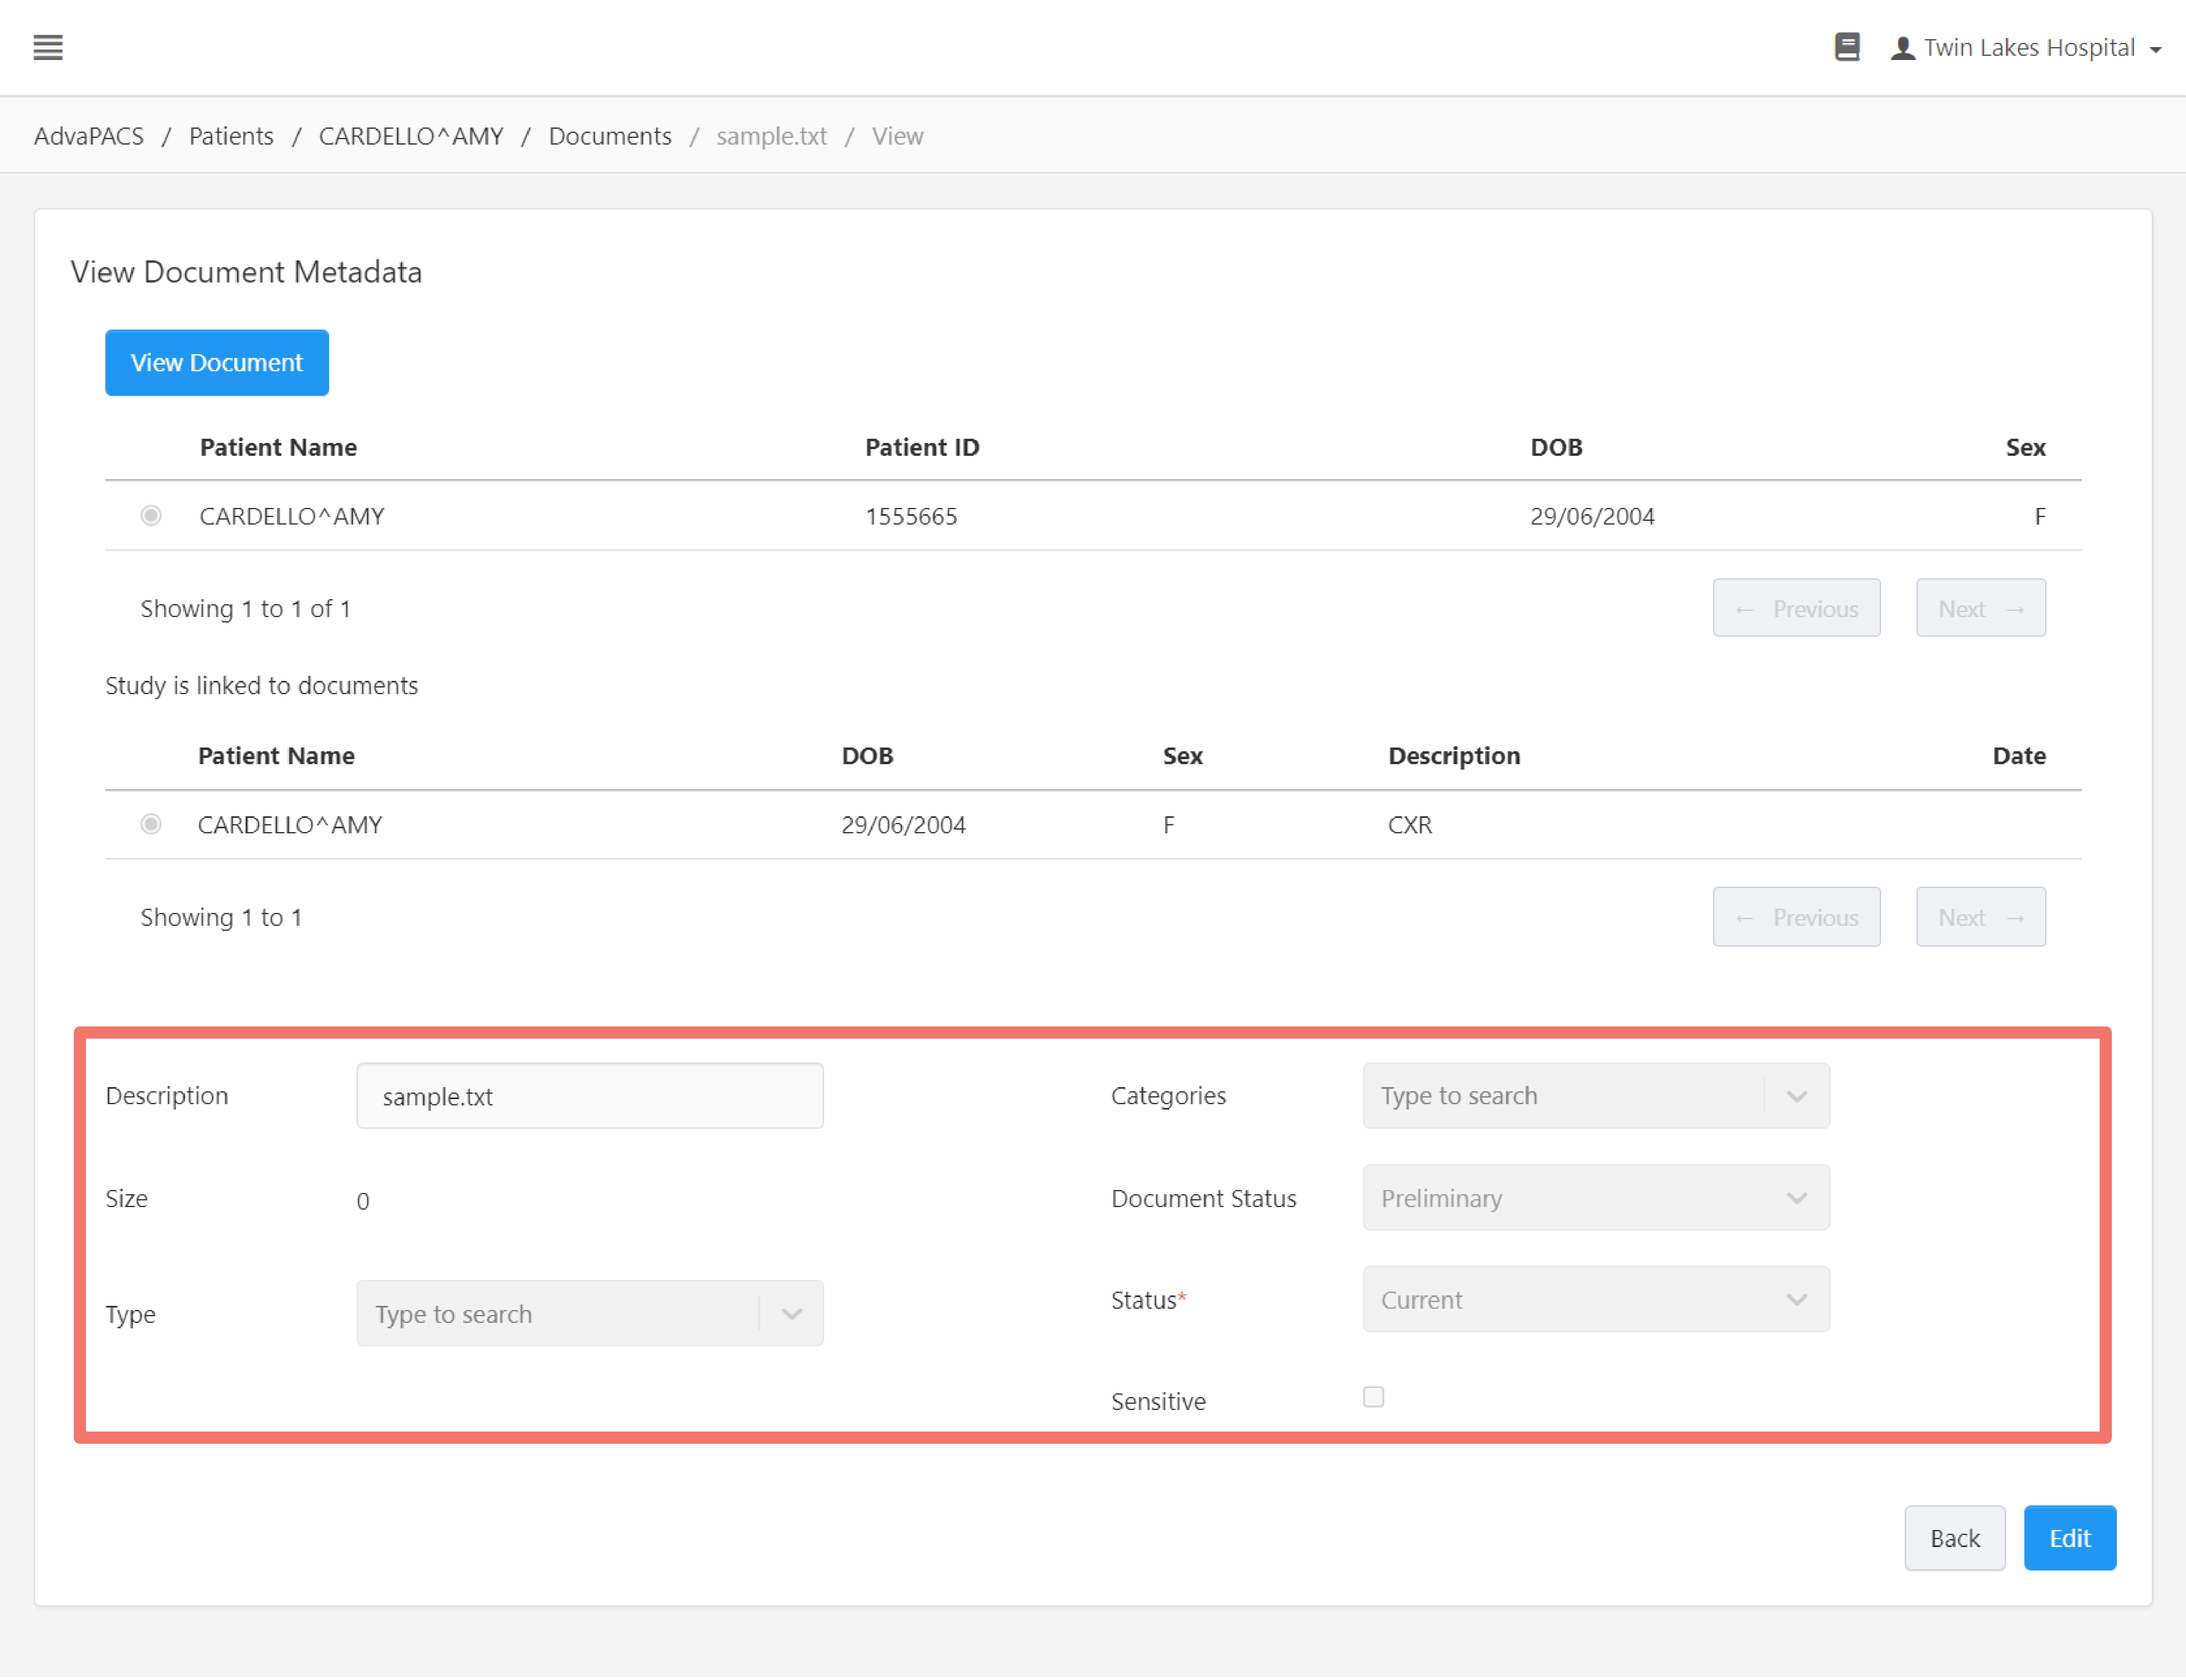
Open Document
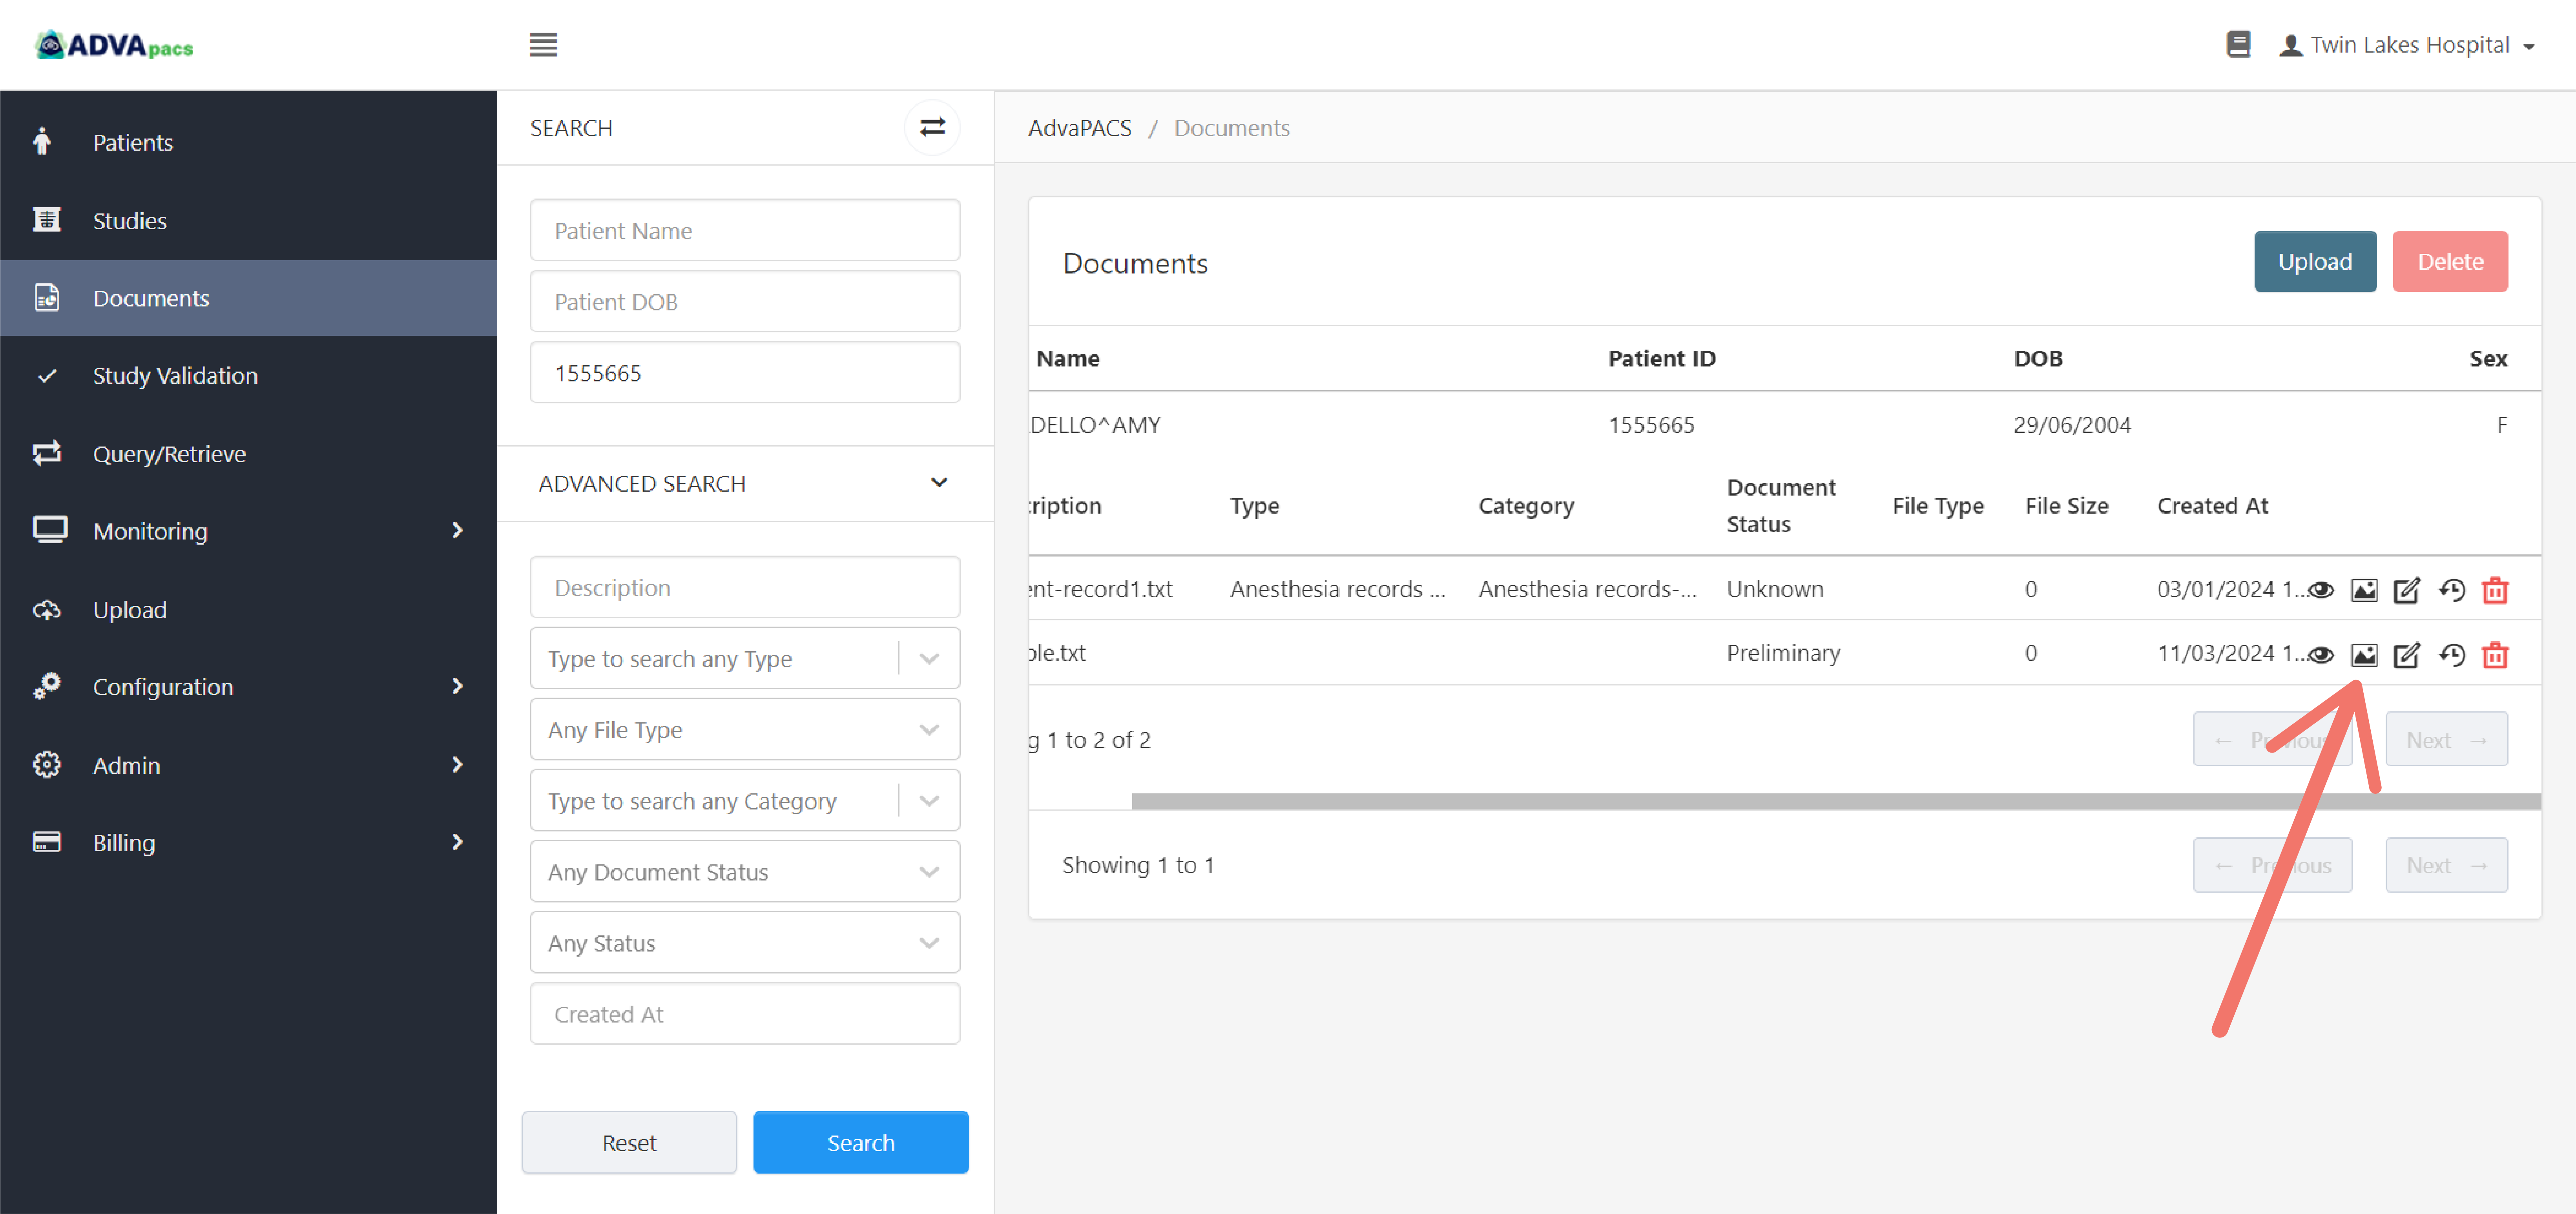
This downloads or opens the document in a new tab.
Another way to open a document is to click the View Document button in the View Document Metadata page when viewing a document.

Edit Document
Edit a document's metadata.
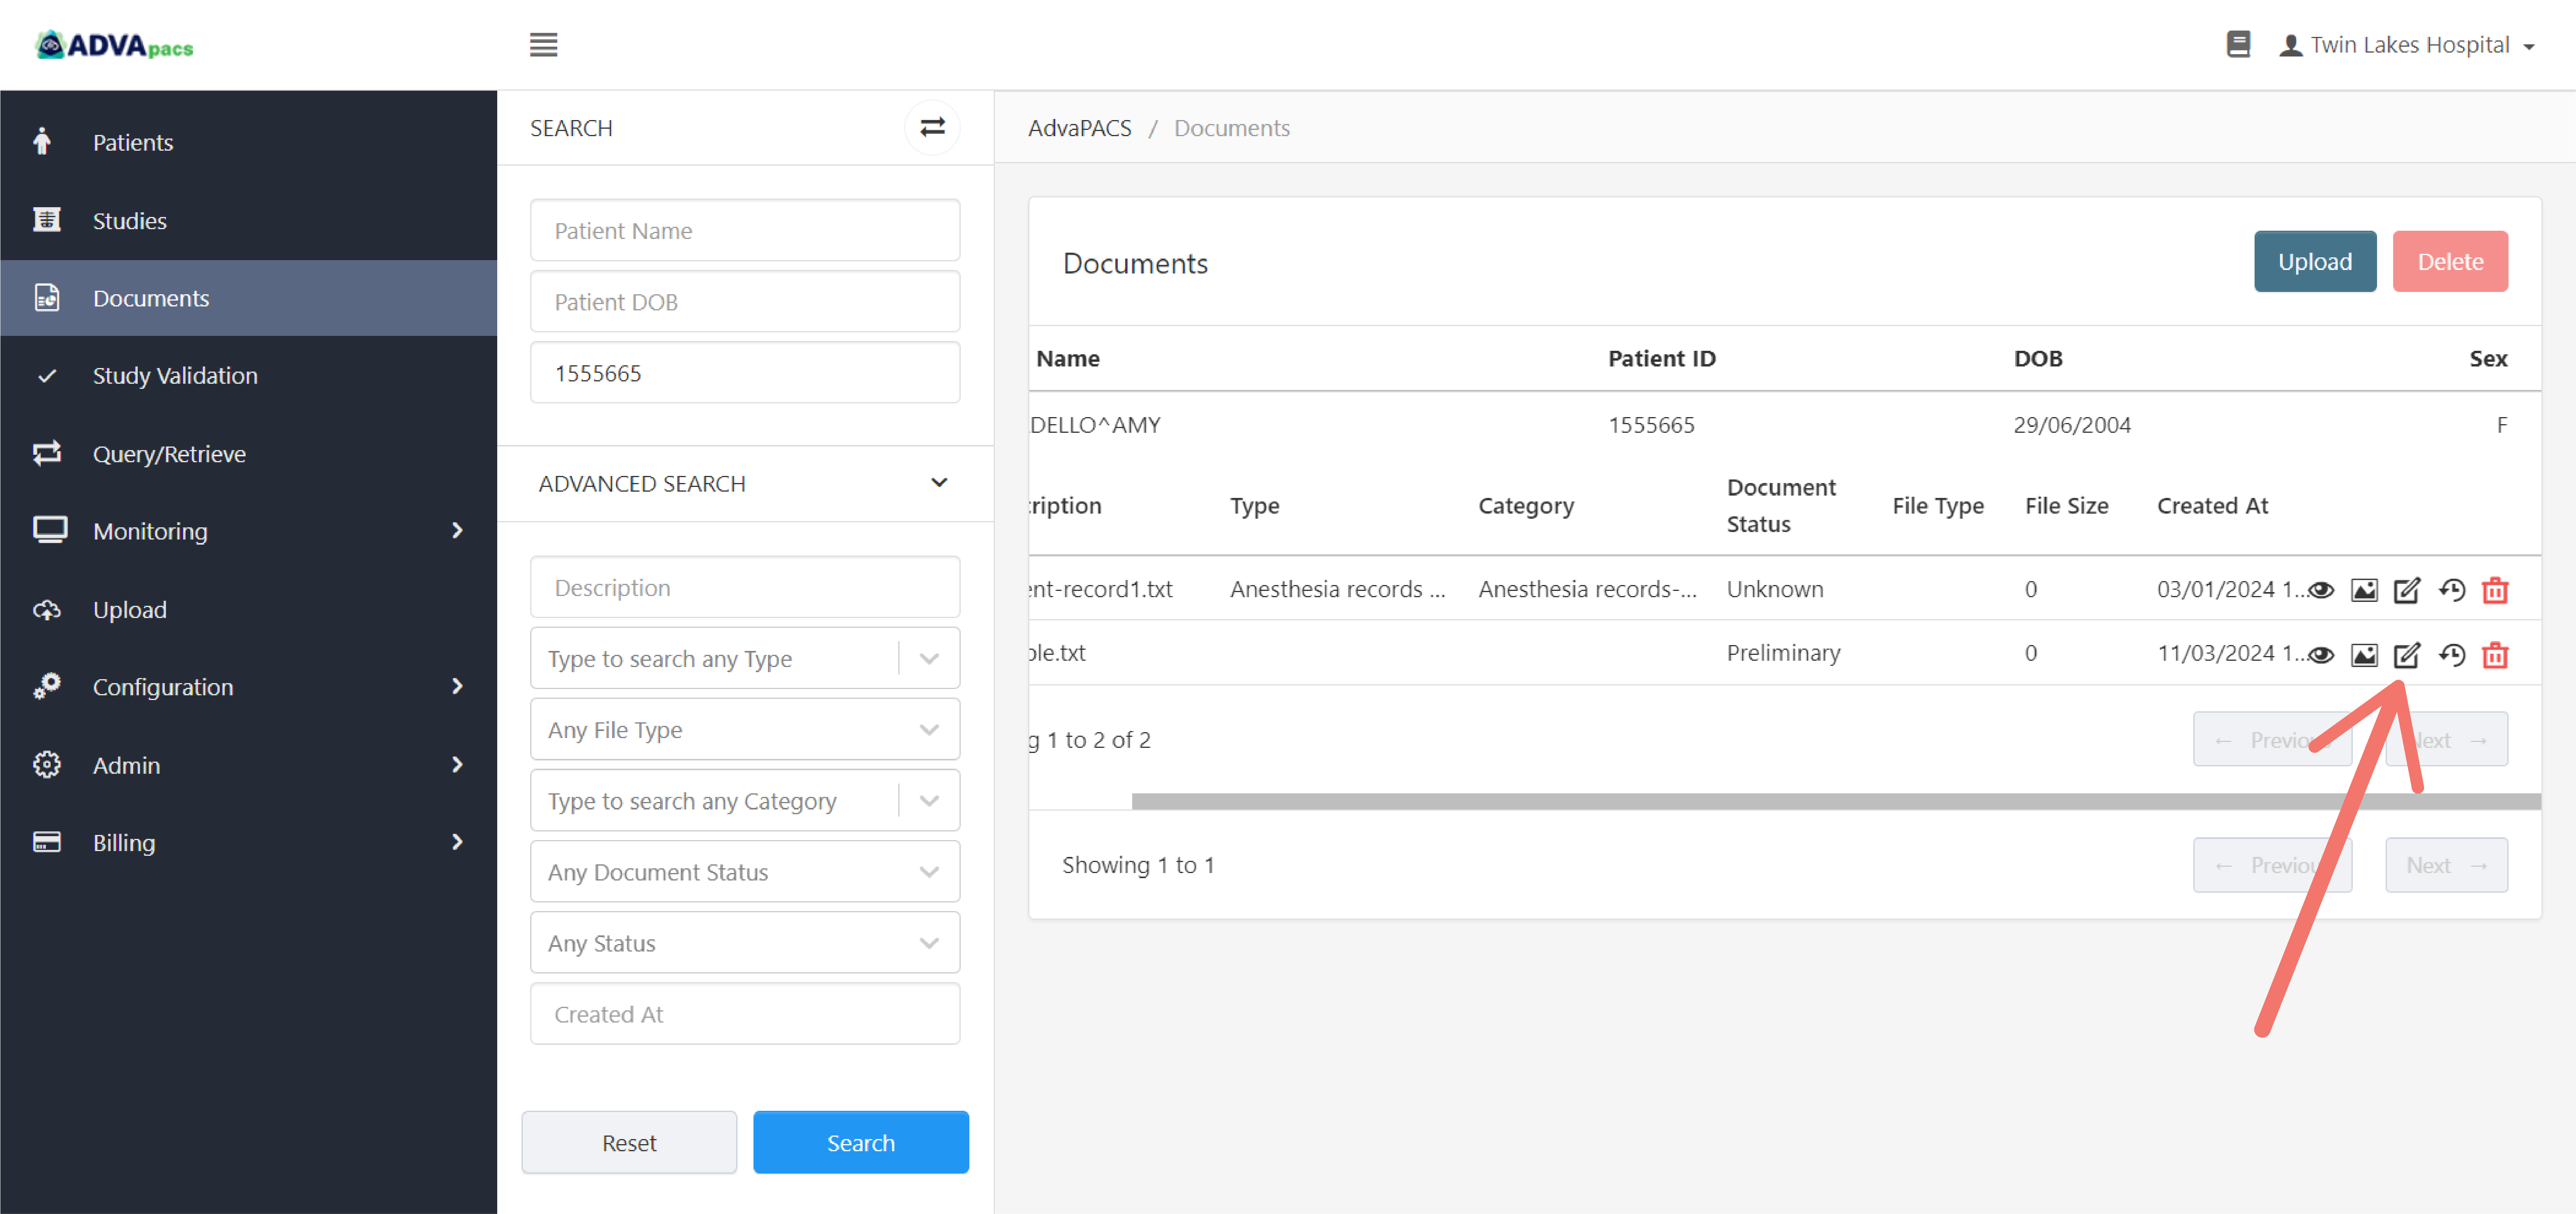
Clicking this button navigates you to the Edit Document page.
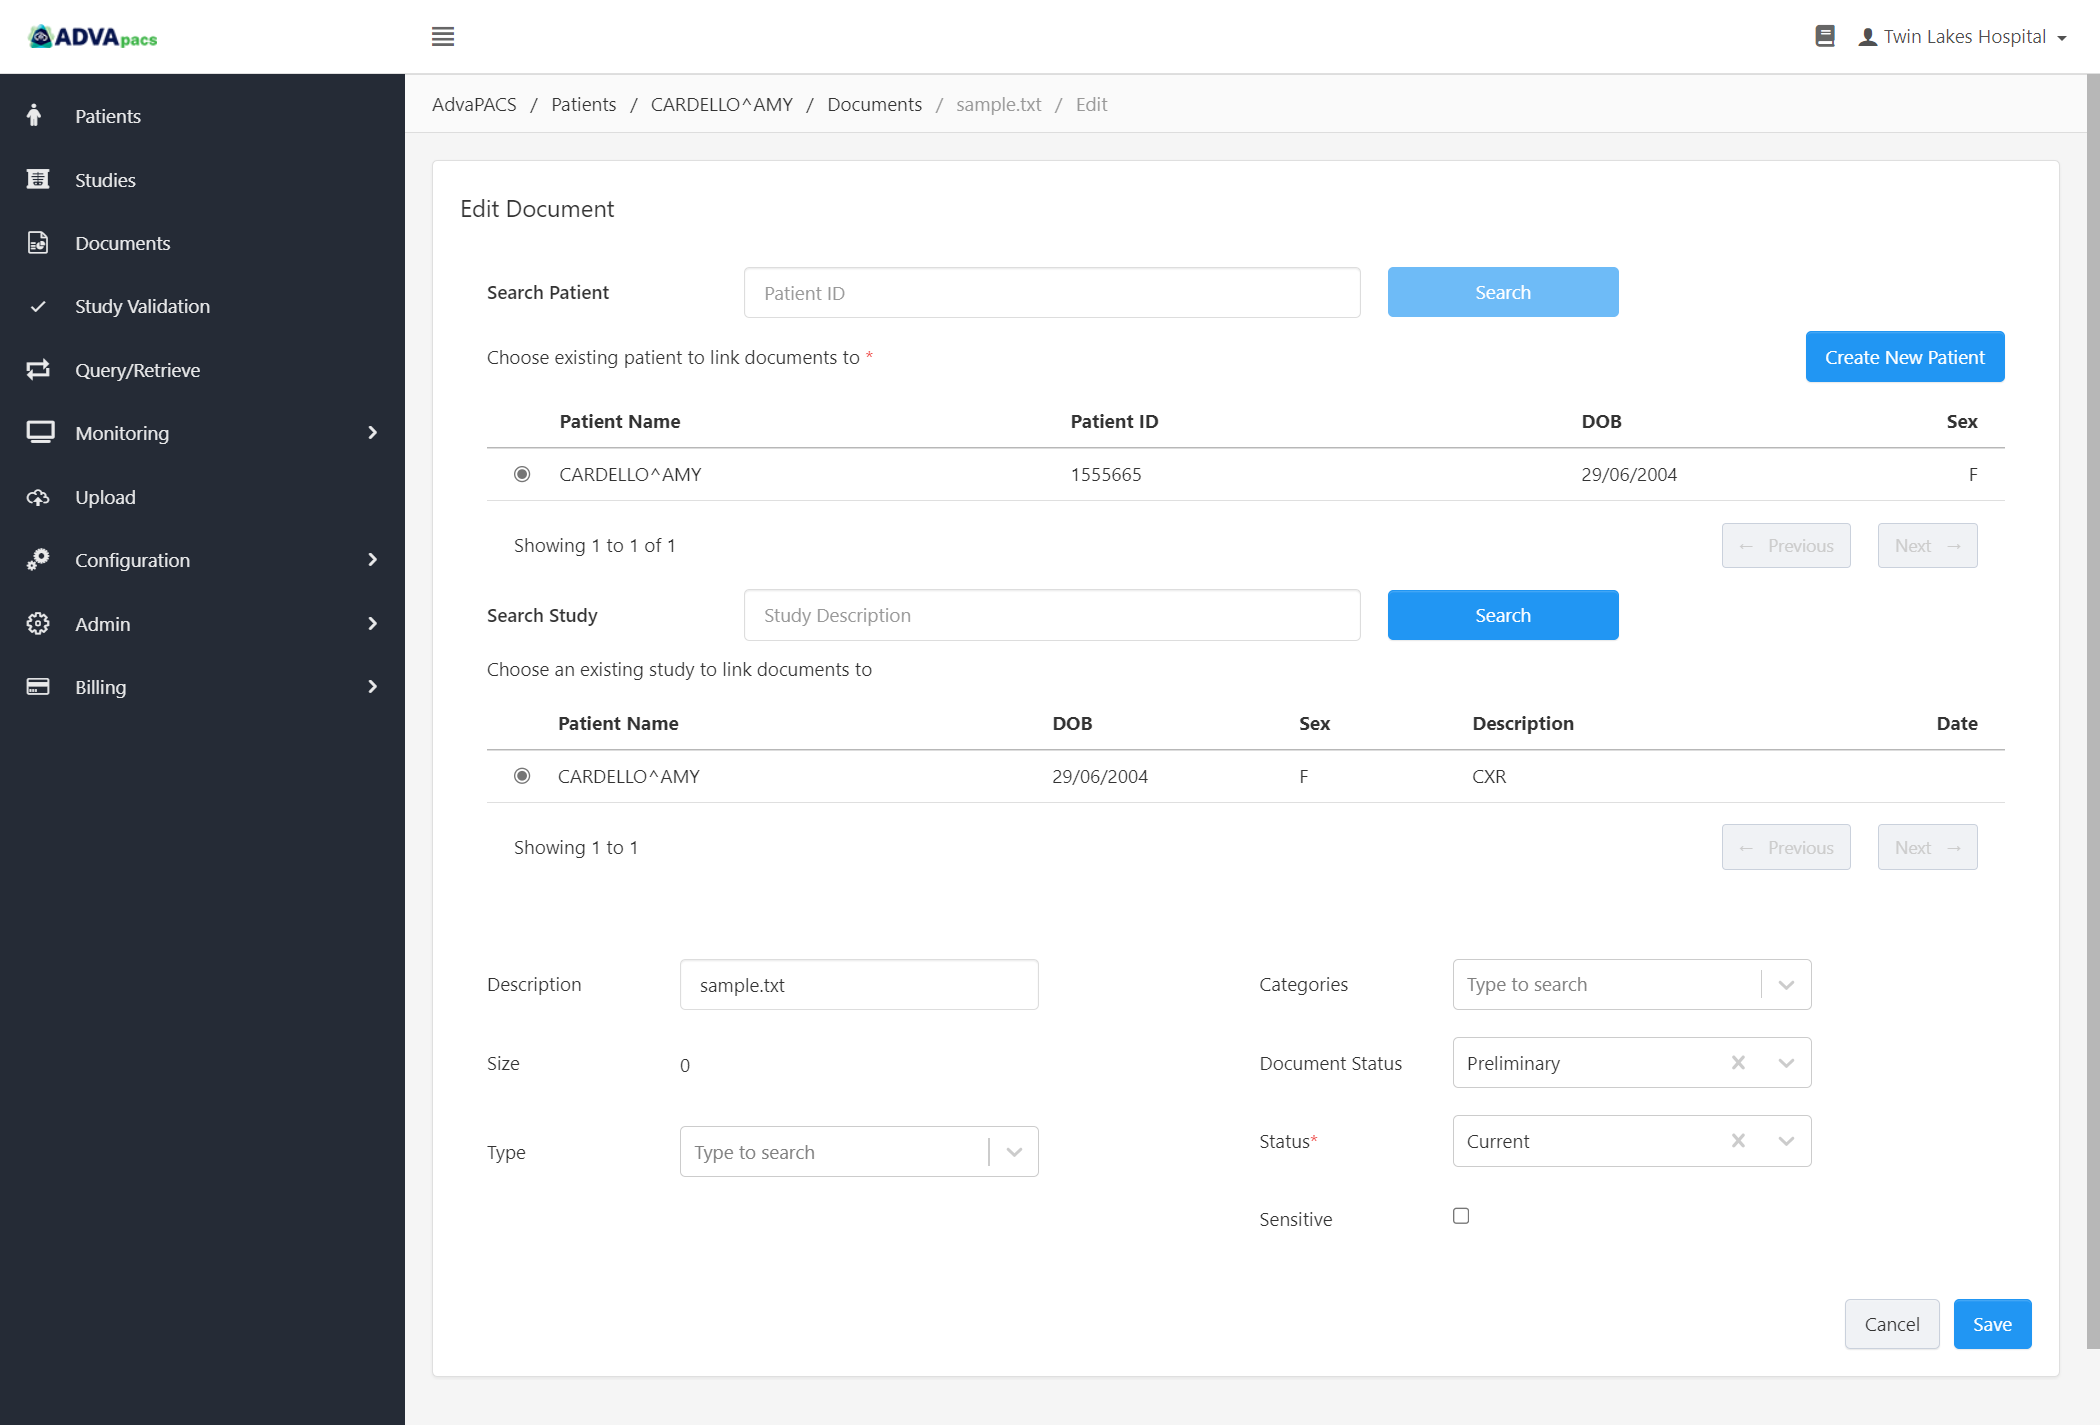
Another way to navigate to this page is to click the Edit button in the View Document Metadata page when viewing a document.
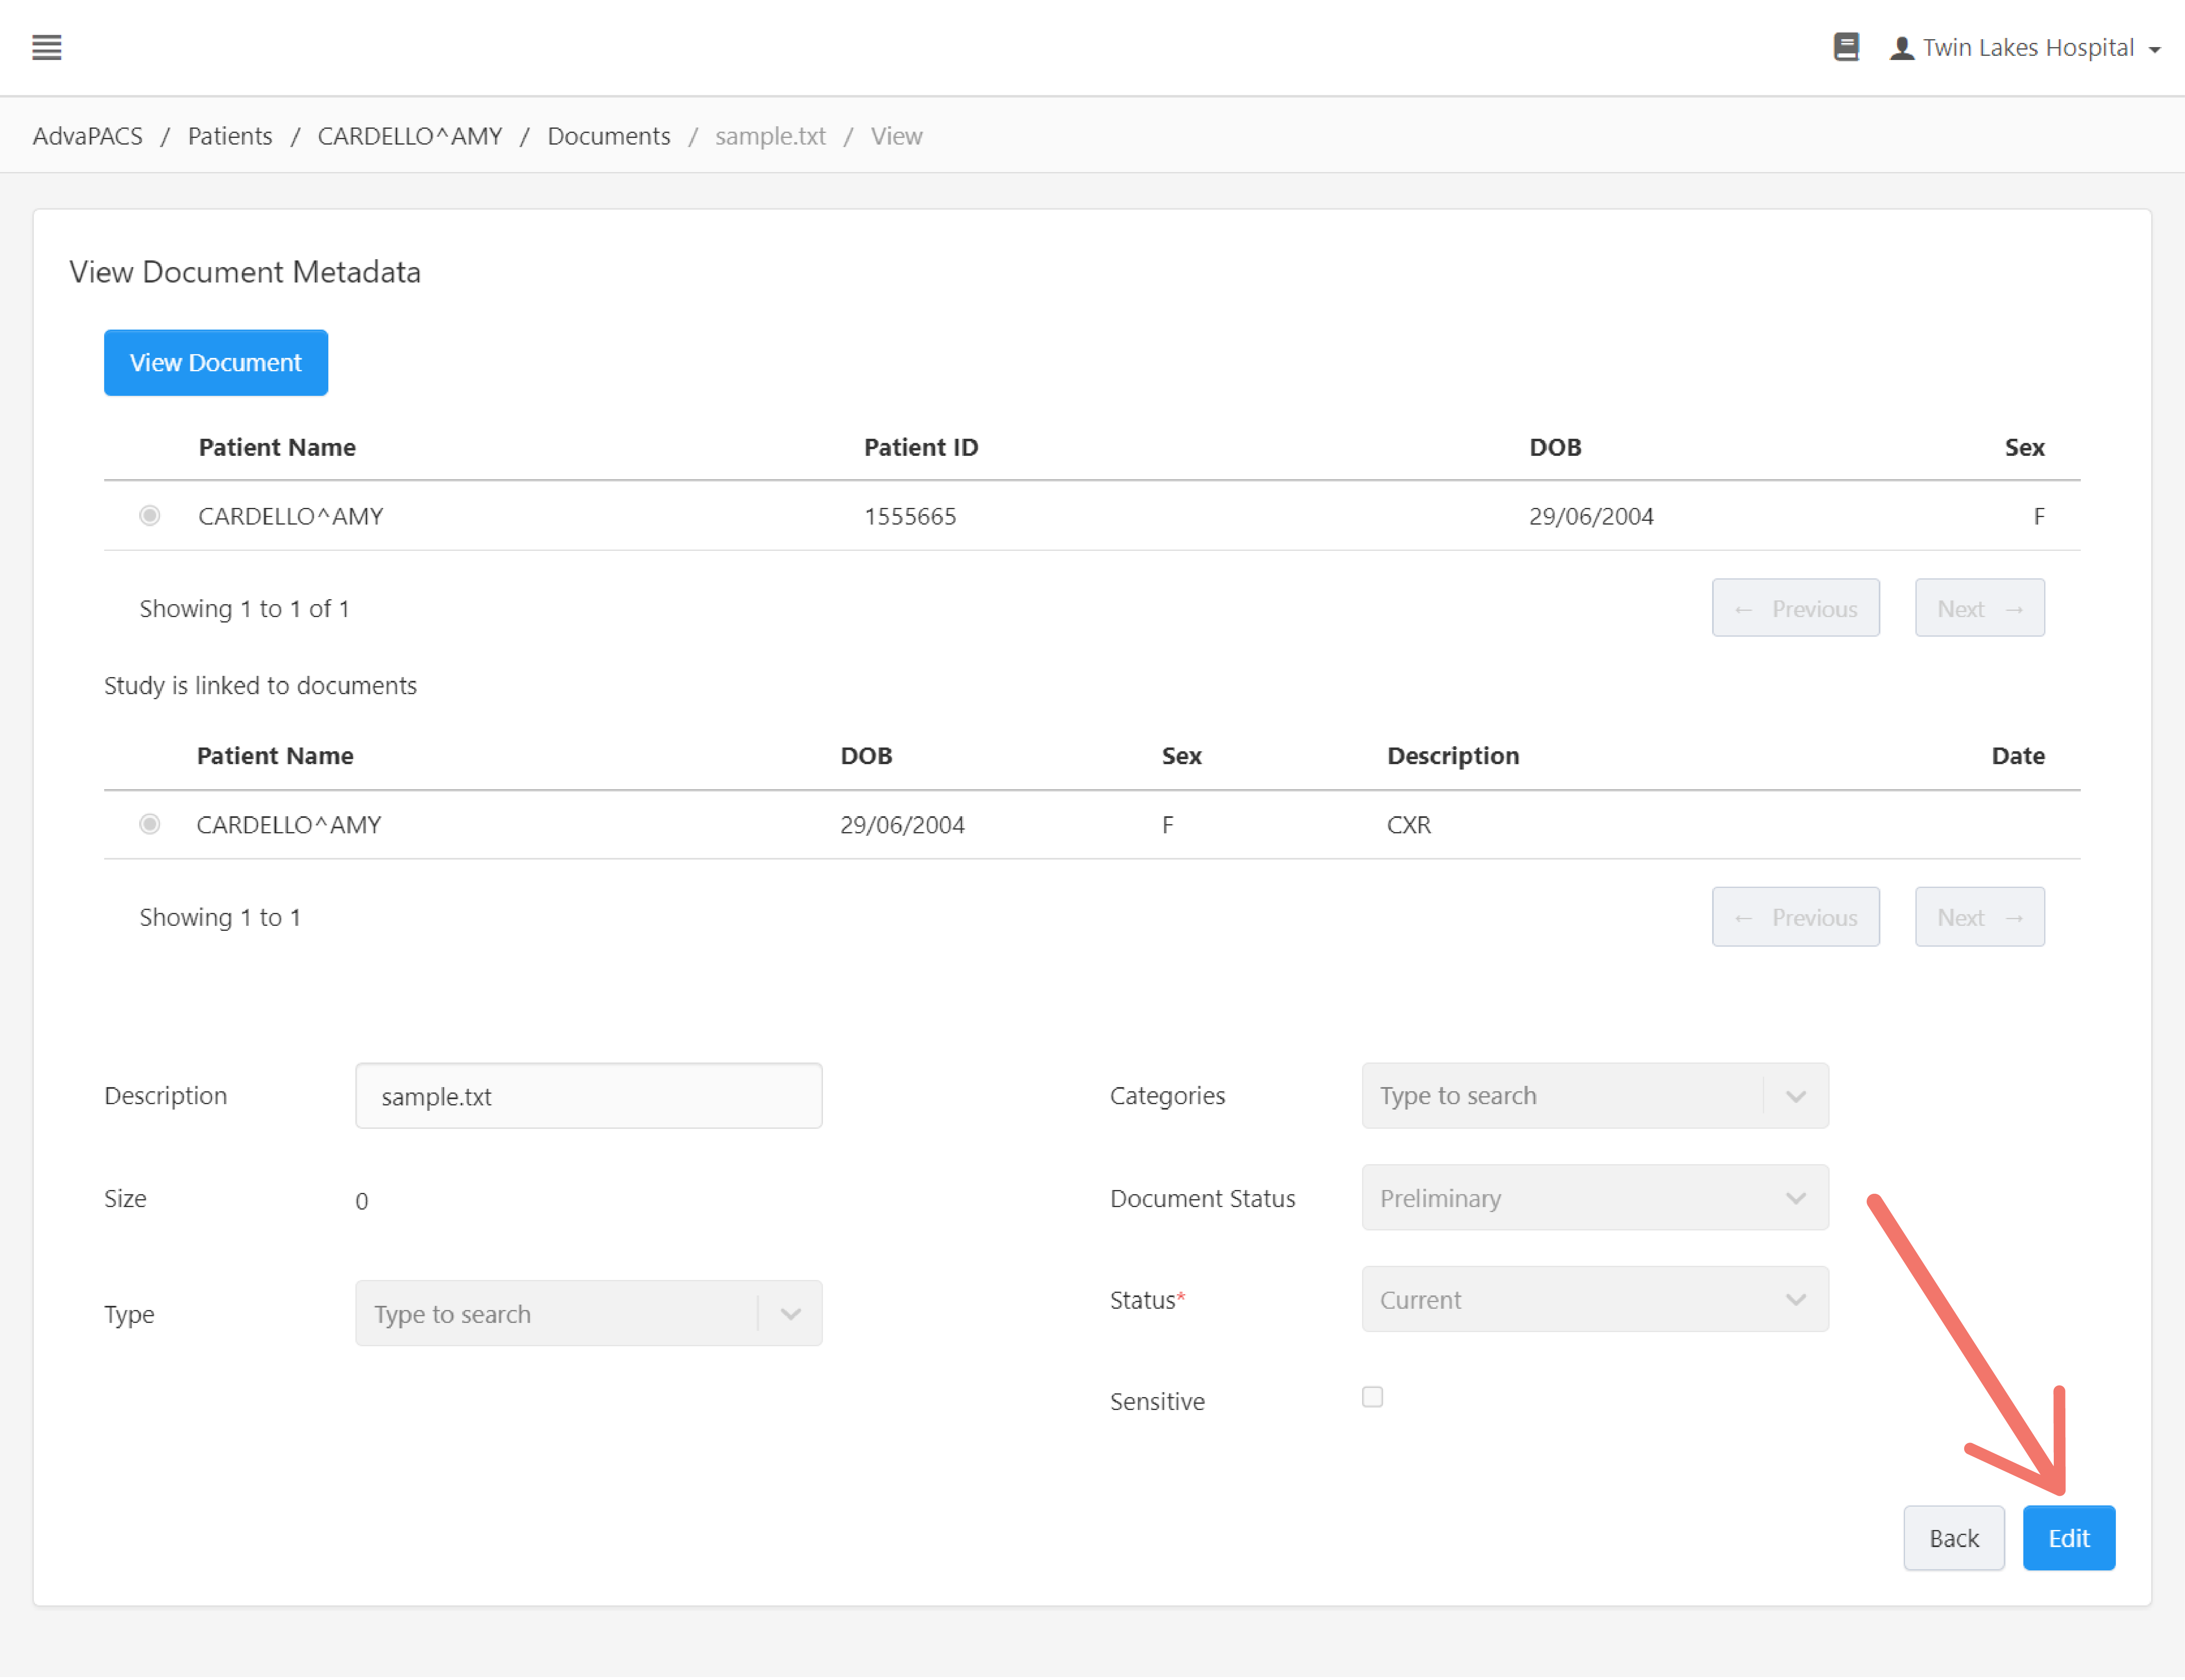
Edit Linked Patient
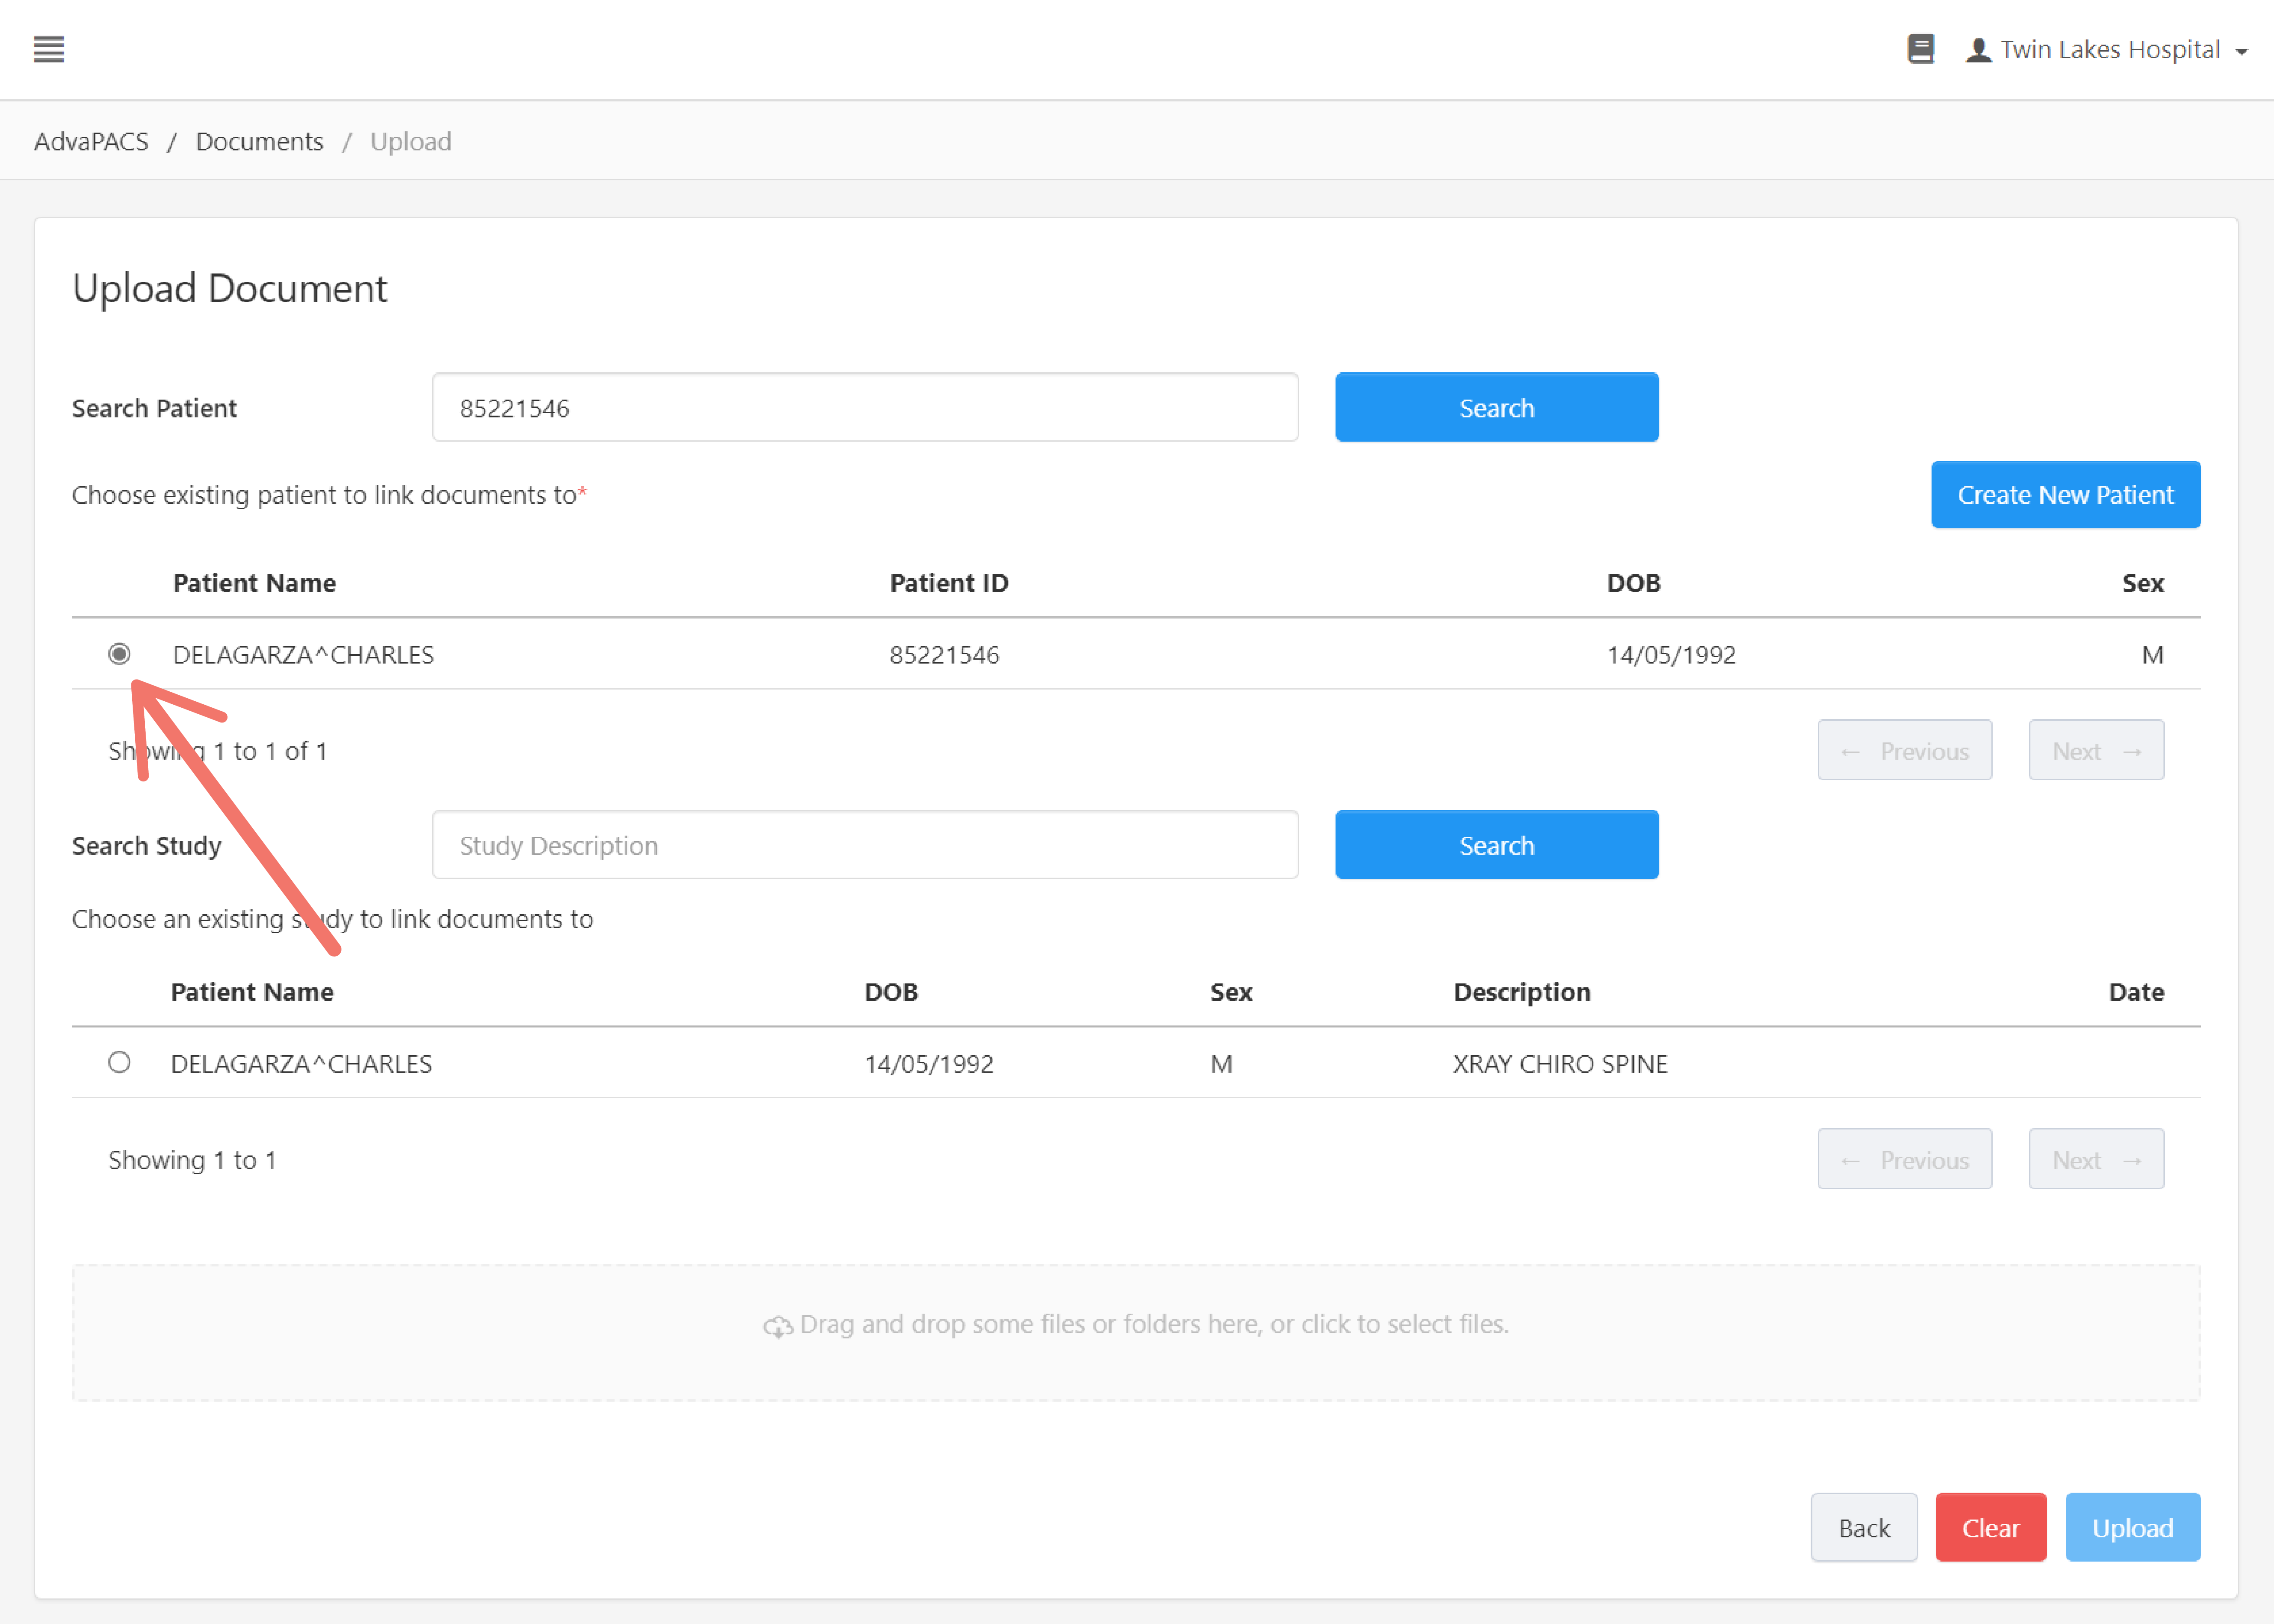
To change the document's linked patient, search for a patient using its Patient ID in the Search Patient field and click Search.
Then, select the patient from the search result.
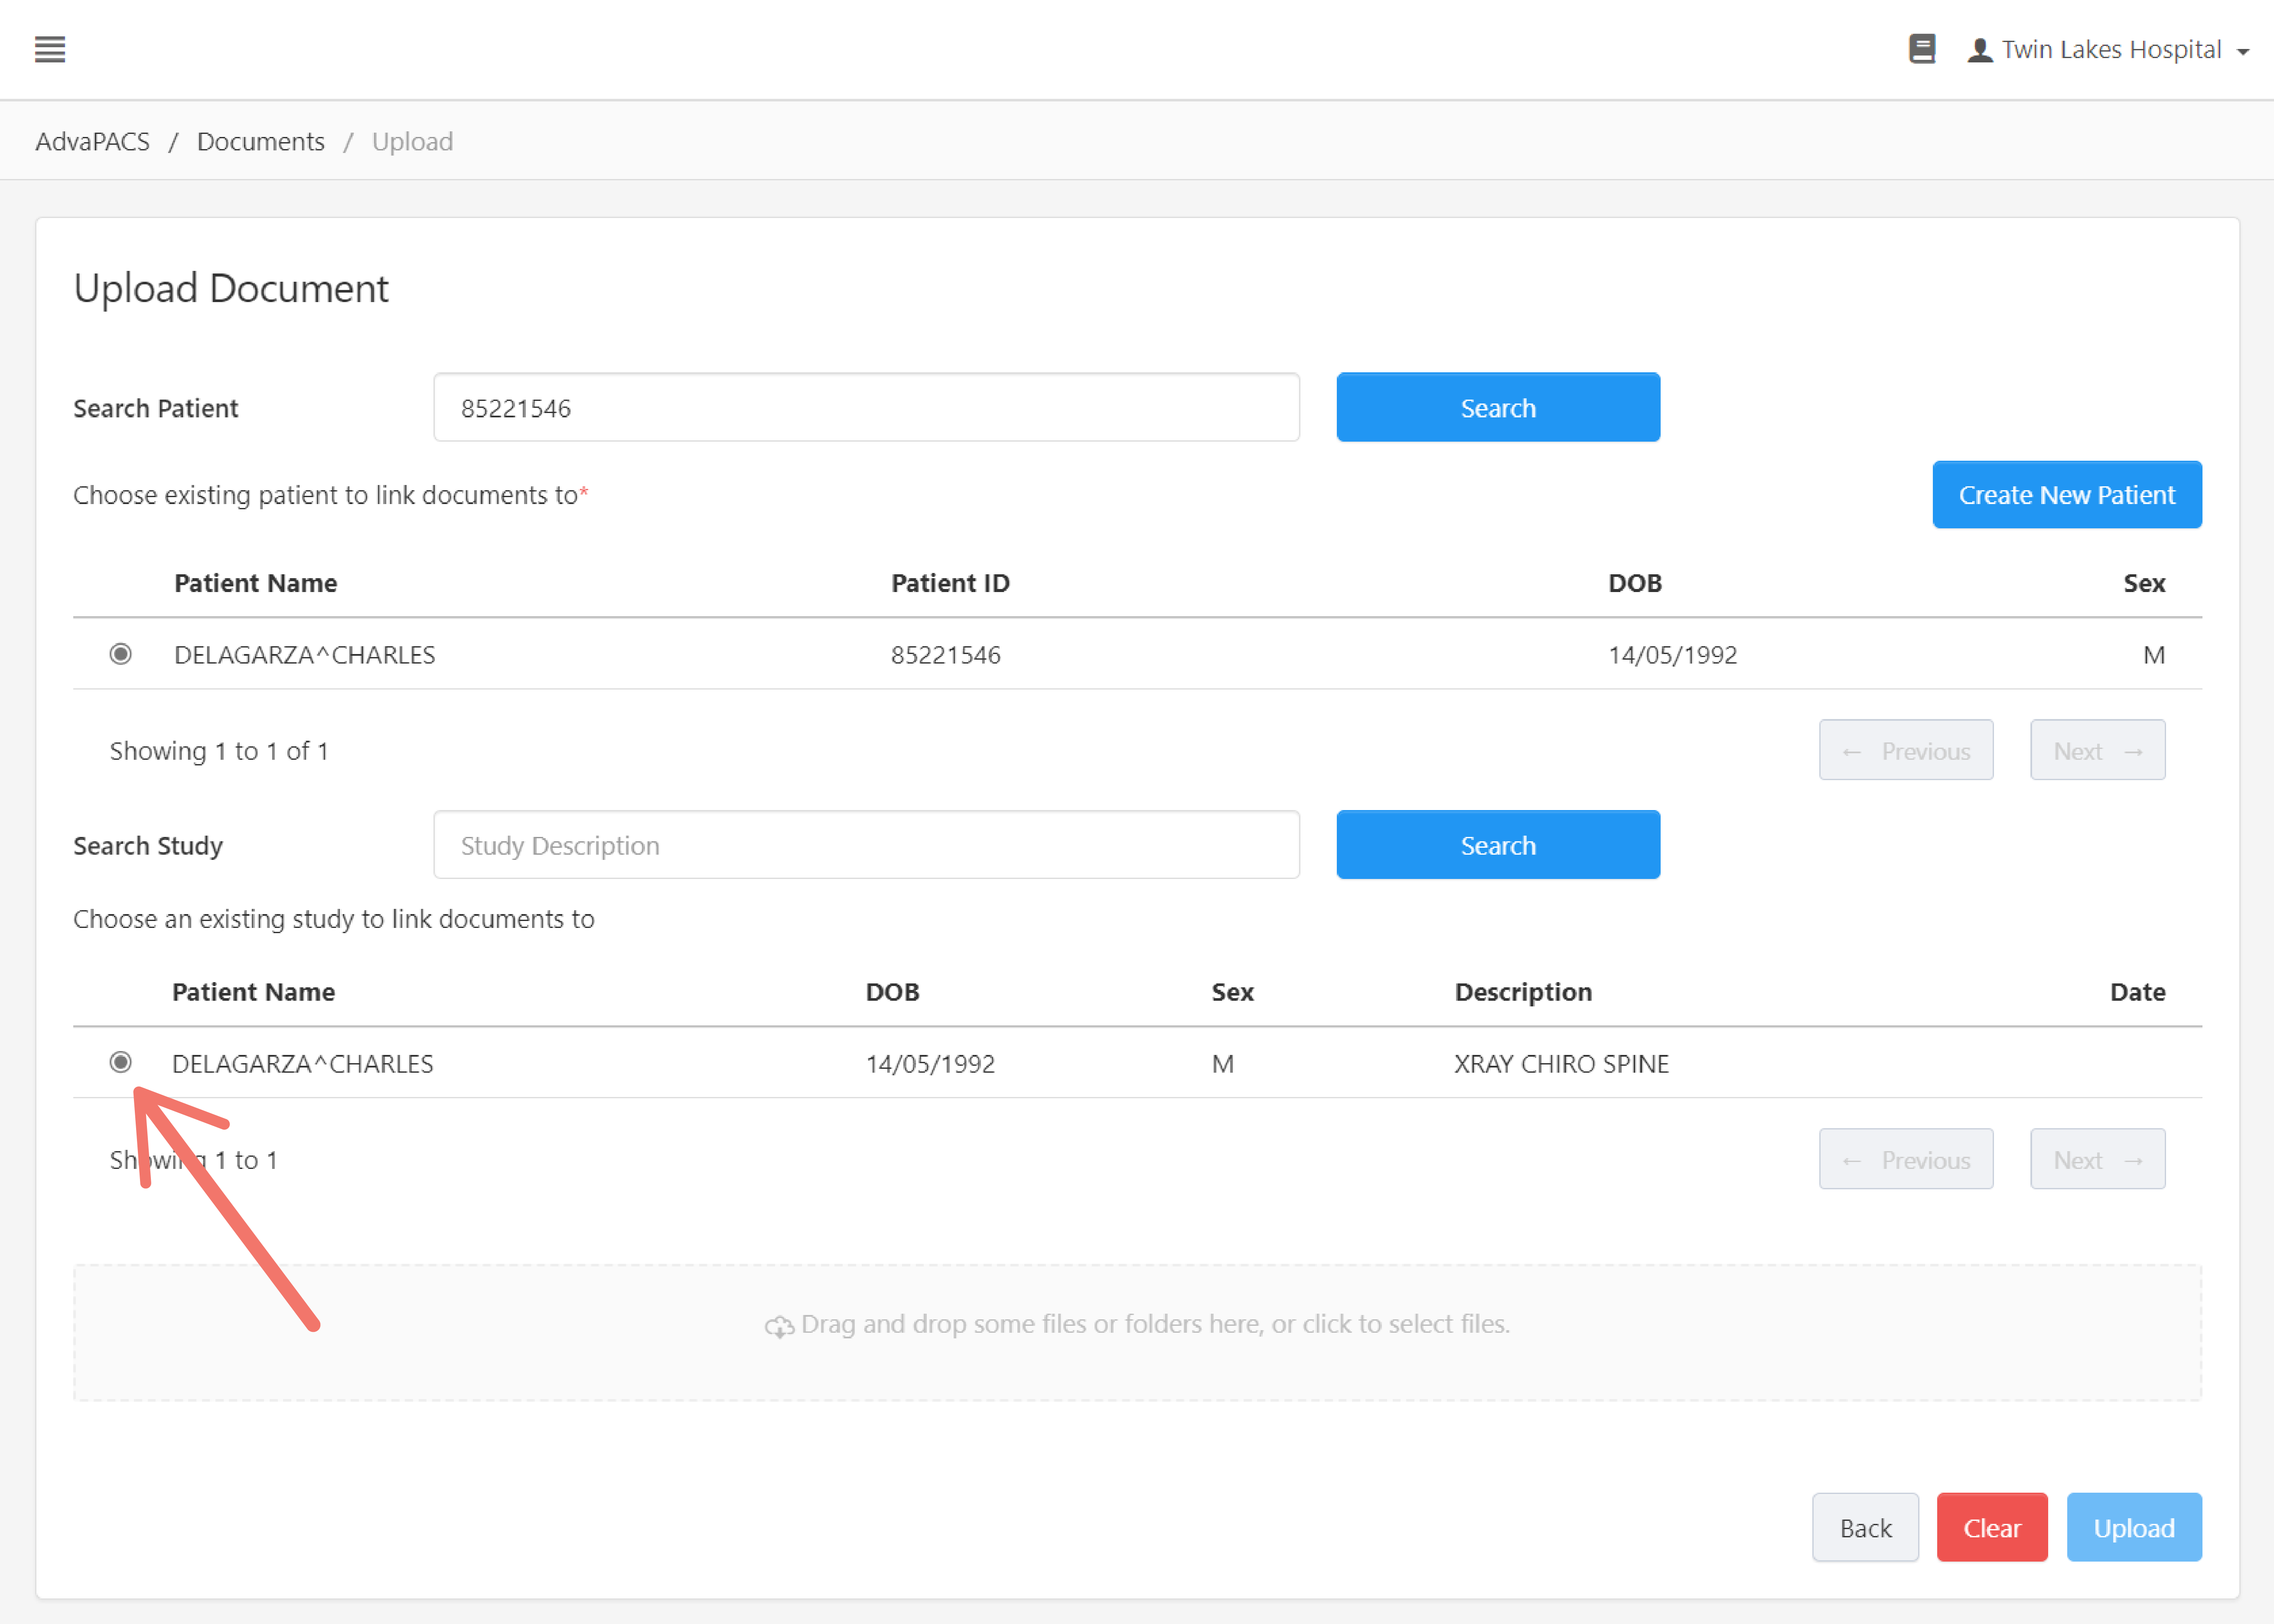
Edit Linked Study
To change the document's linked study, enter the study's description on the Search Study field and click Search. Take note that this only searches studies related to the selected patient above.
Then, select the study from the search result.
Edit Metadata
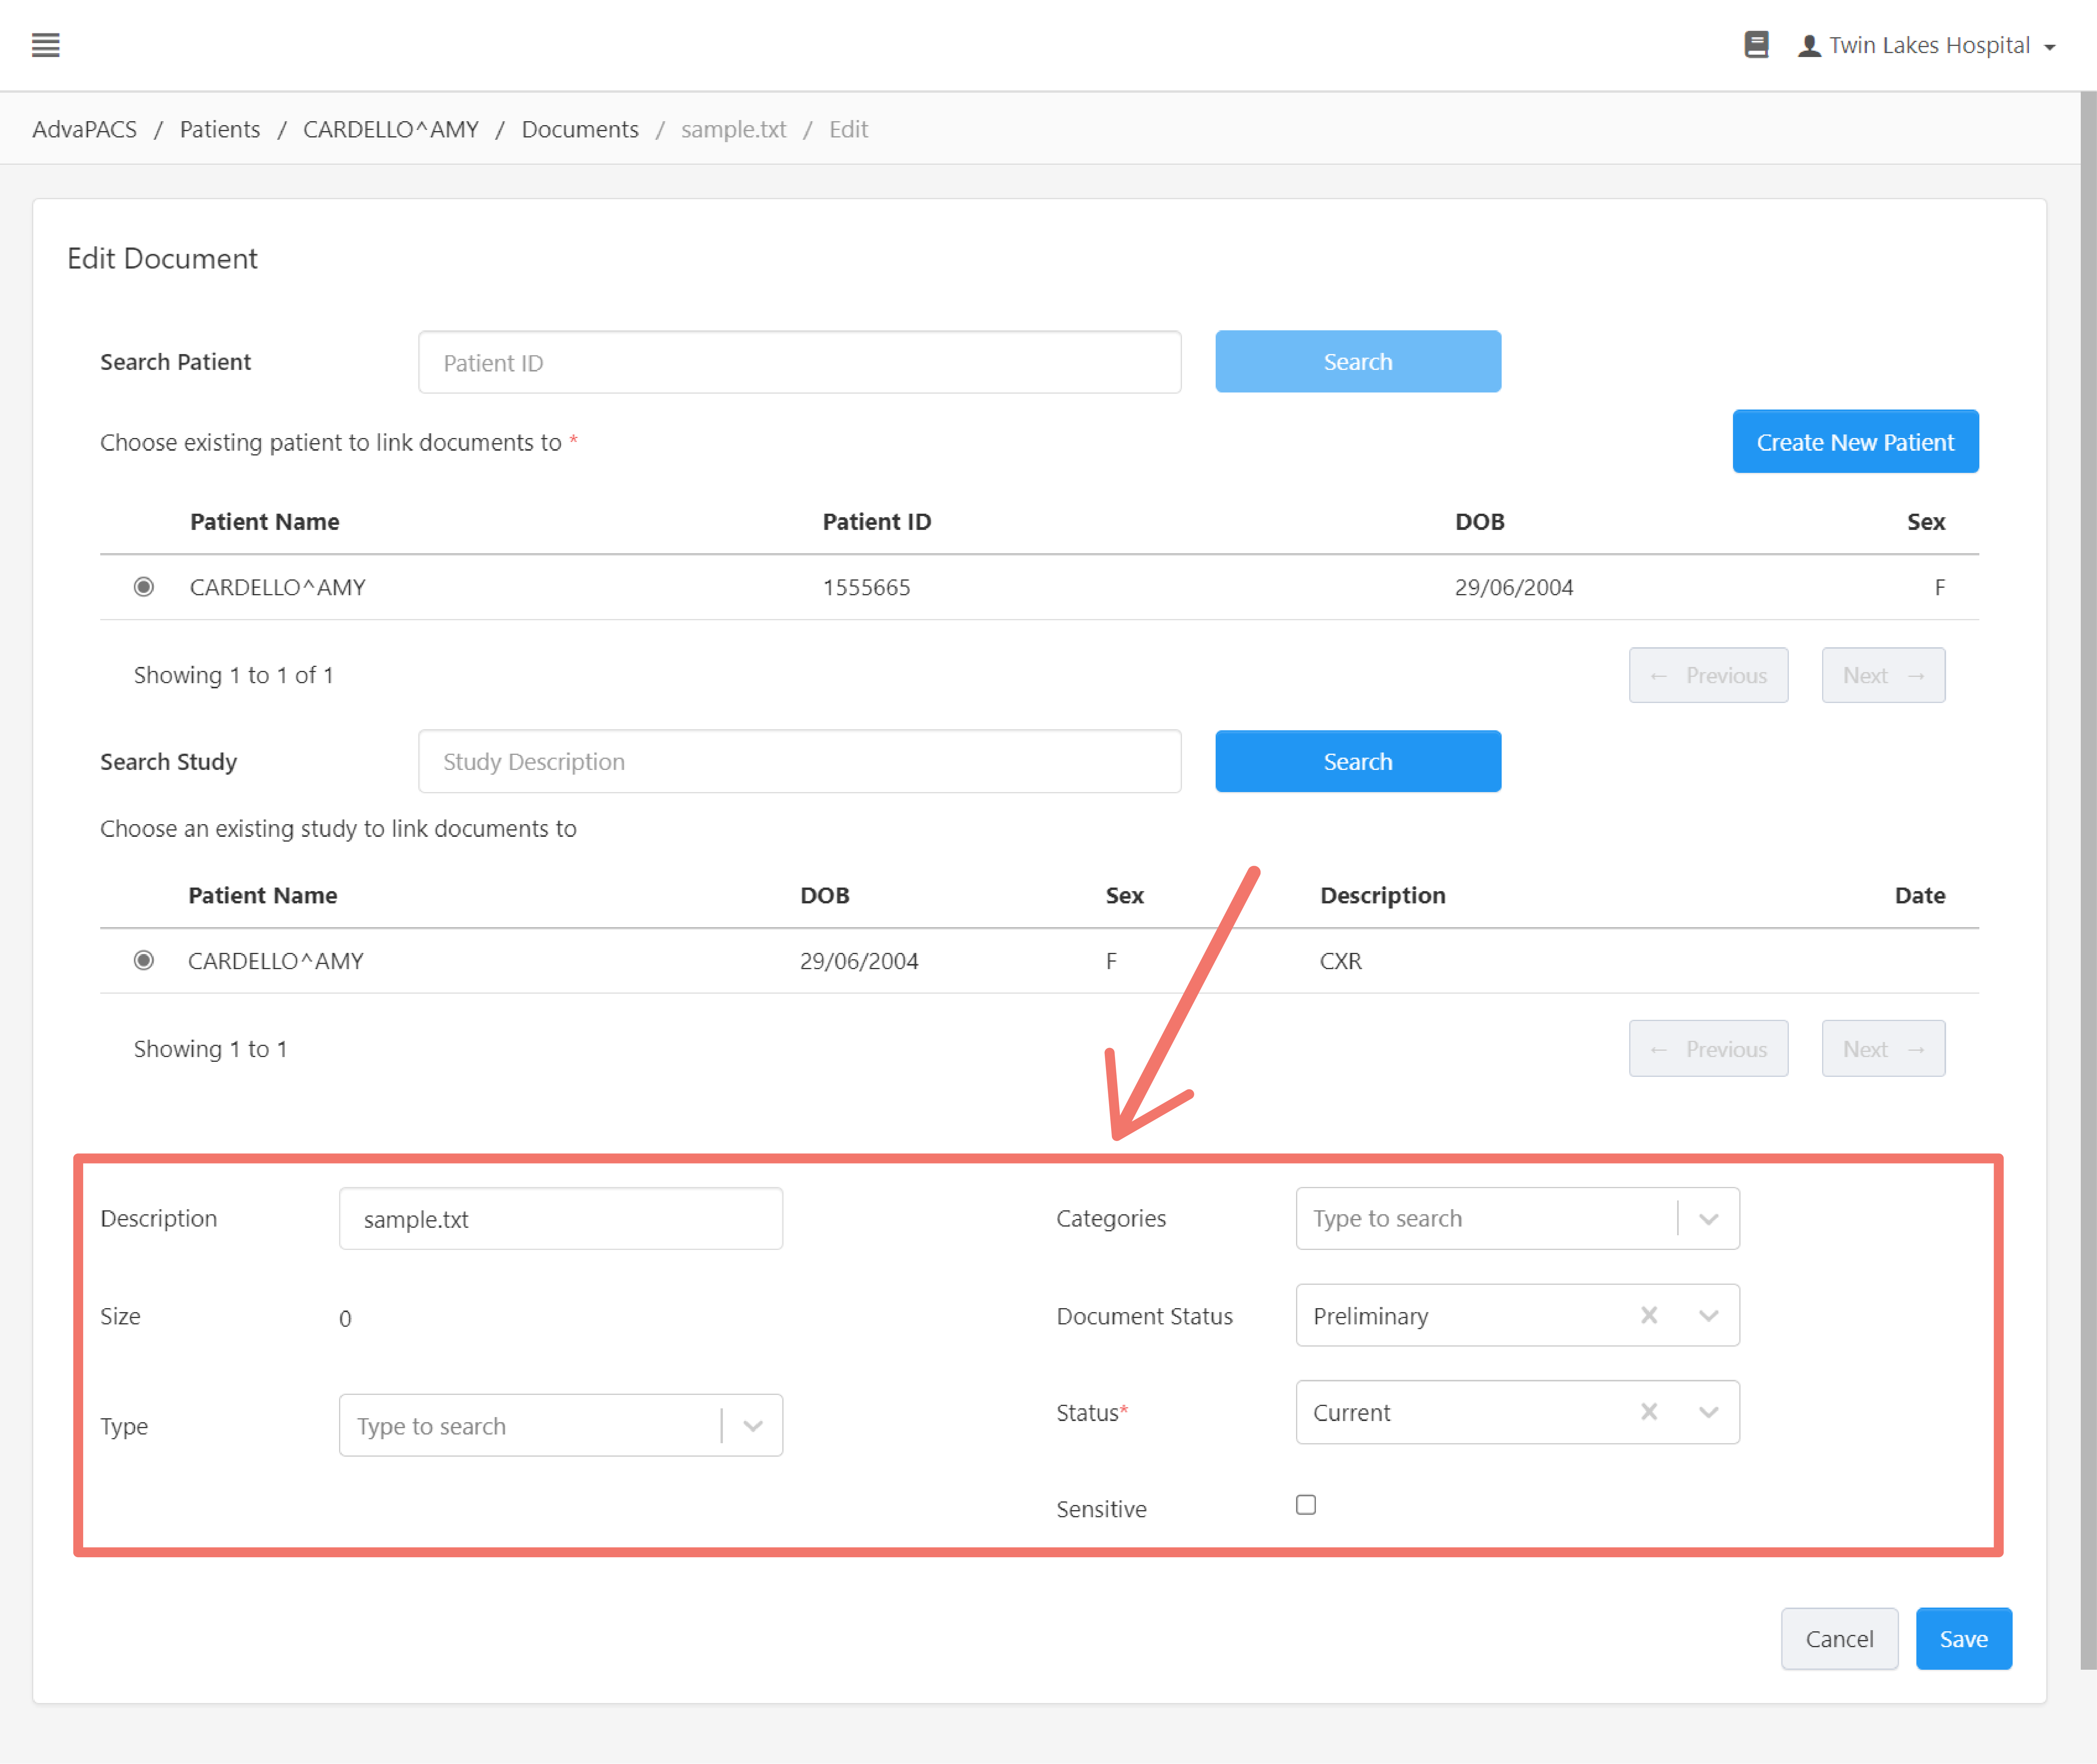
Edit a document's metadata.
The following metadata can be edited:
- File Name - Allows you to modify the document's name.
- Type - Search and select a LOINC Code.
- Categories - Search and select multiple LOINC Code.
- Document Status - Select the document's status.
- Status - Select the document's status.
- Sensitive - Tag the document as sensitive. This prevents unauthorized users to access the document.
Upload Document
Upload document to a study.
There are two ways to upload documents: you can upload from here, the Documents page, or directly upload to a specific study from the Studies page.
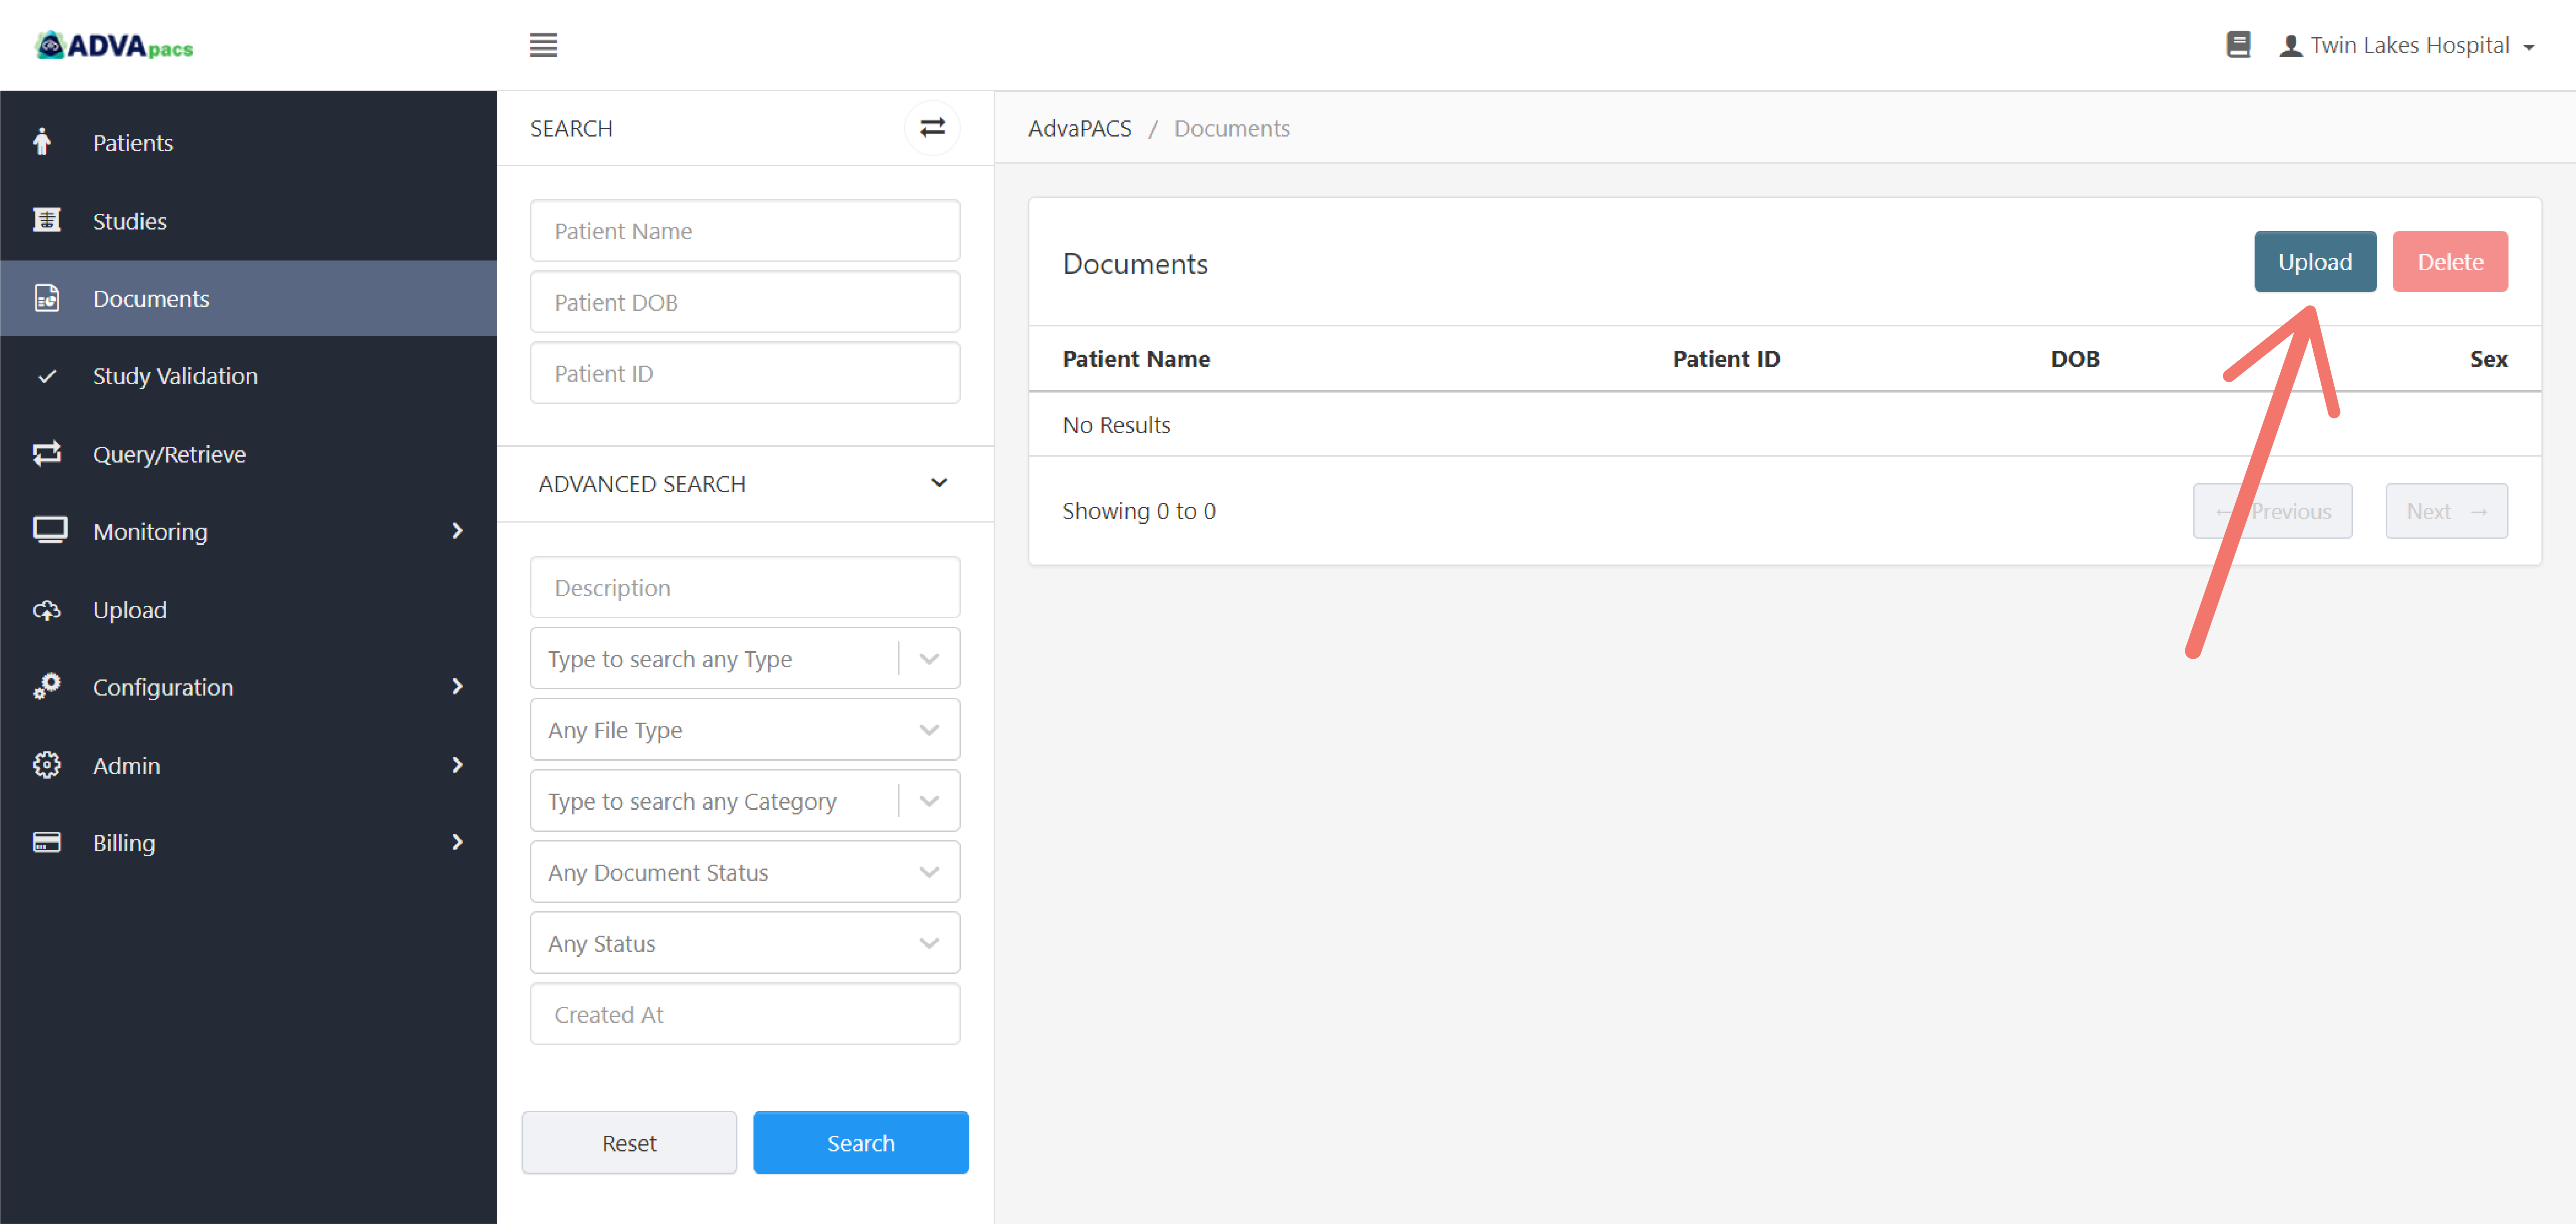
To upload documents from the Documents page, click on the Upload button to navigate to the Upload Document page.
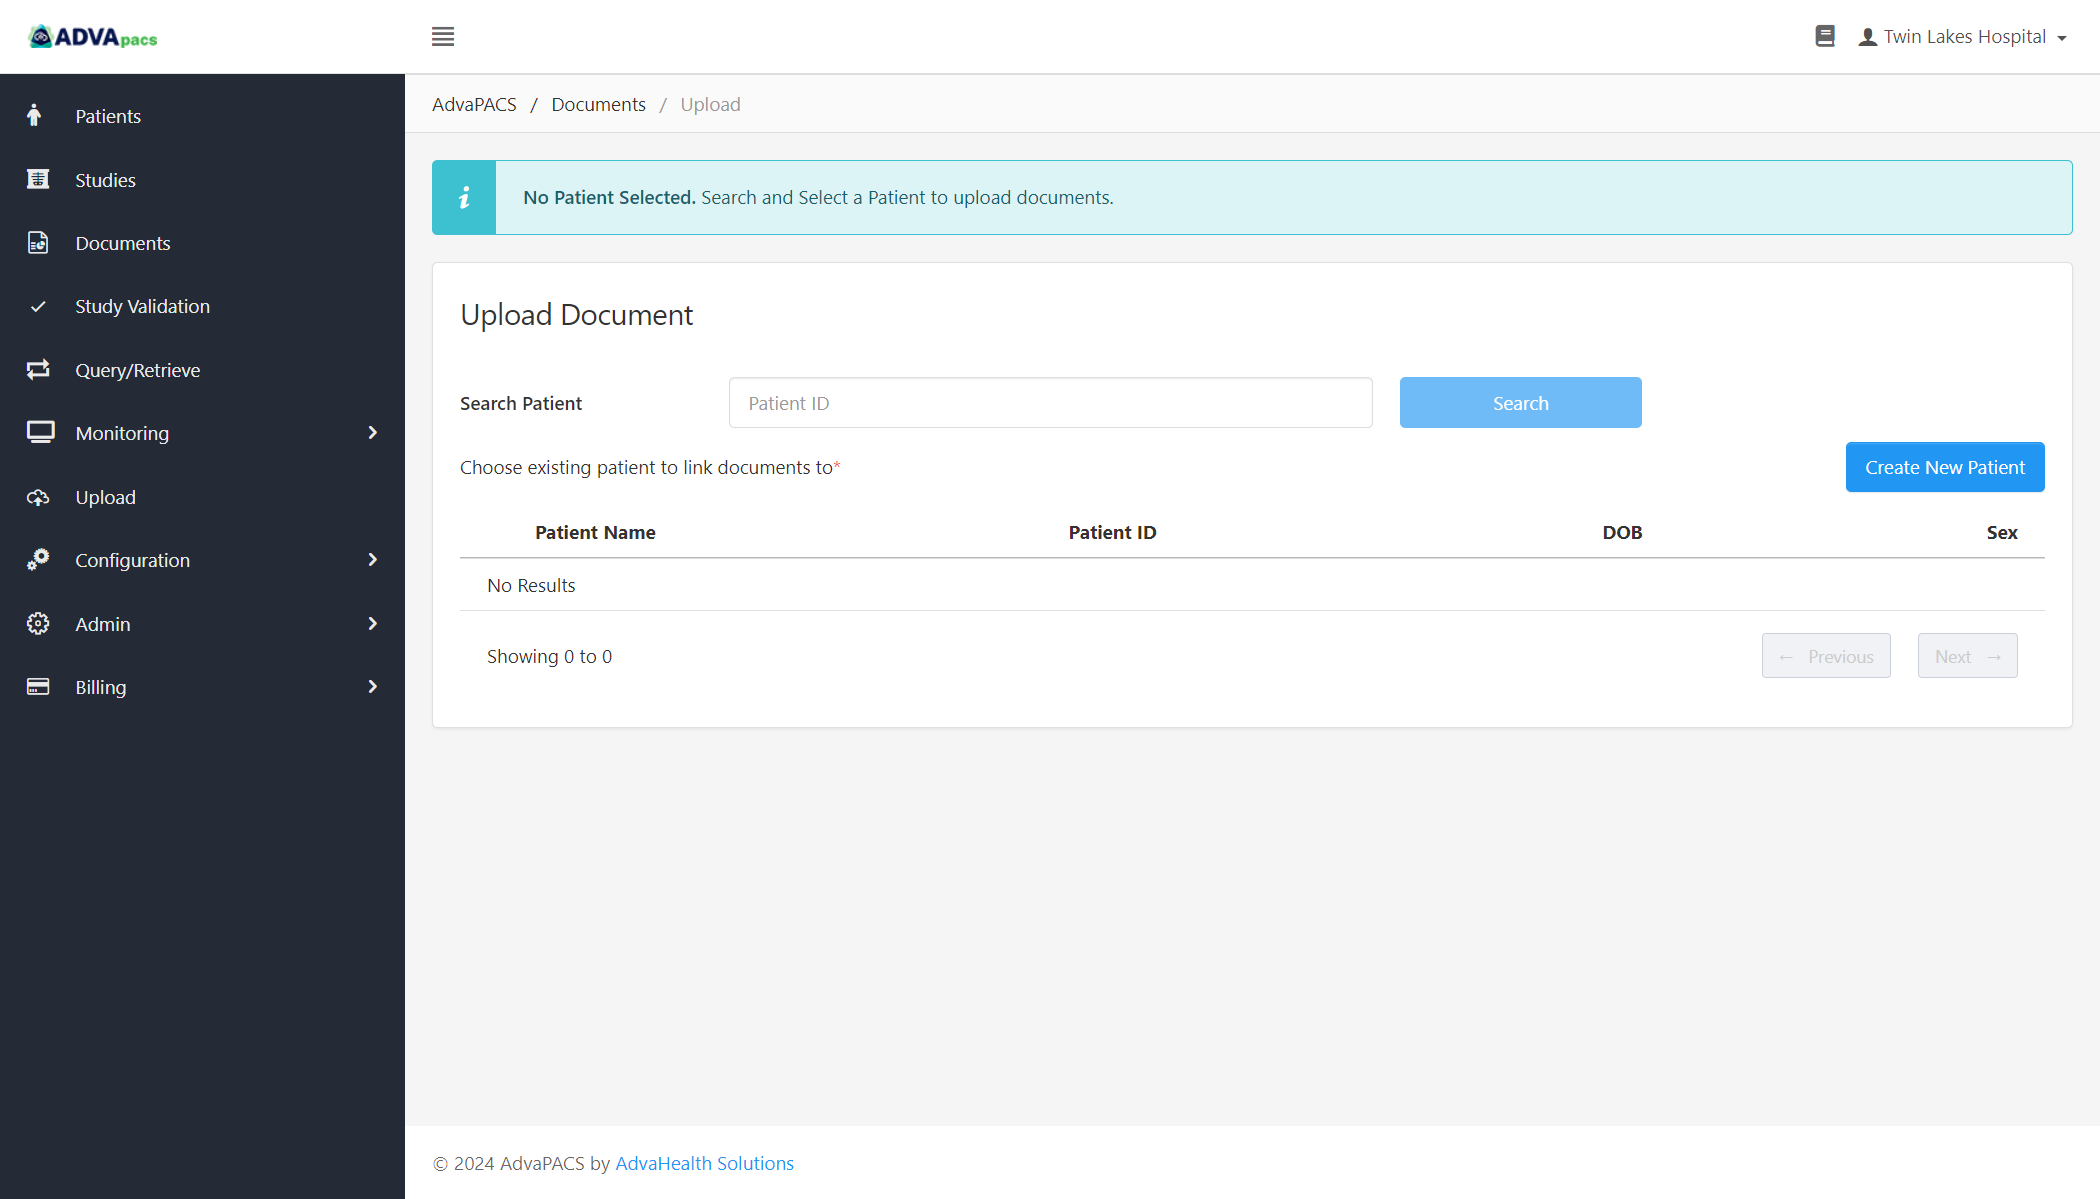
On this page, search for and select a patient and a study to link the document to.
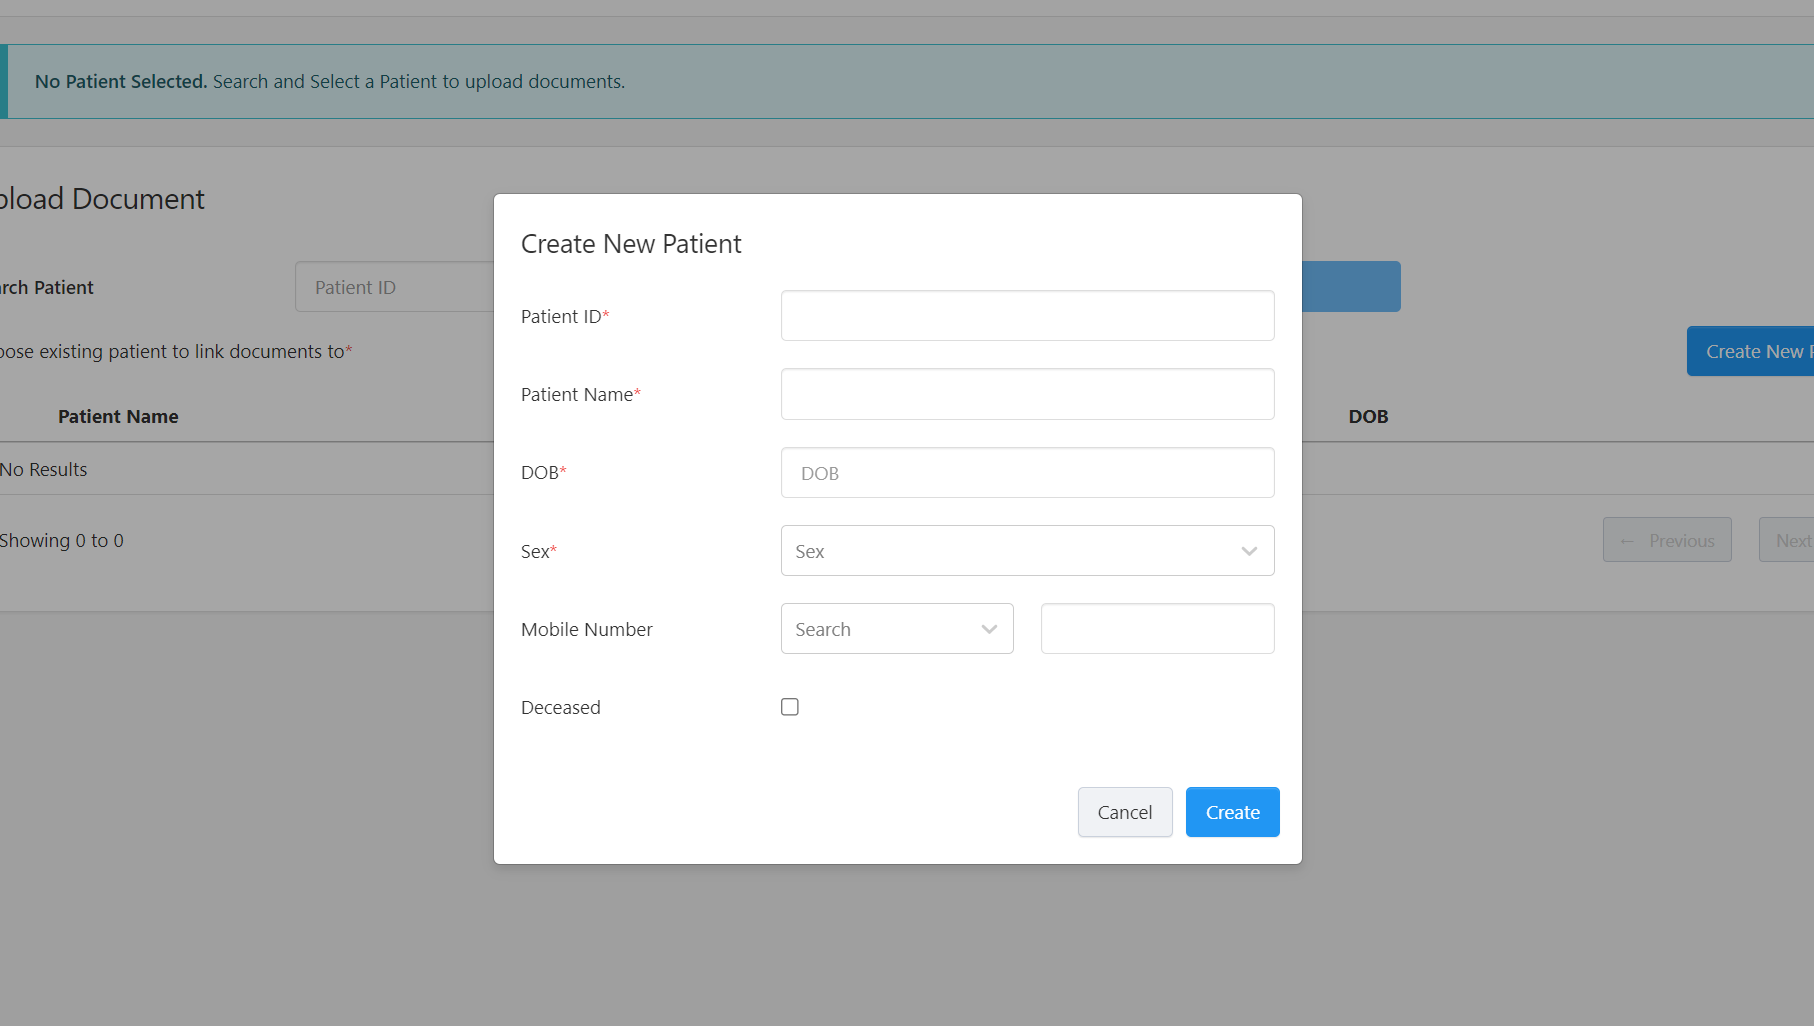
If there is no existing patient record, click the Create New Patient button to create one.
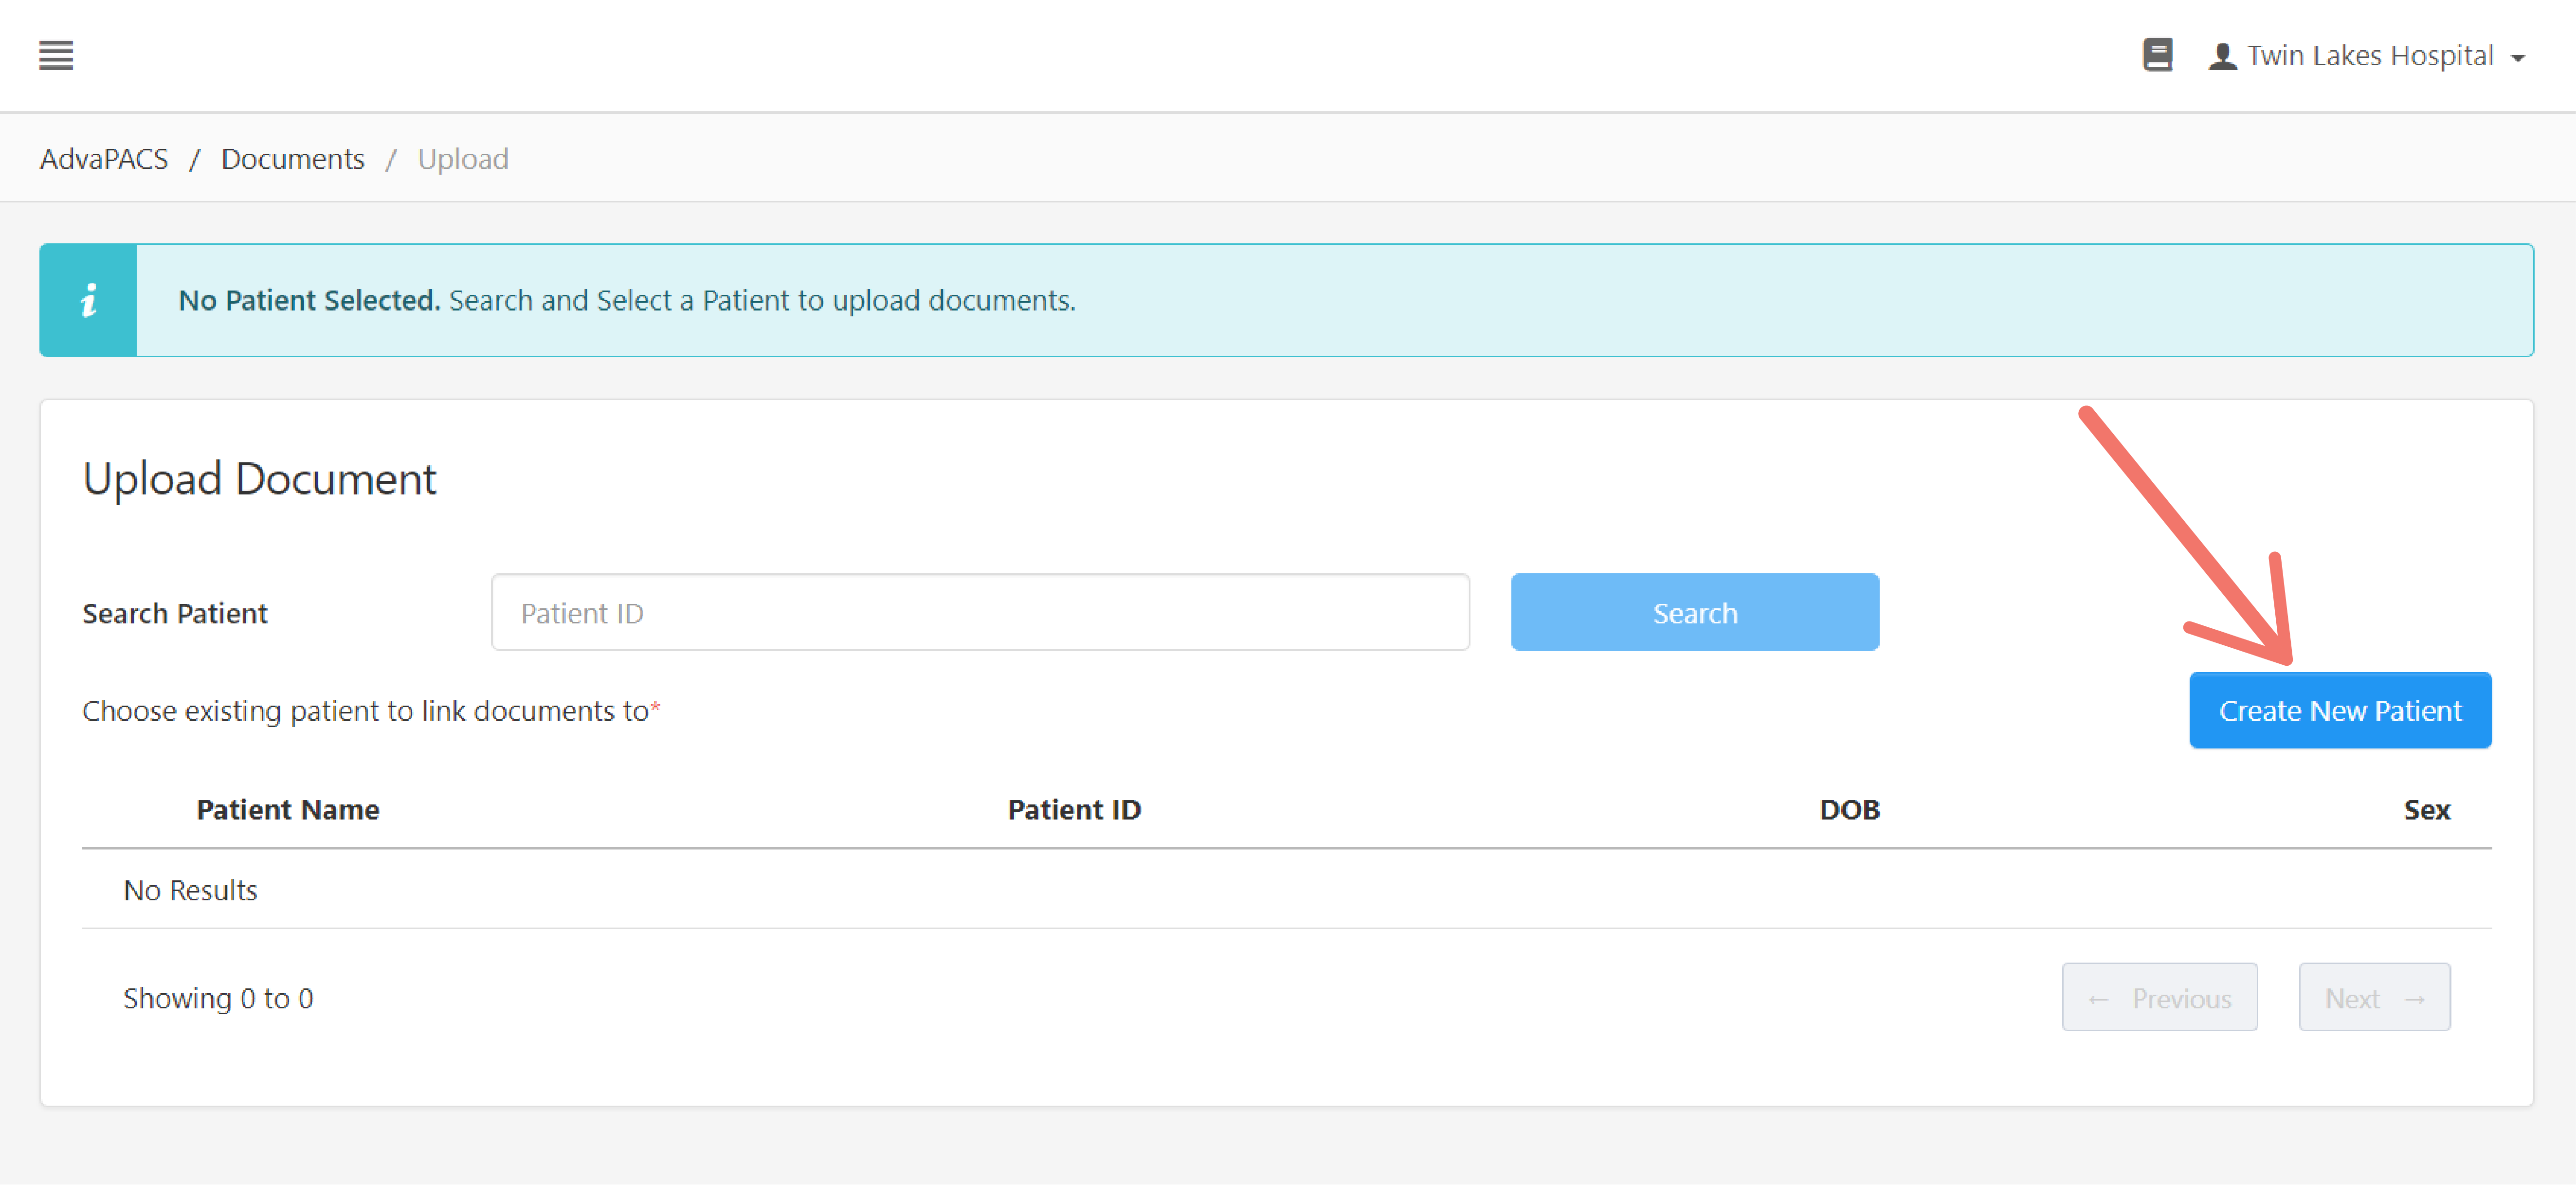
Enter the patient's details, and click Create.
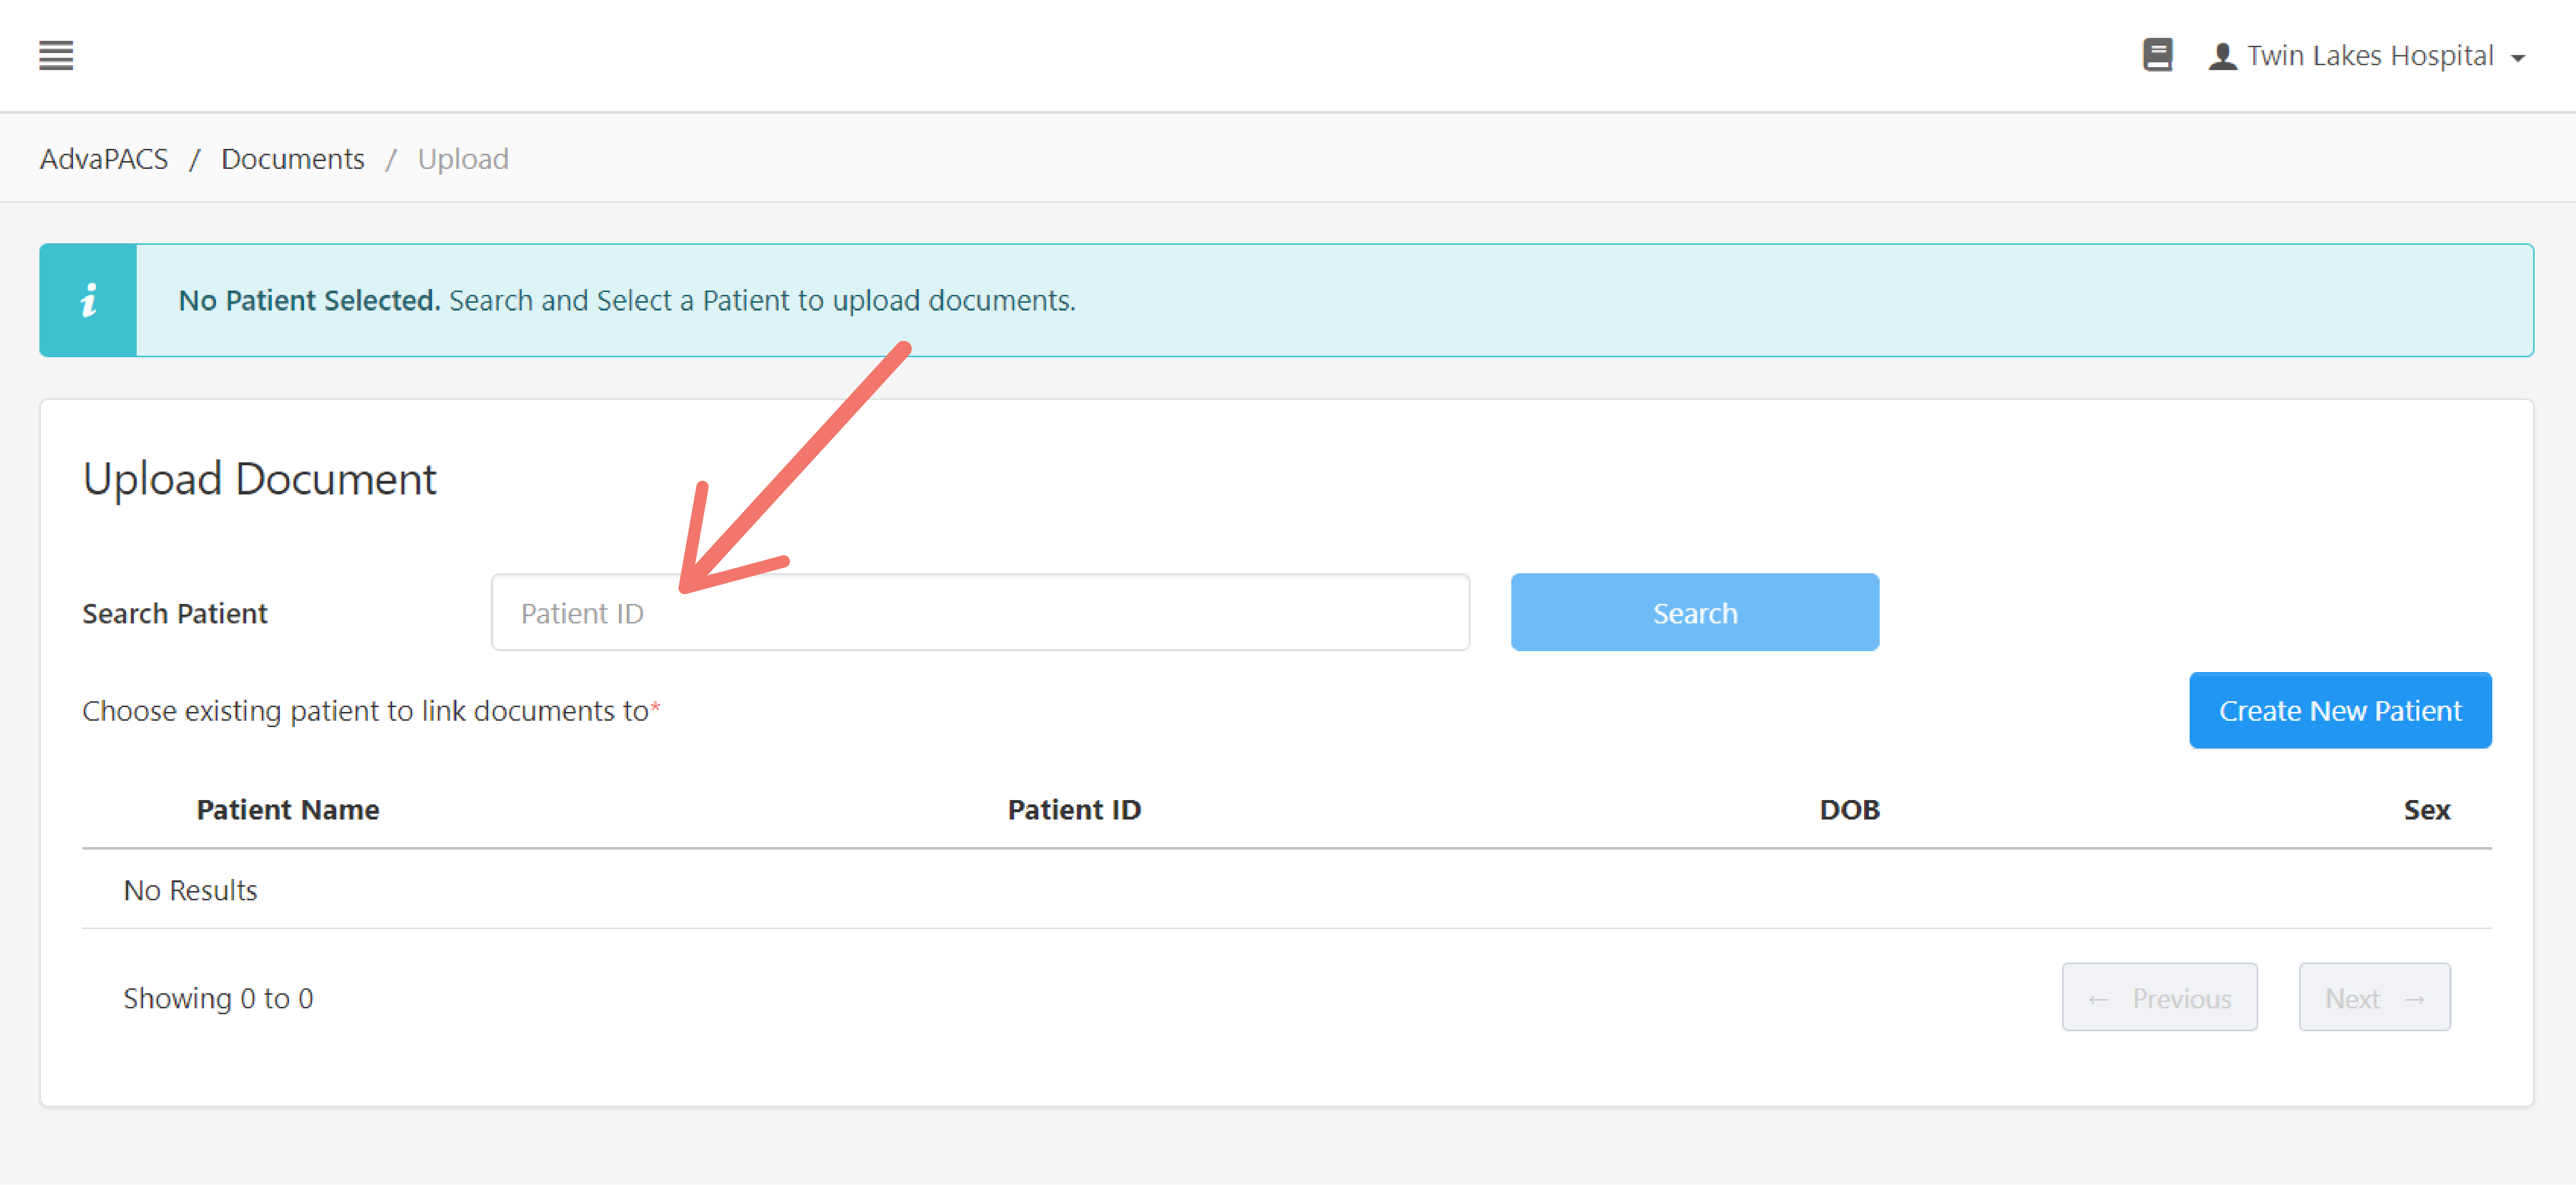
If there is an existing patient record, enter the Patient ID in the search field and click Search.
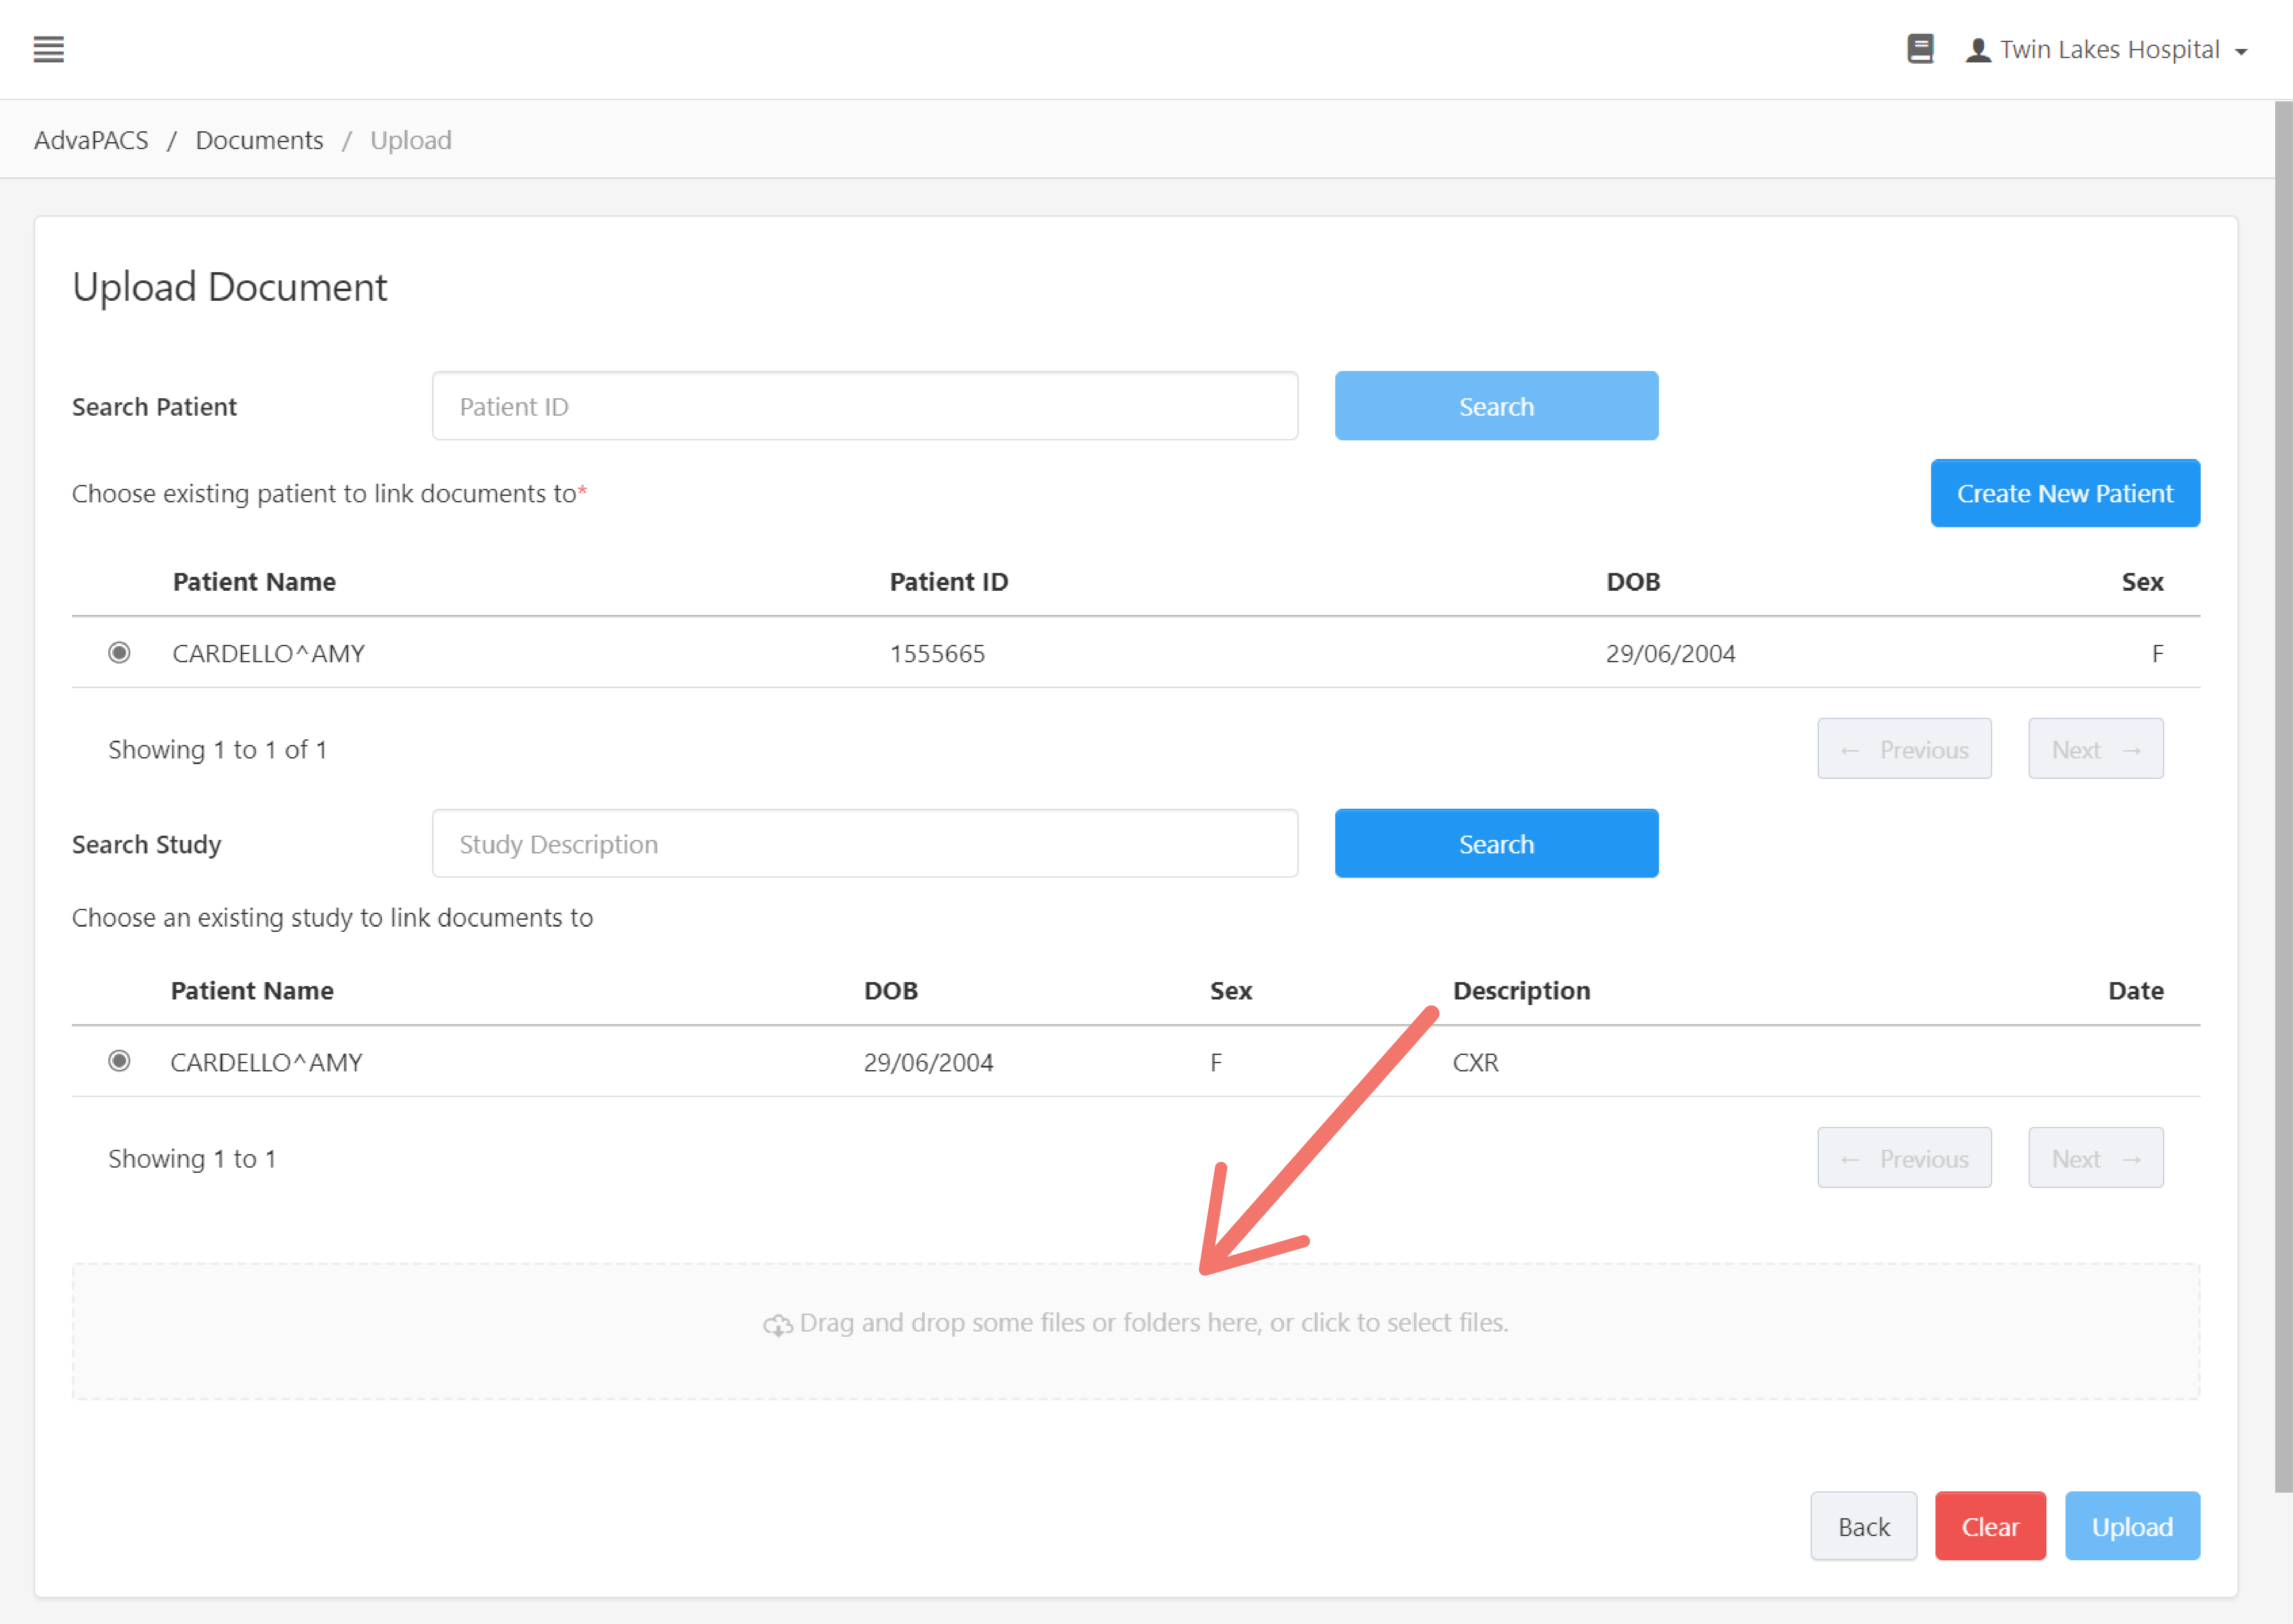
Select a patient.

Once the patient is selected, studies associated with the patient will show up below.
Select a study from the result. If there are many studies associated with the patient, you can search for a study. Enter the study's description on the Search Study field and click Search.
Then, select the study from the search result.

You may choose not to select a study to only link the document to the selected patient. But, if you have already selected a study, click the radio button again to deselect it.
Then, drag and drop documents or click on the upload box to select documents to upload.
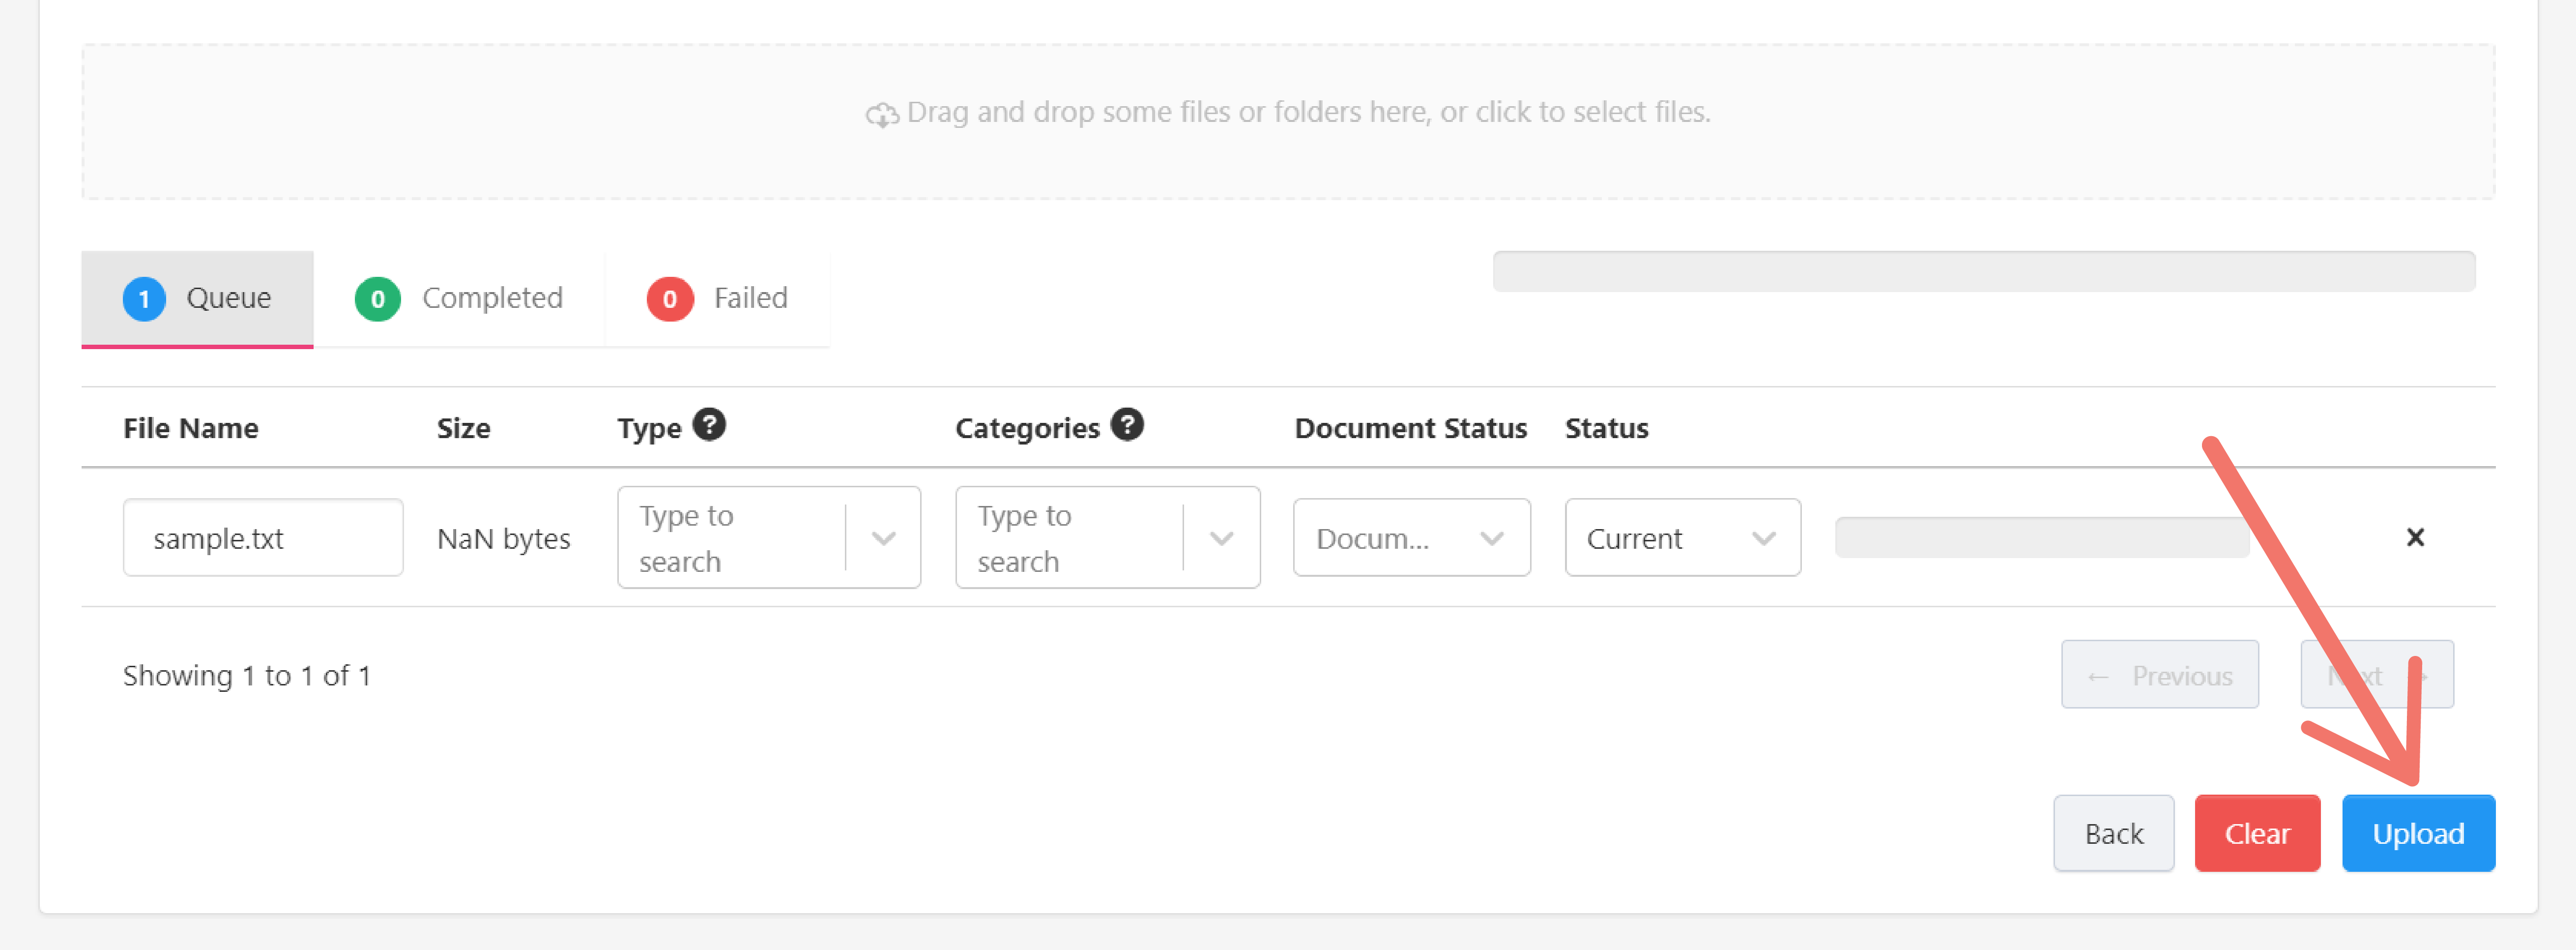
The selected document for upload will show up in the status section, specifically, under the Queue tab.
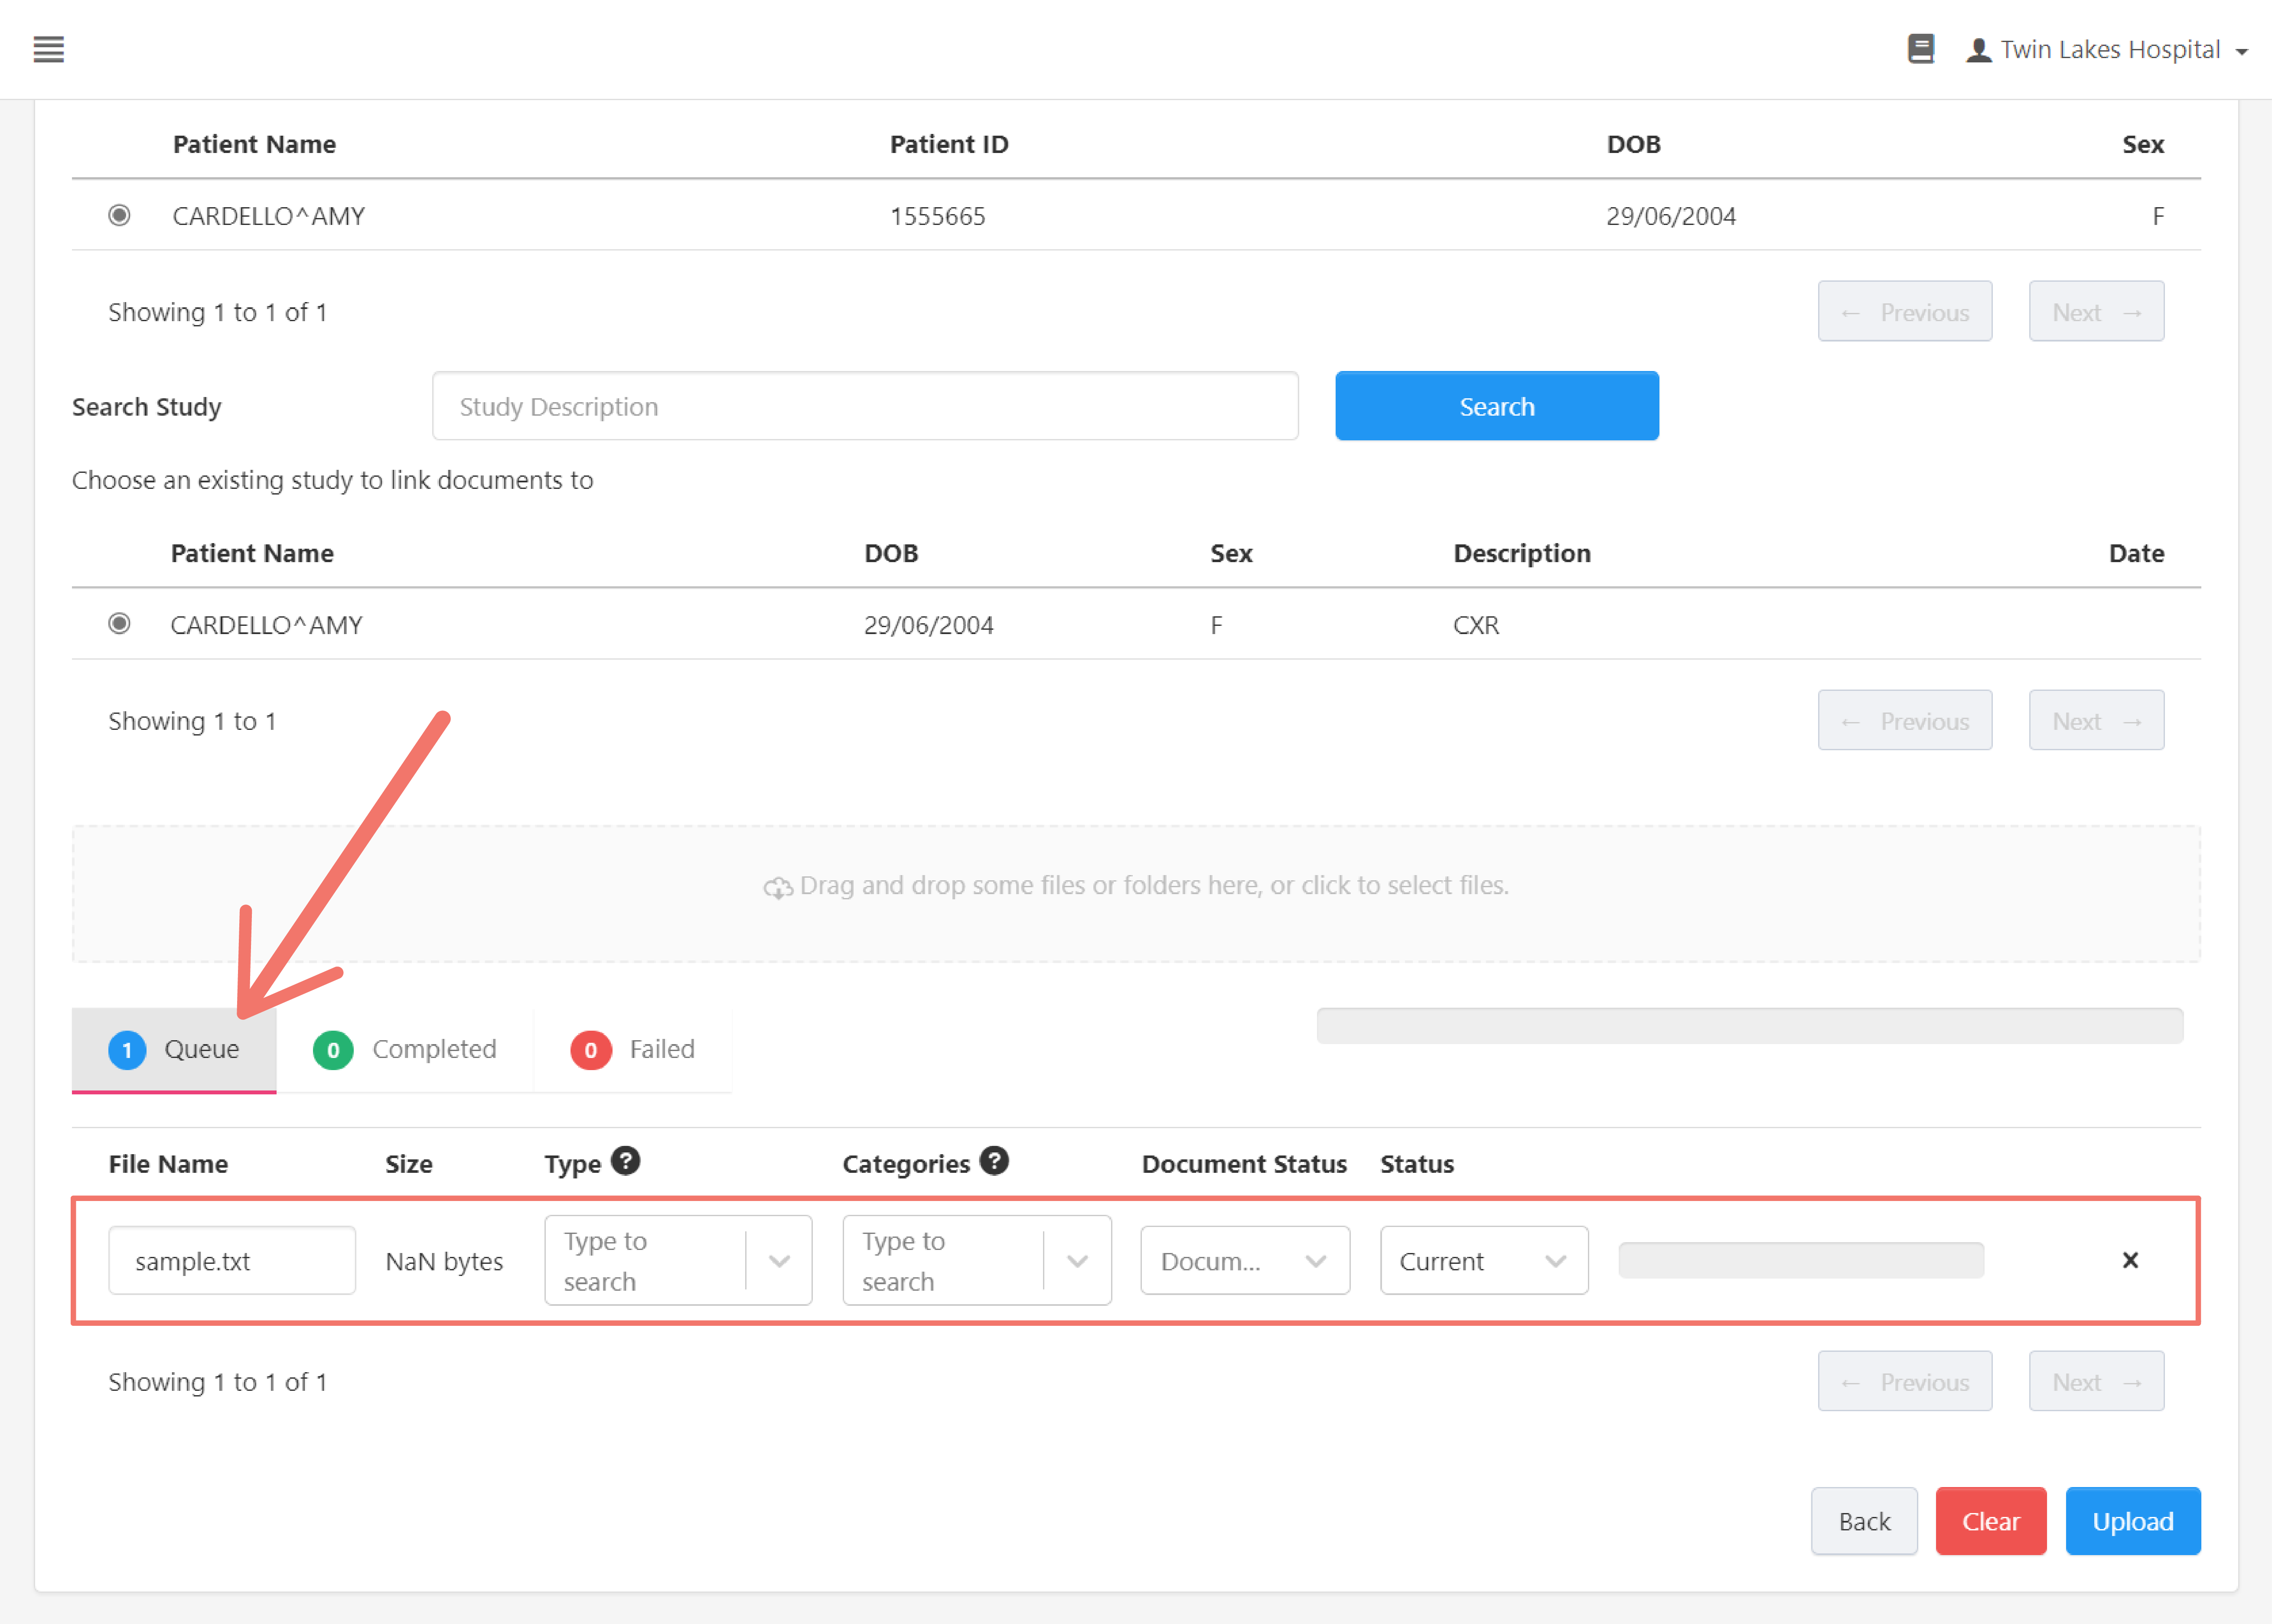
The Queue lists the documents to be uploaded in a table that displays their information and allows modification of their name and/or add labels for organization purposes:
- File Name - Allows you to modify the document's name.
- Size - The document's size.
- Type - Search and select a LOINC Code.
- Categories - Search and select multiple LOINC Code.
- Document Status - Select the document's status.
- Status - Select the document's status.
Click Upload to upload the document.
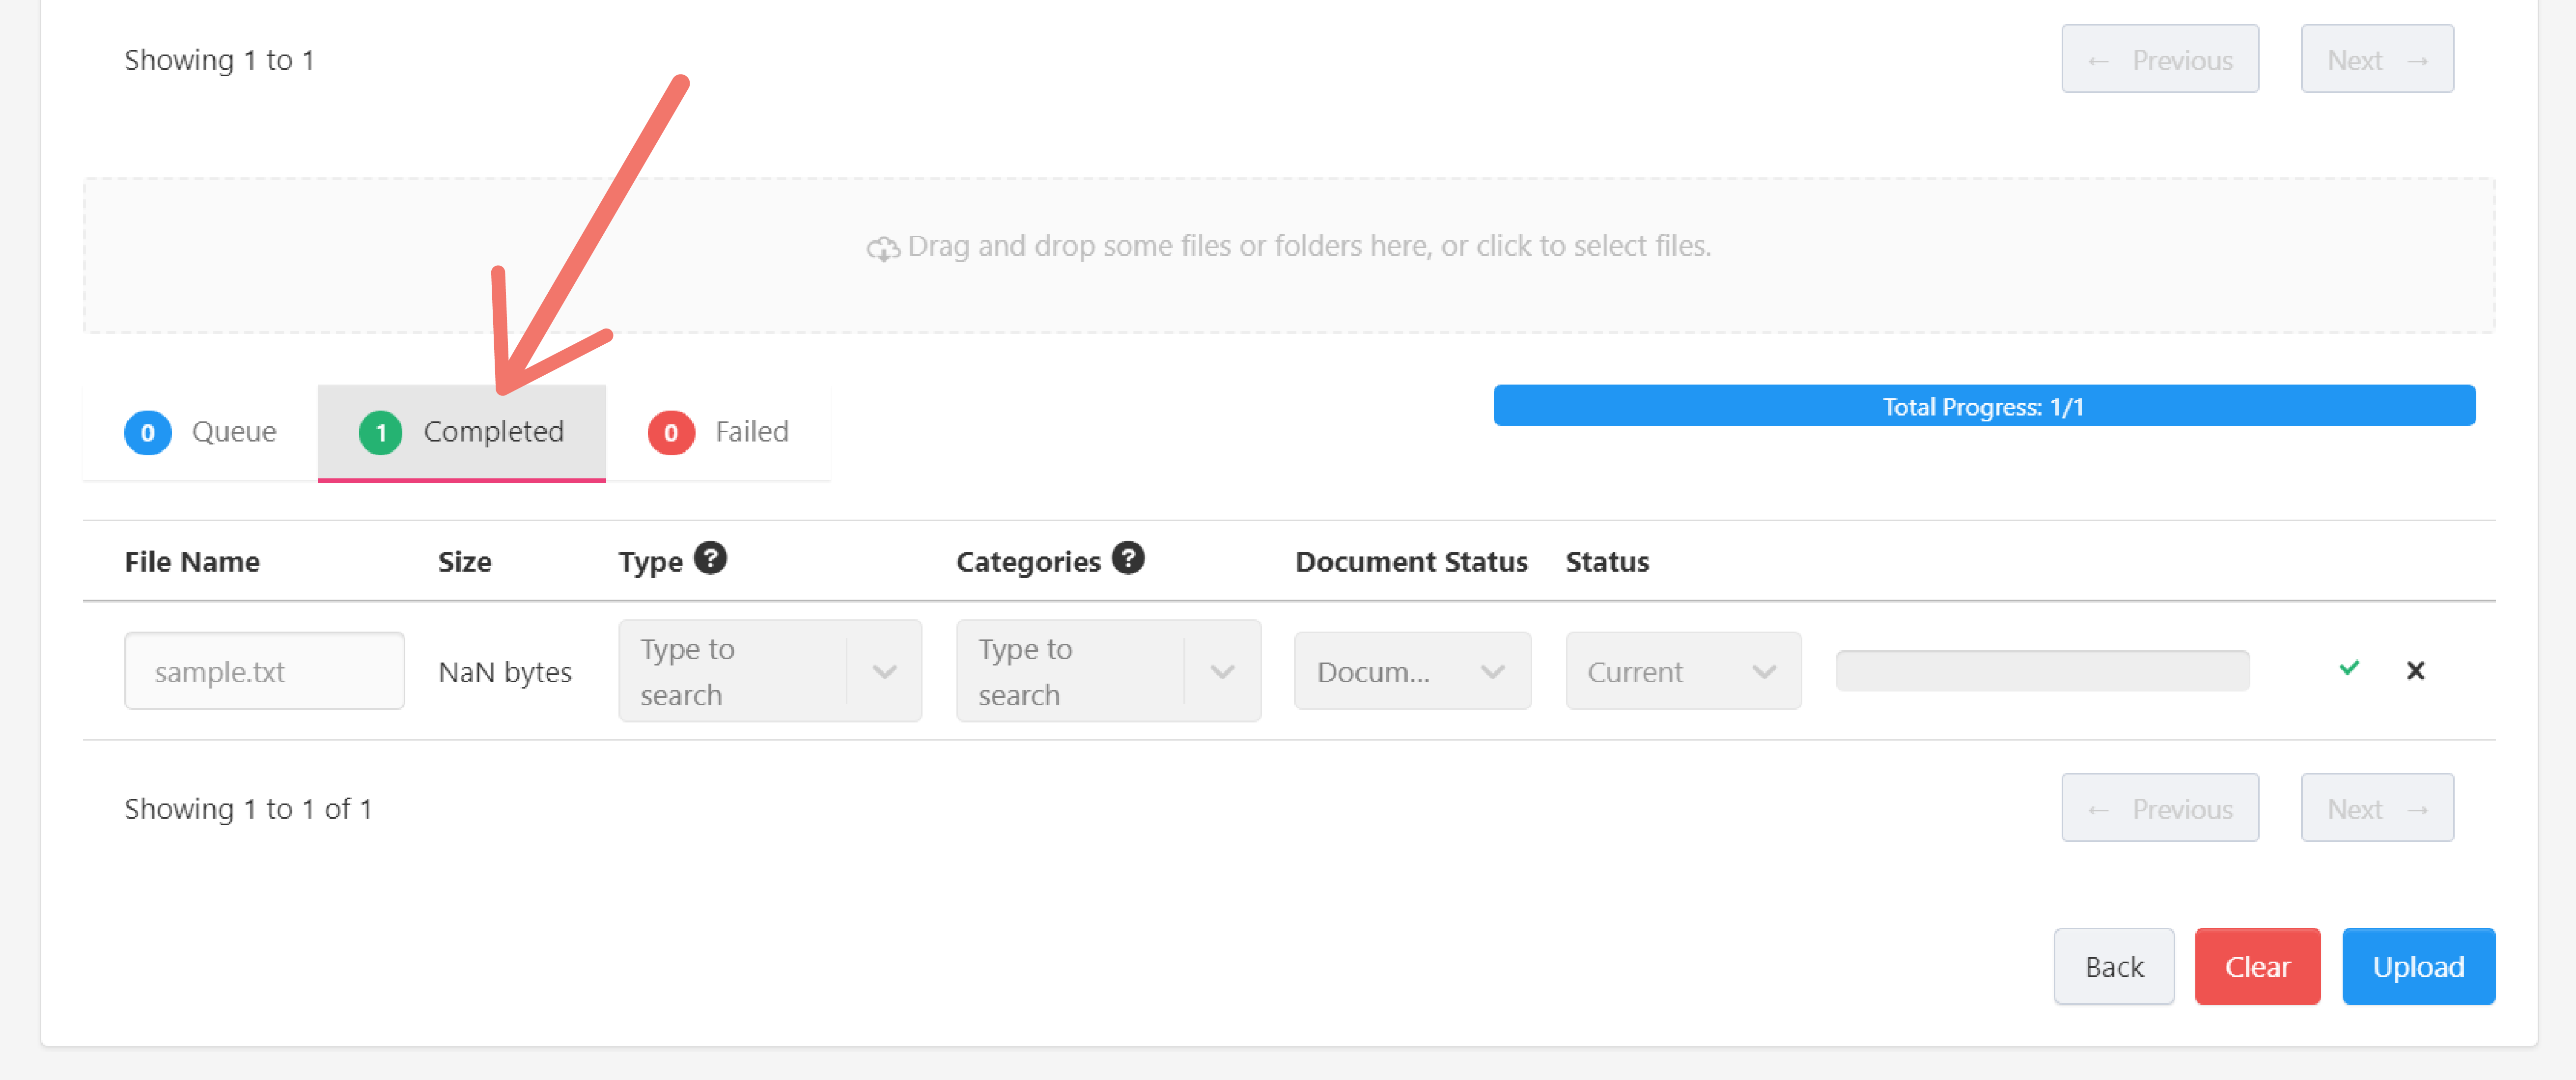
Documents successfully uploaded are displayed in the Completed tab.
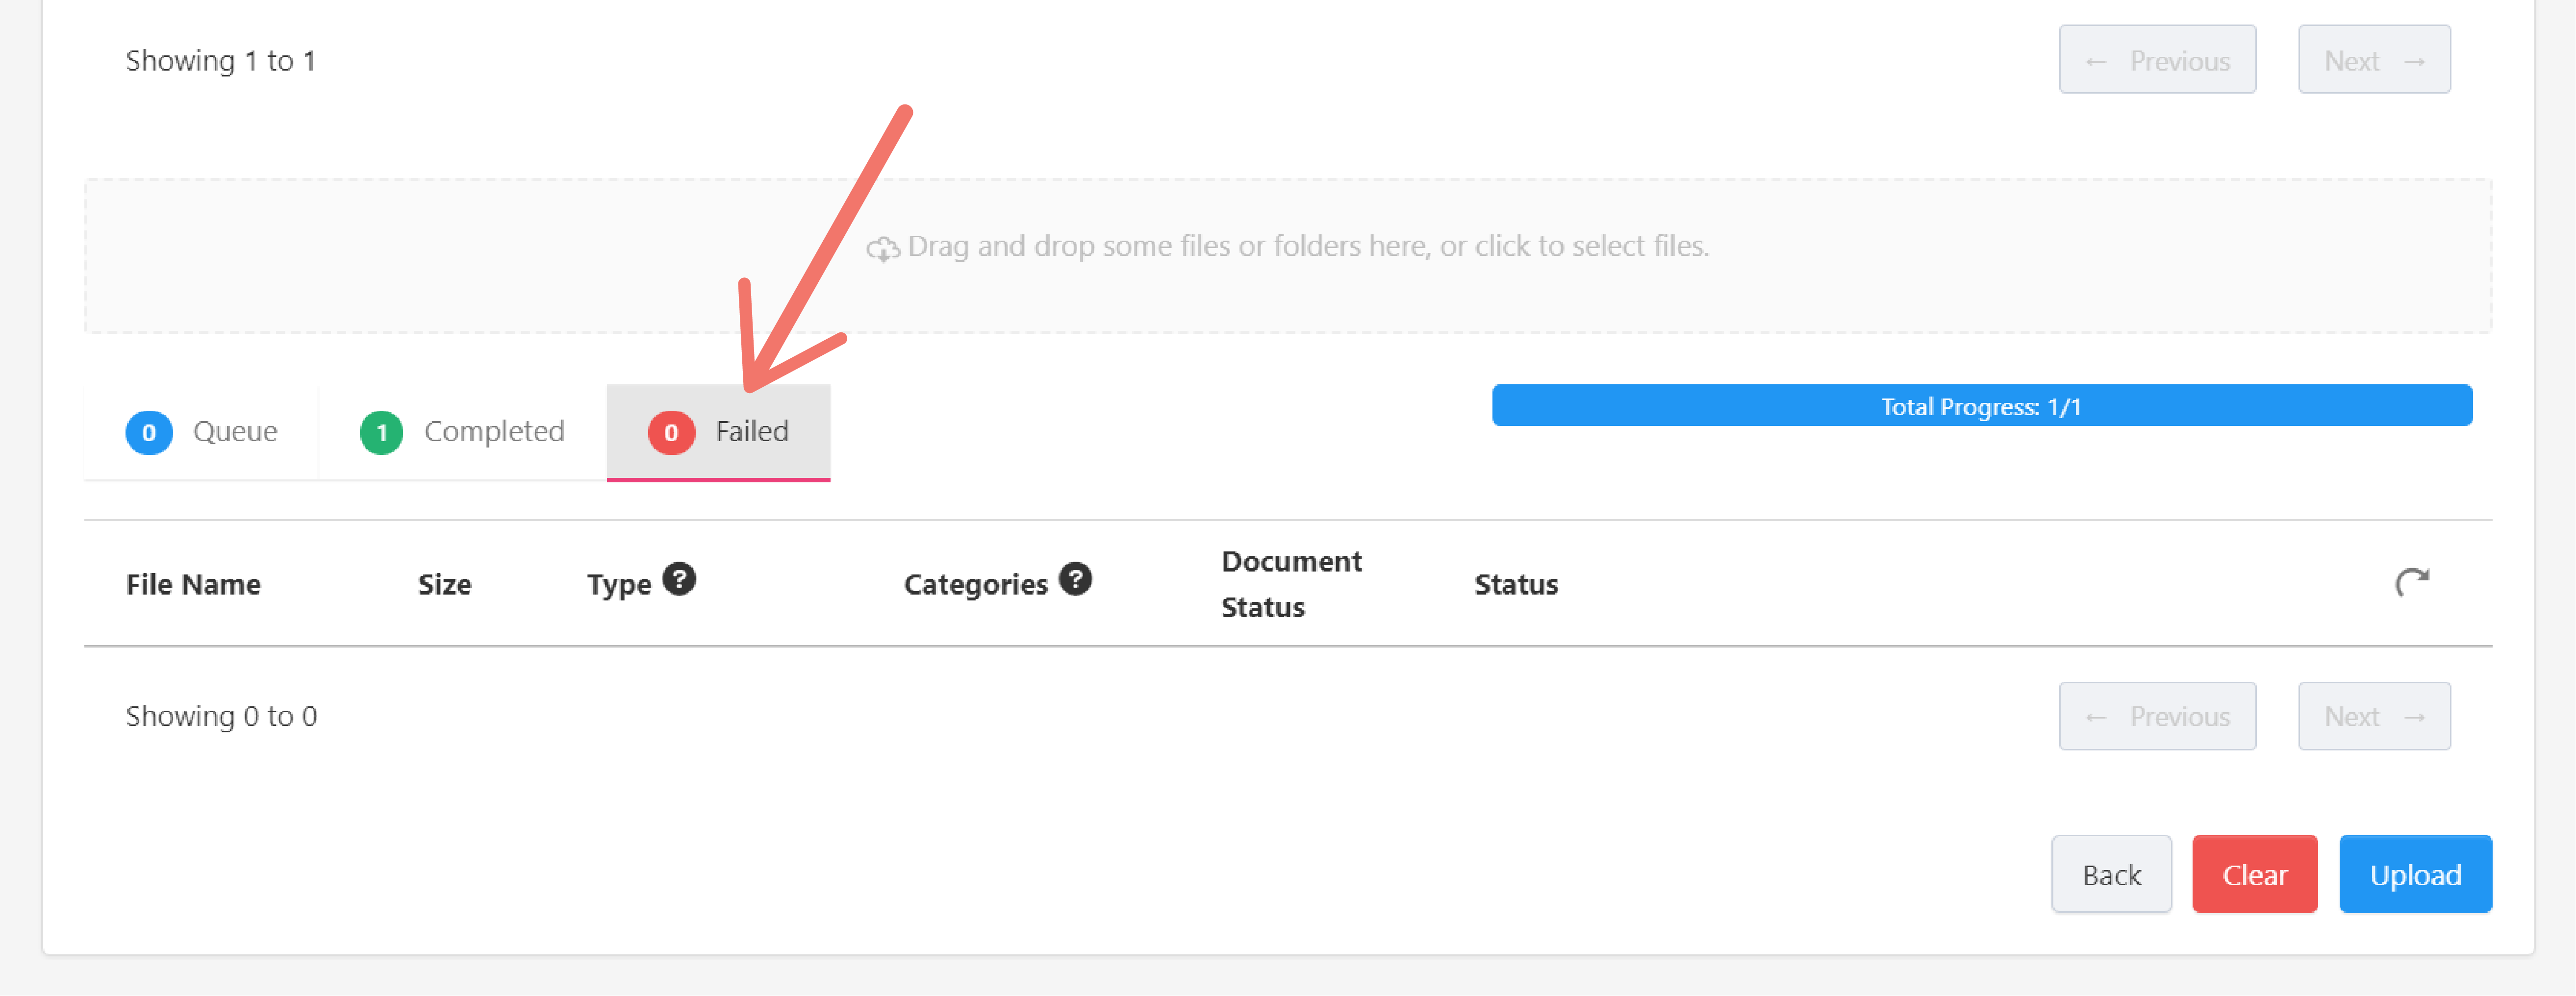
While documents that fail to upload are displayed in the Failed tab.
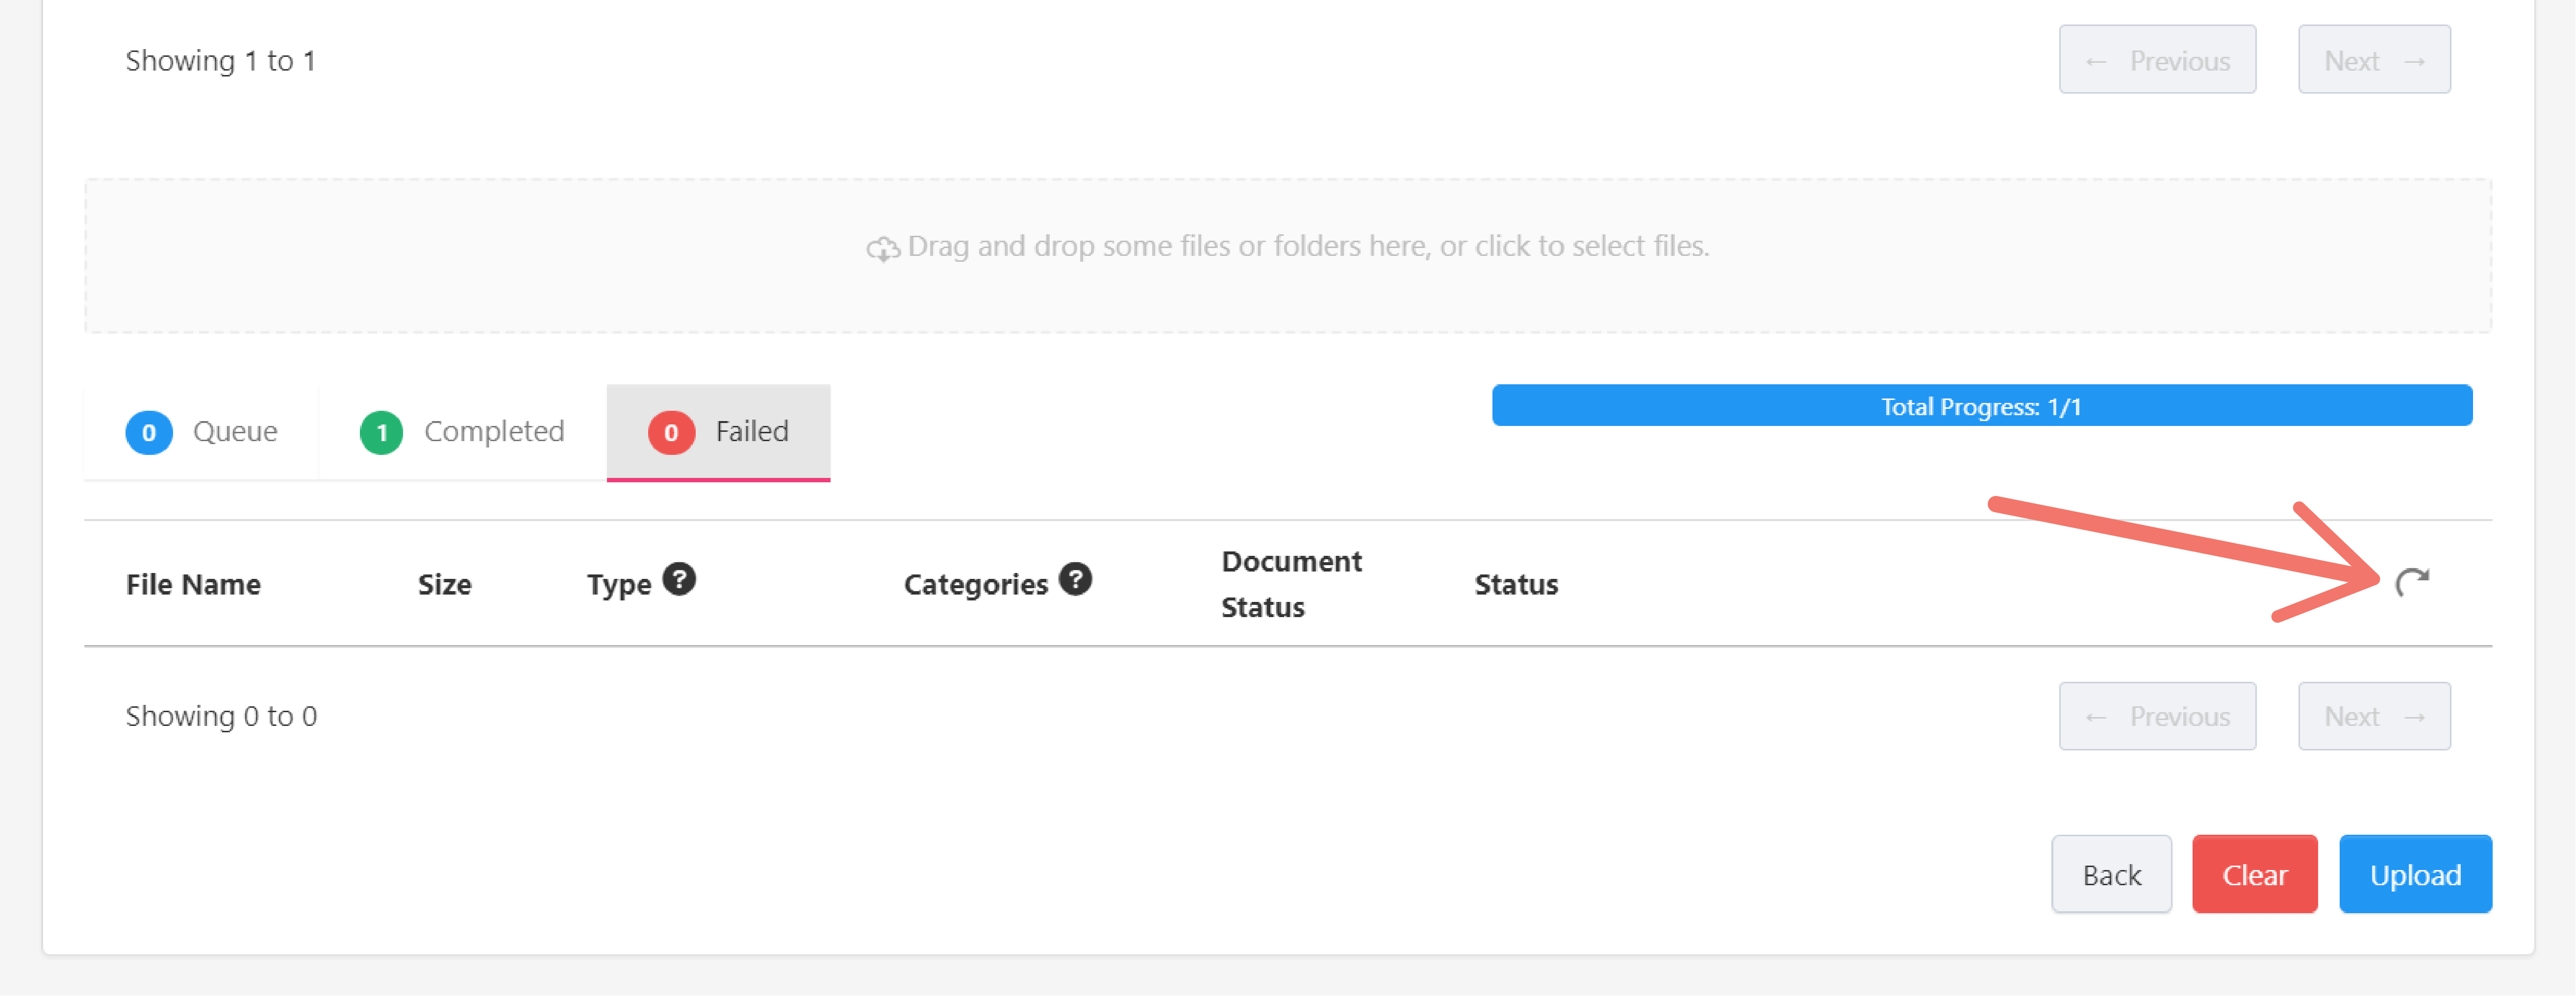
To re-upload documents that failed, click the "redo" button.
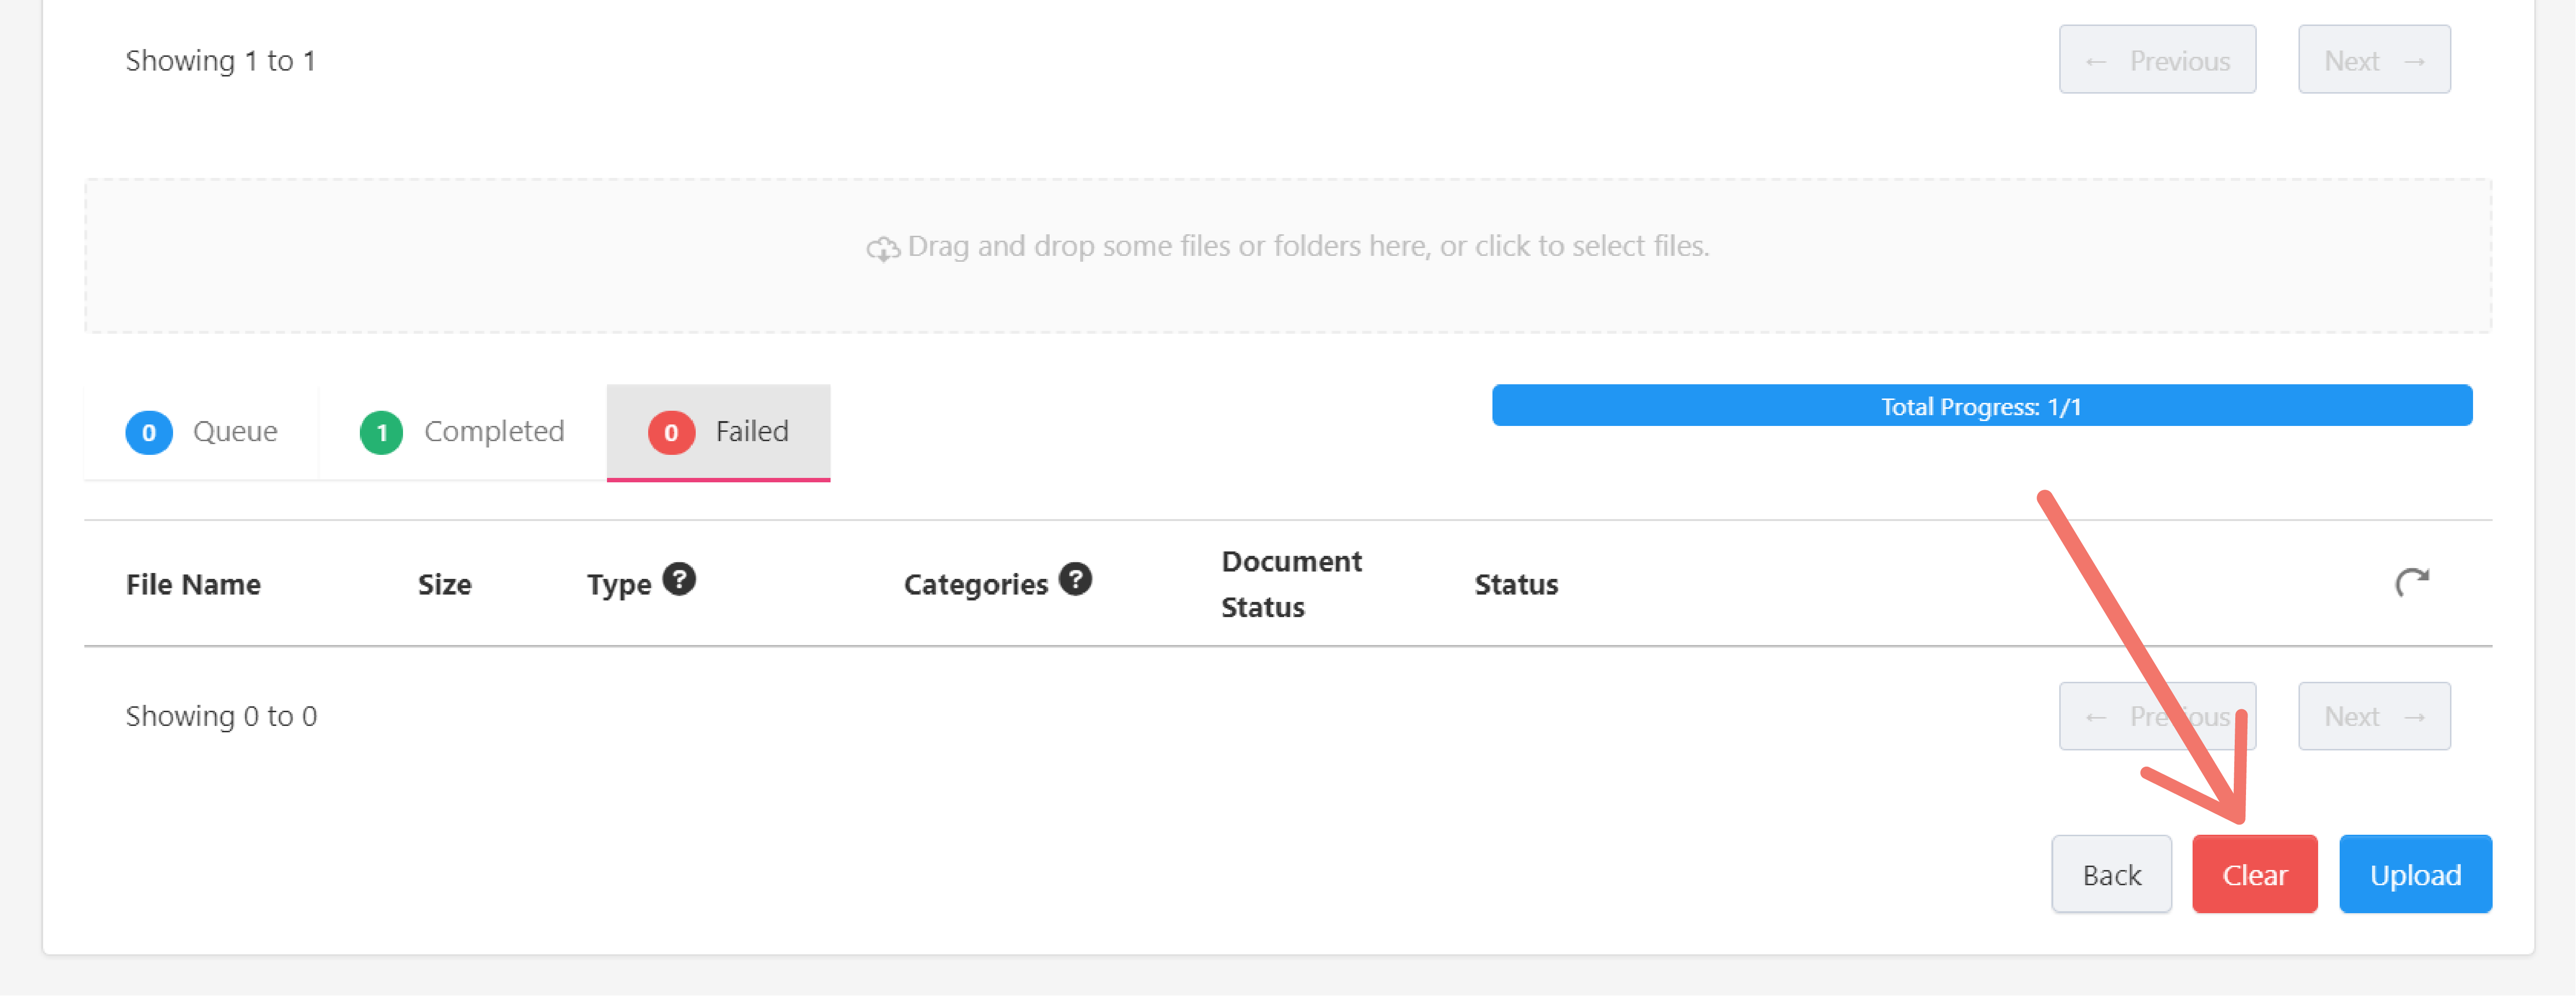
To upload new files, click Clear to reset the page and start all over.
View Document History
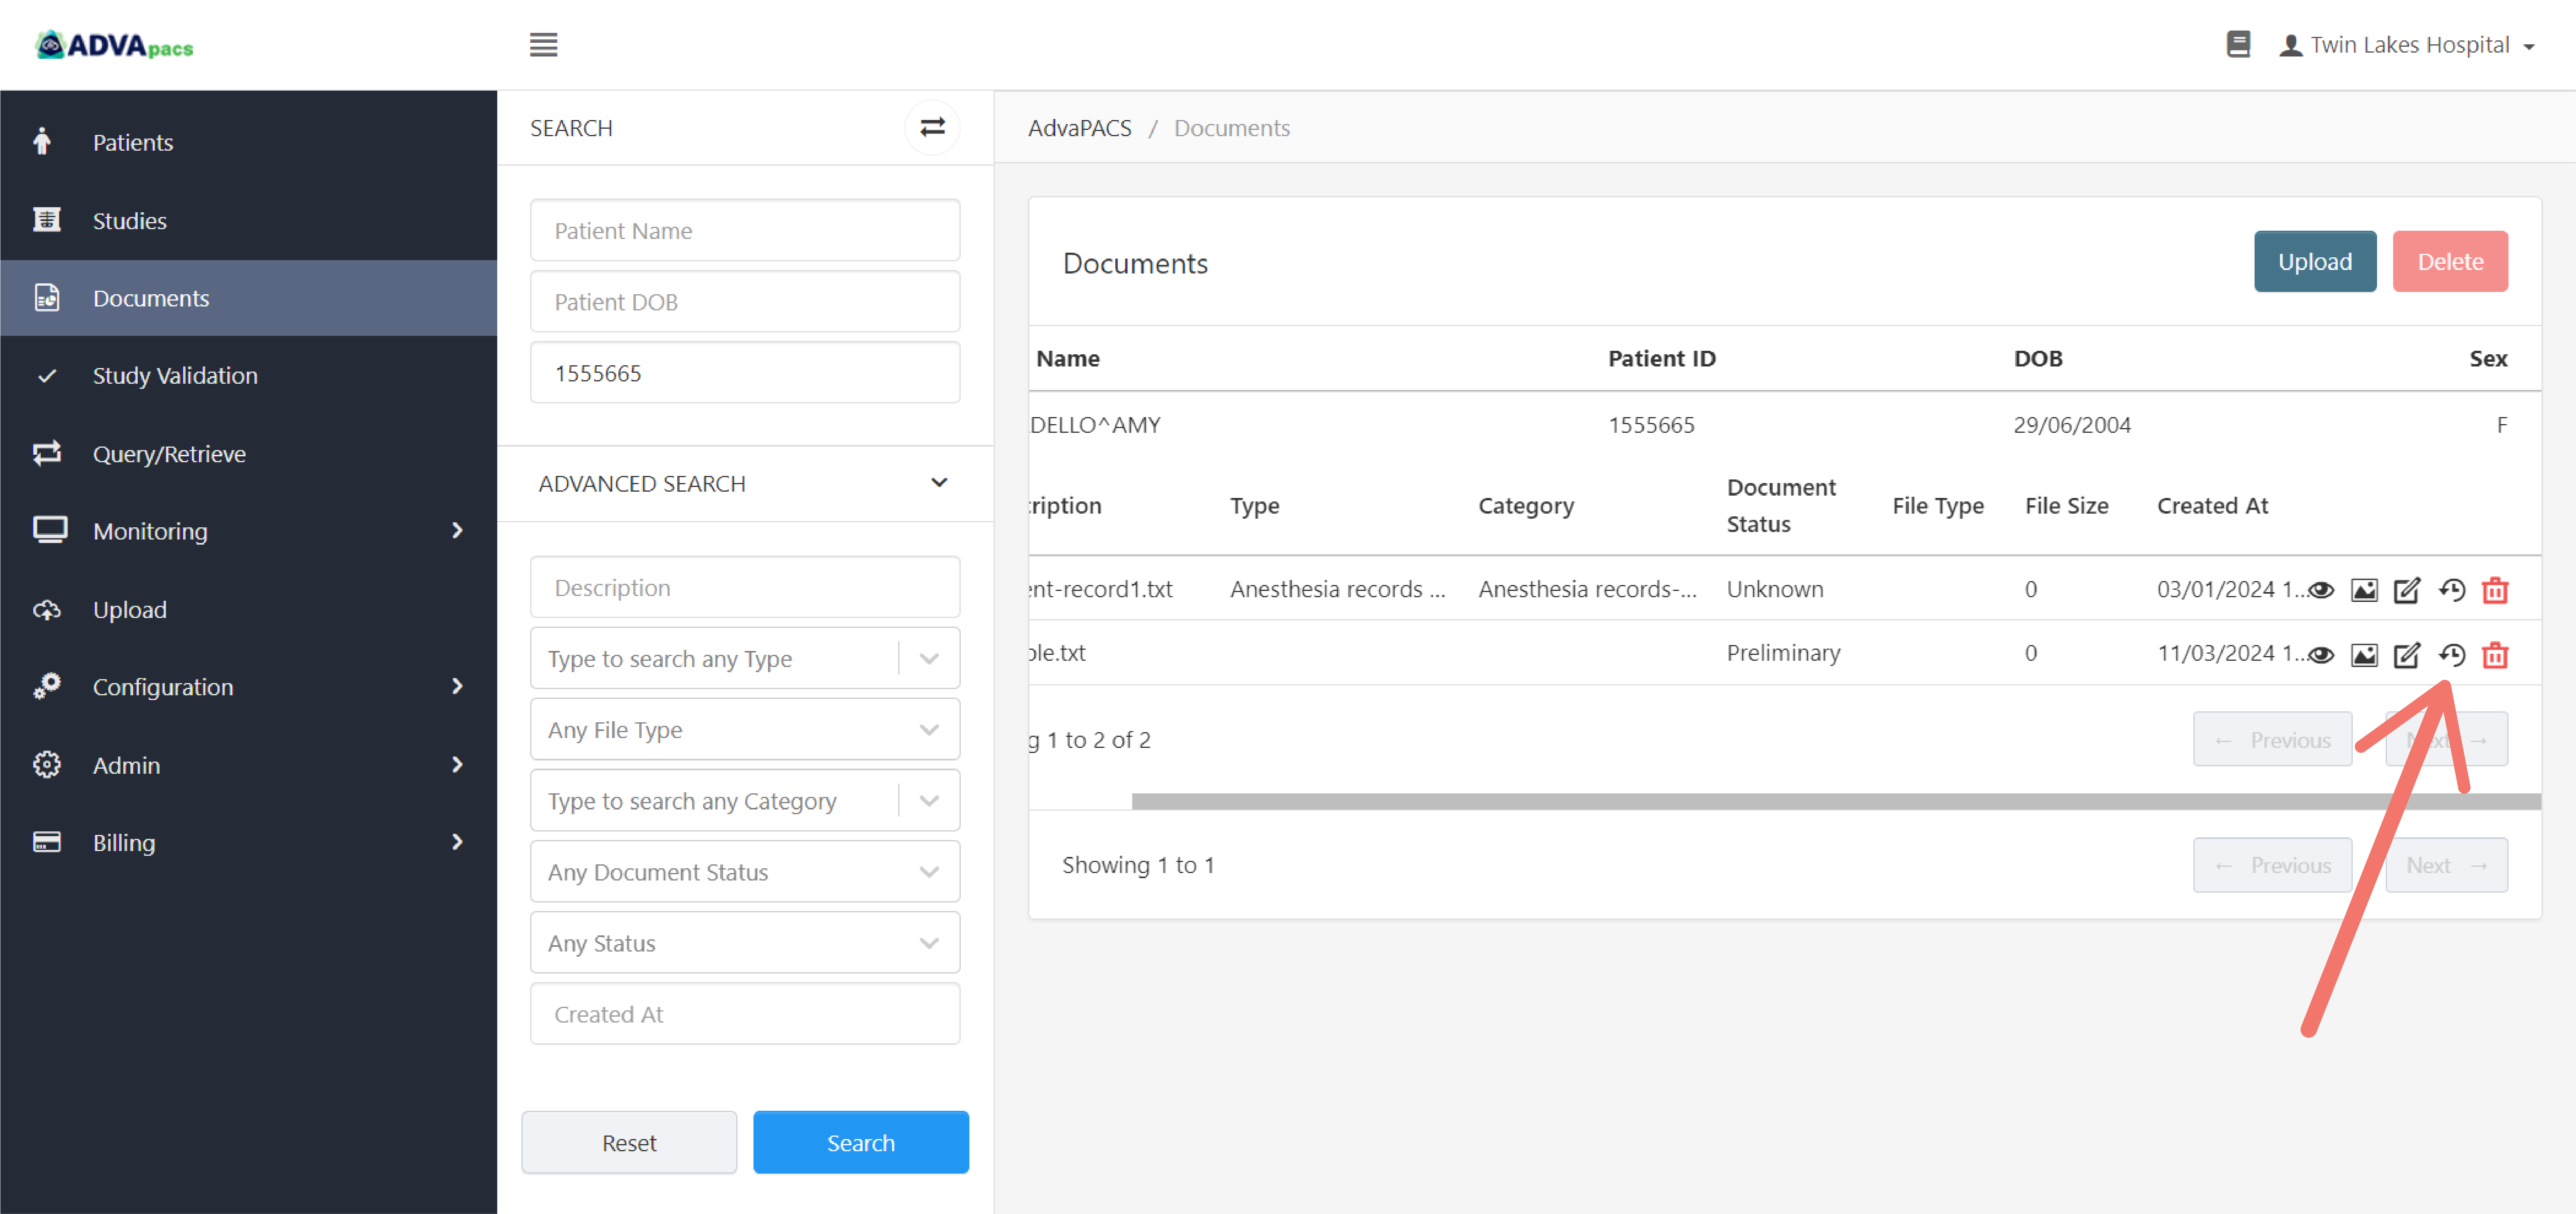
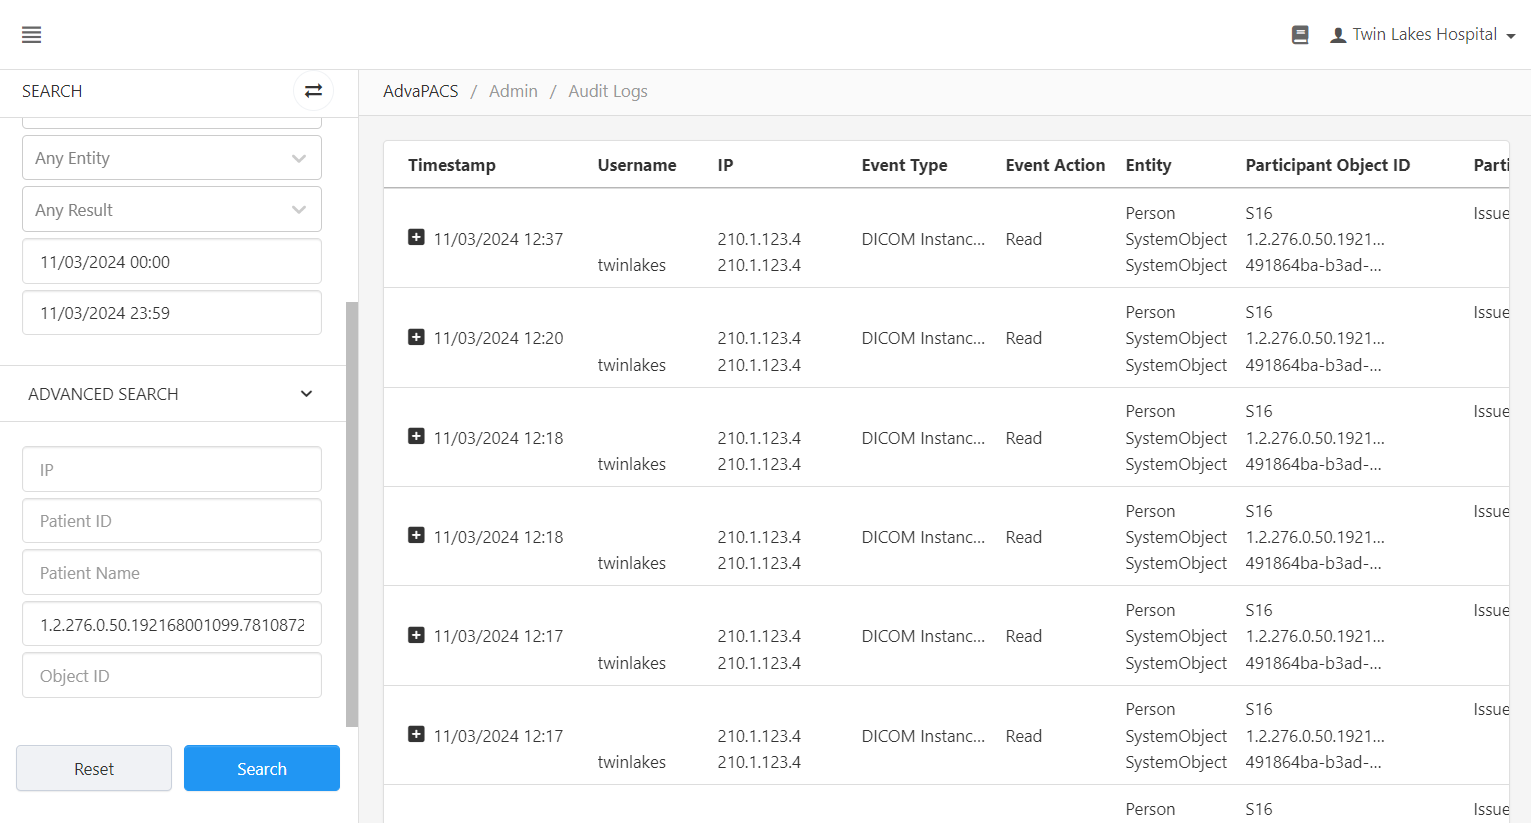
Clicking the "history" button navigates you to the Audit Logs page where you can review events related to the document.
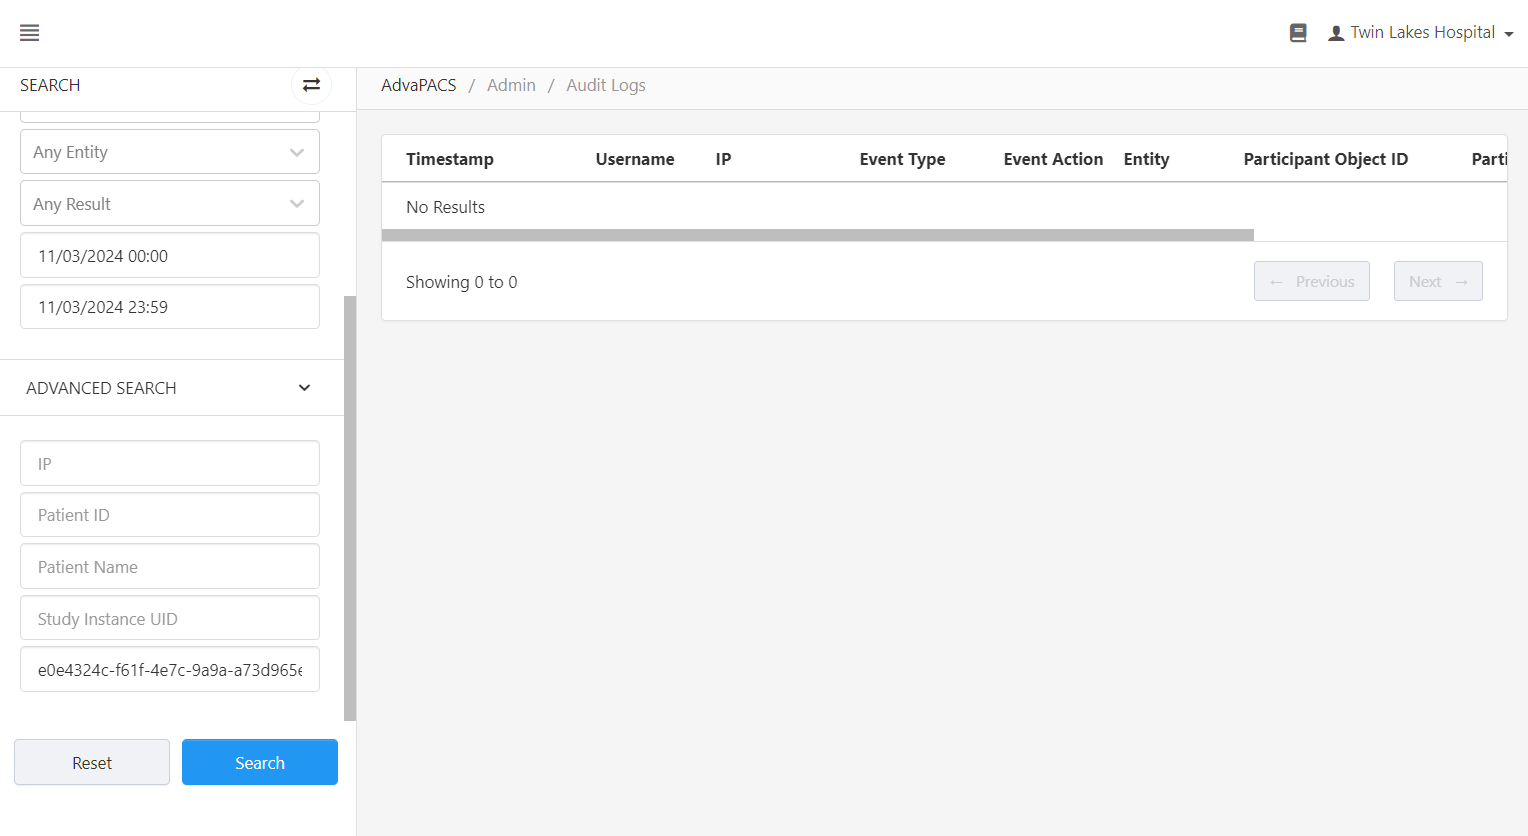
In the Audit Logs page, the Object ID search field is automatically filled in with the Object ID of the document. Then, click the Search button.
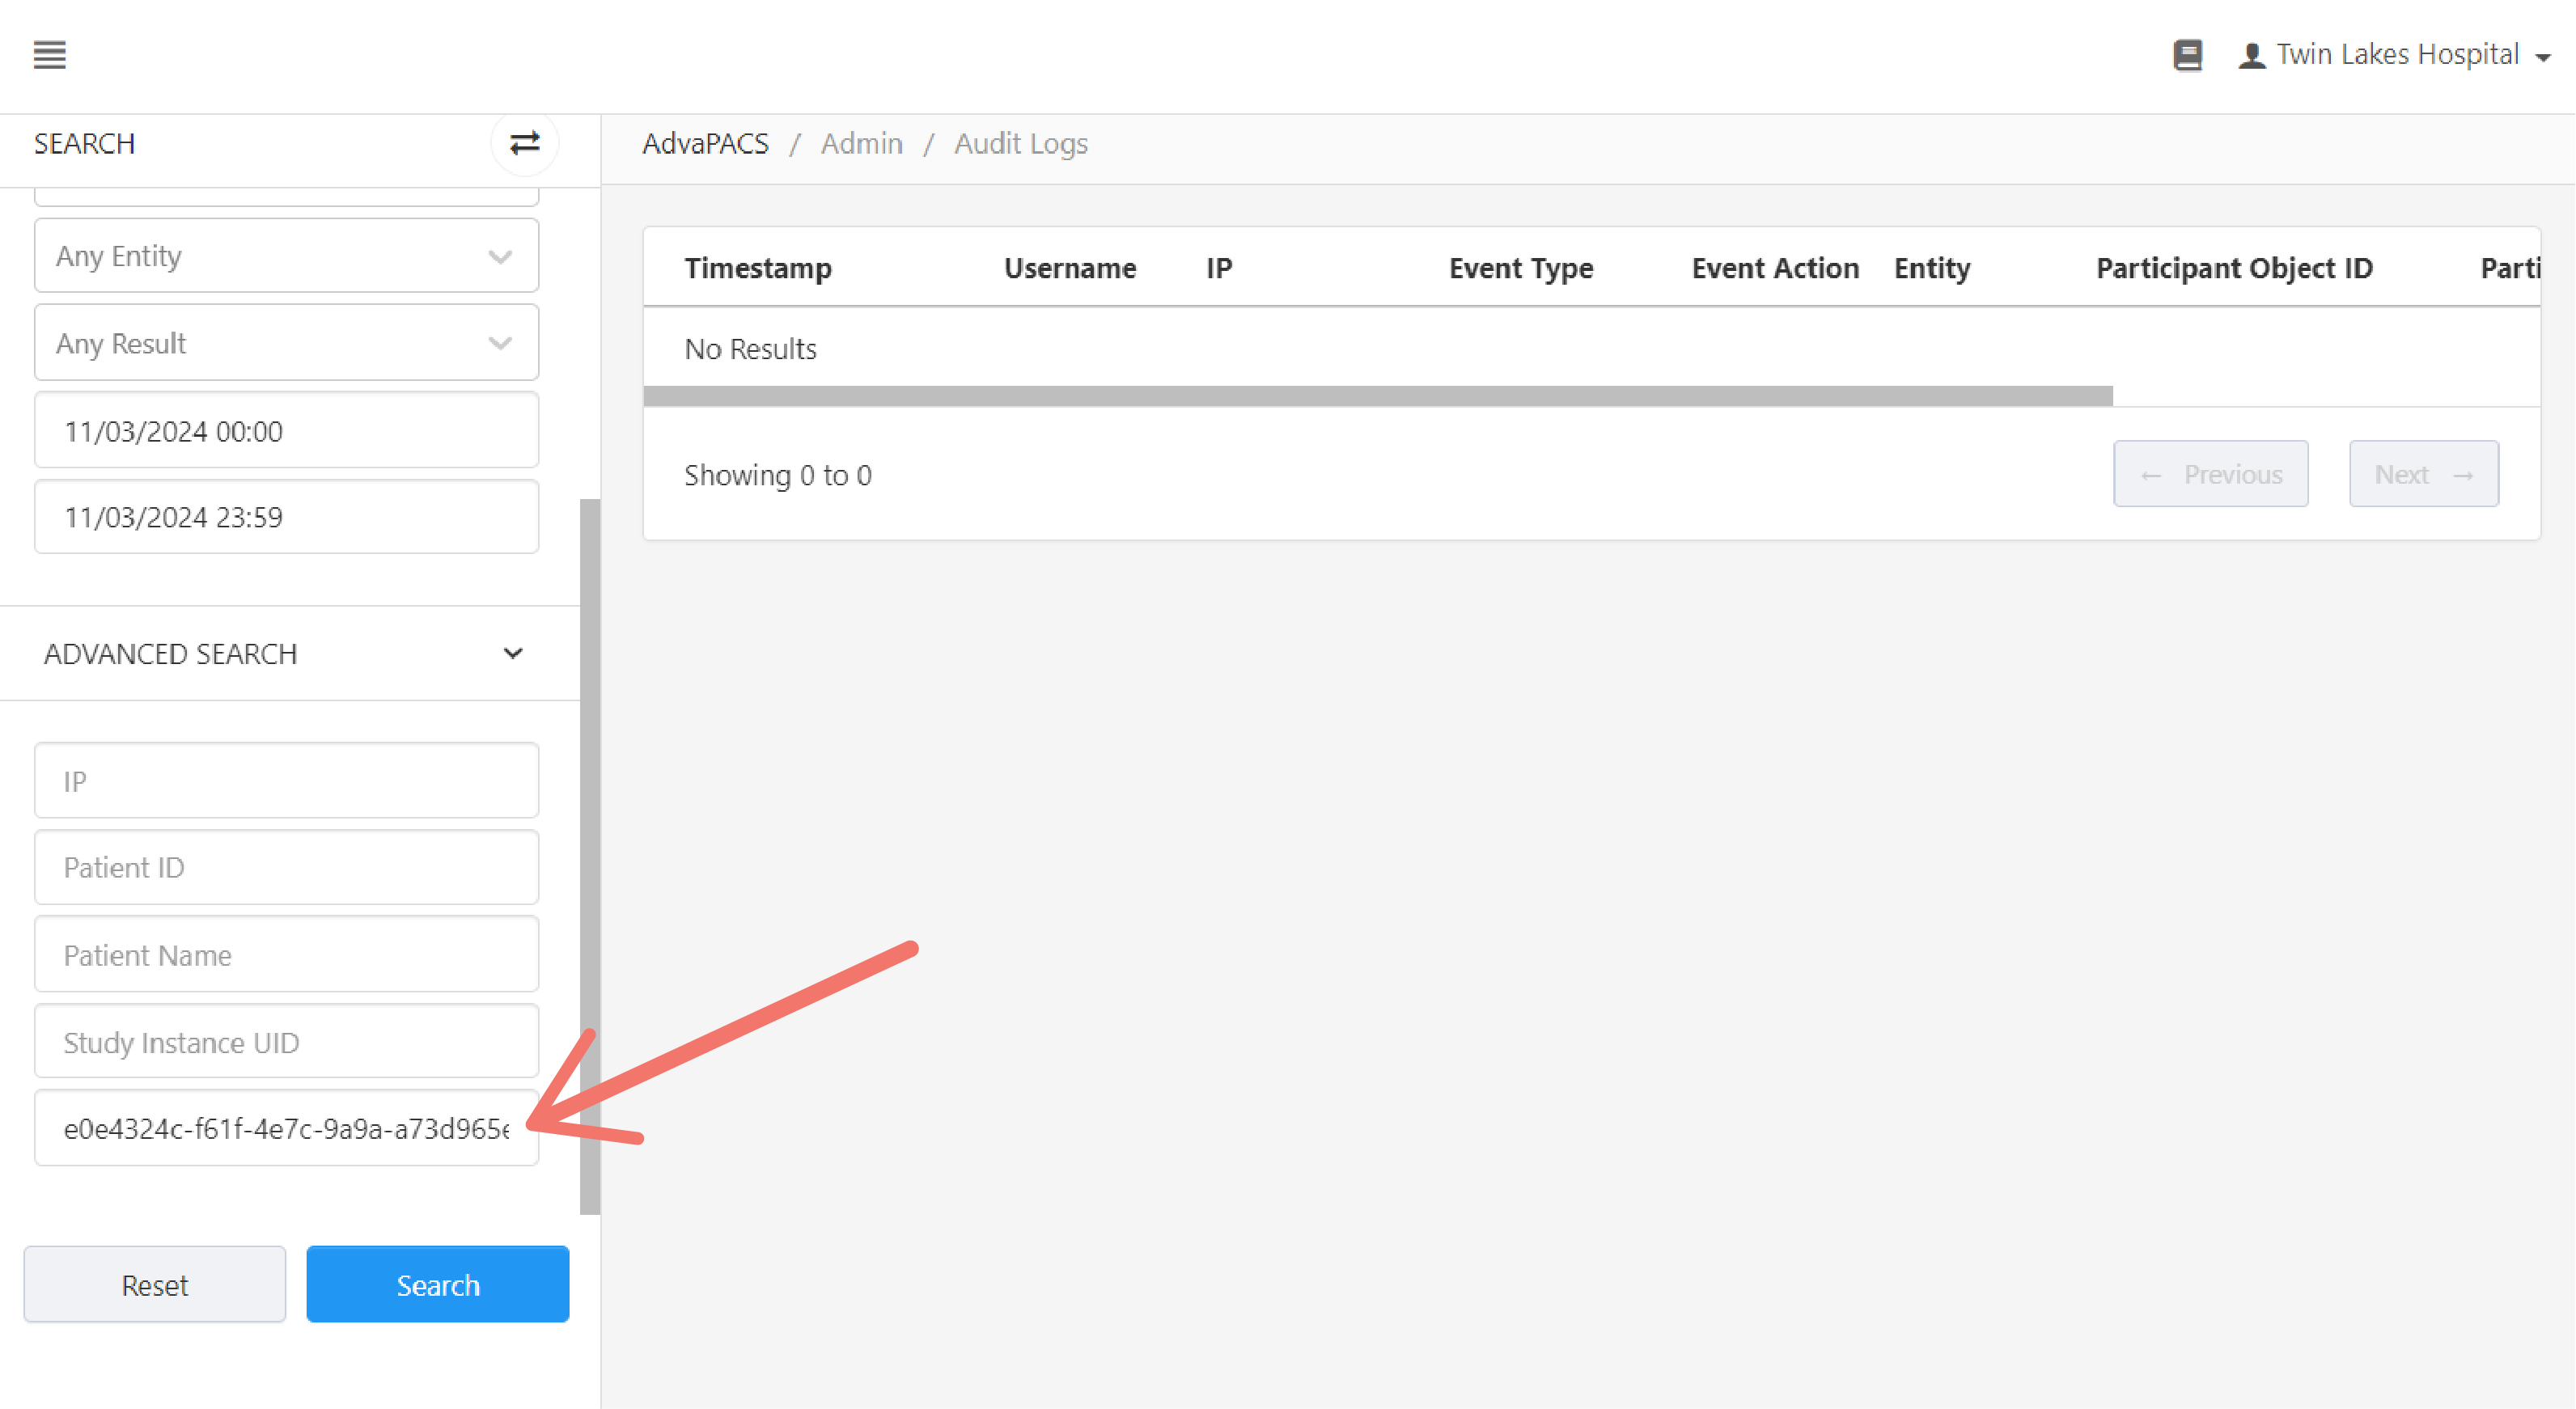
The events related to the document will be displayed in the listing field.
Delete Document
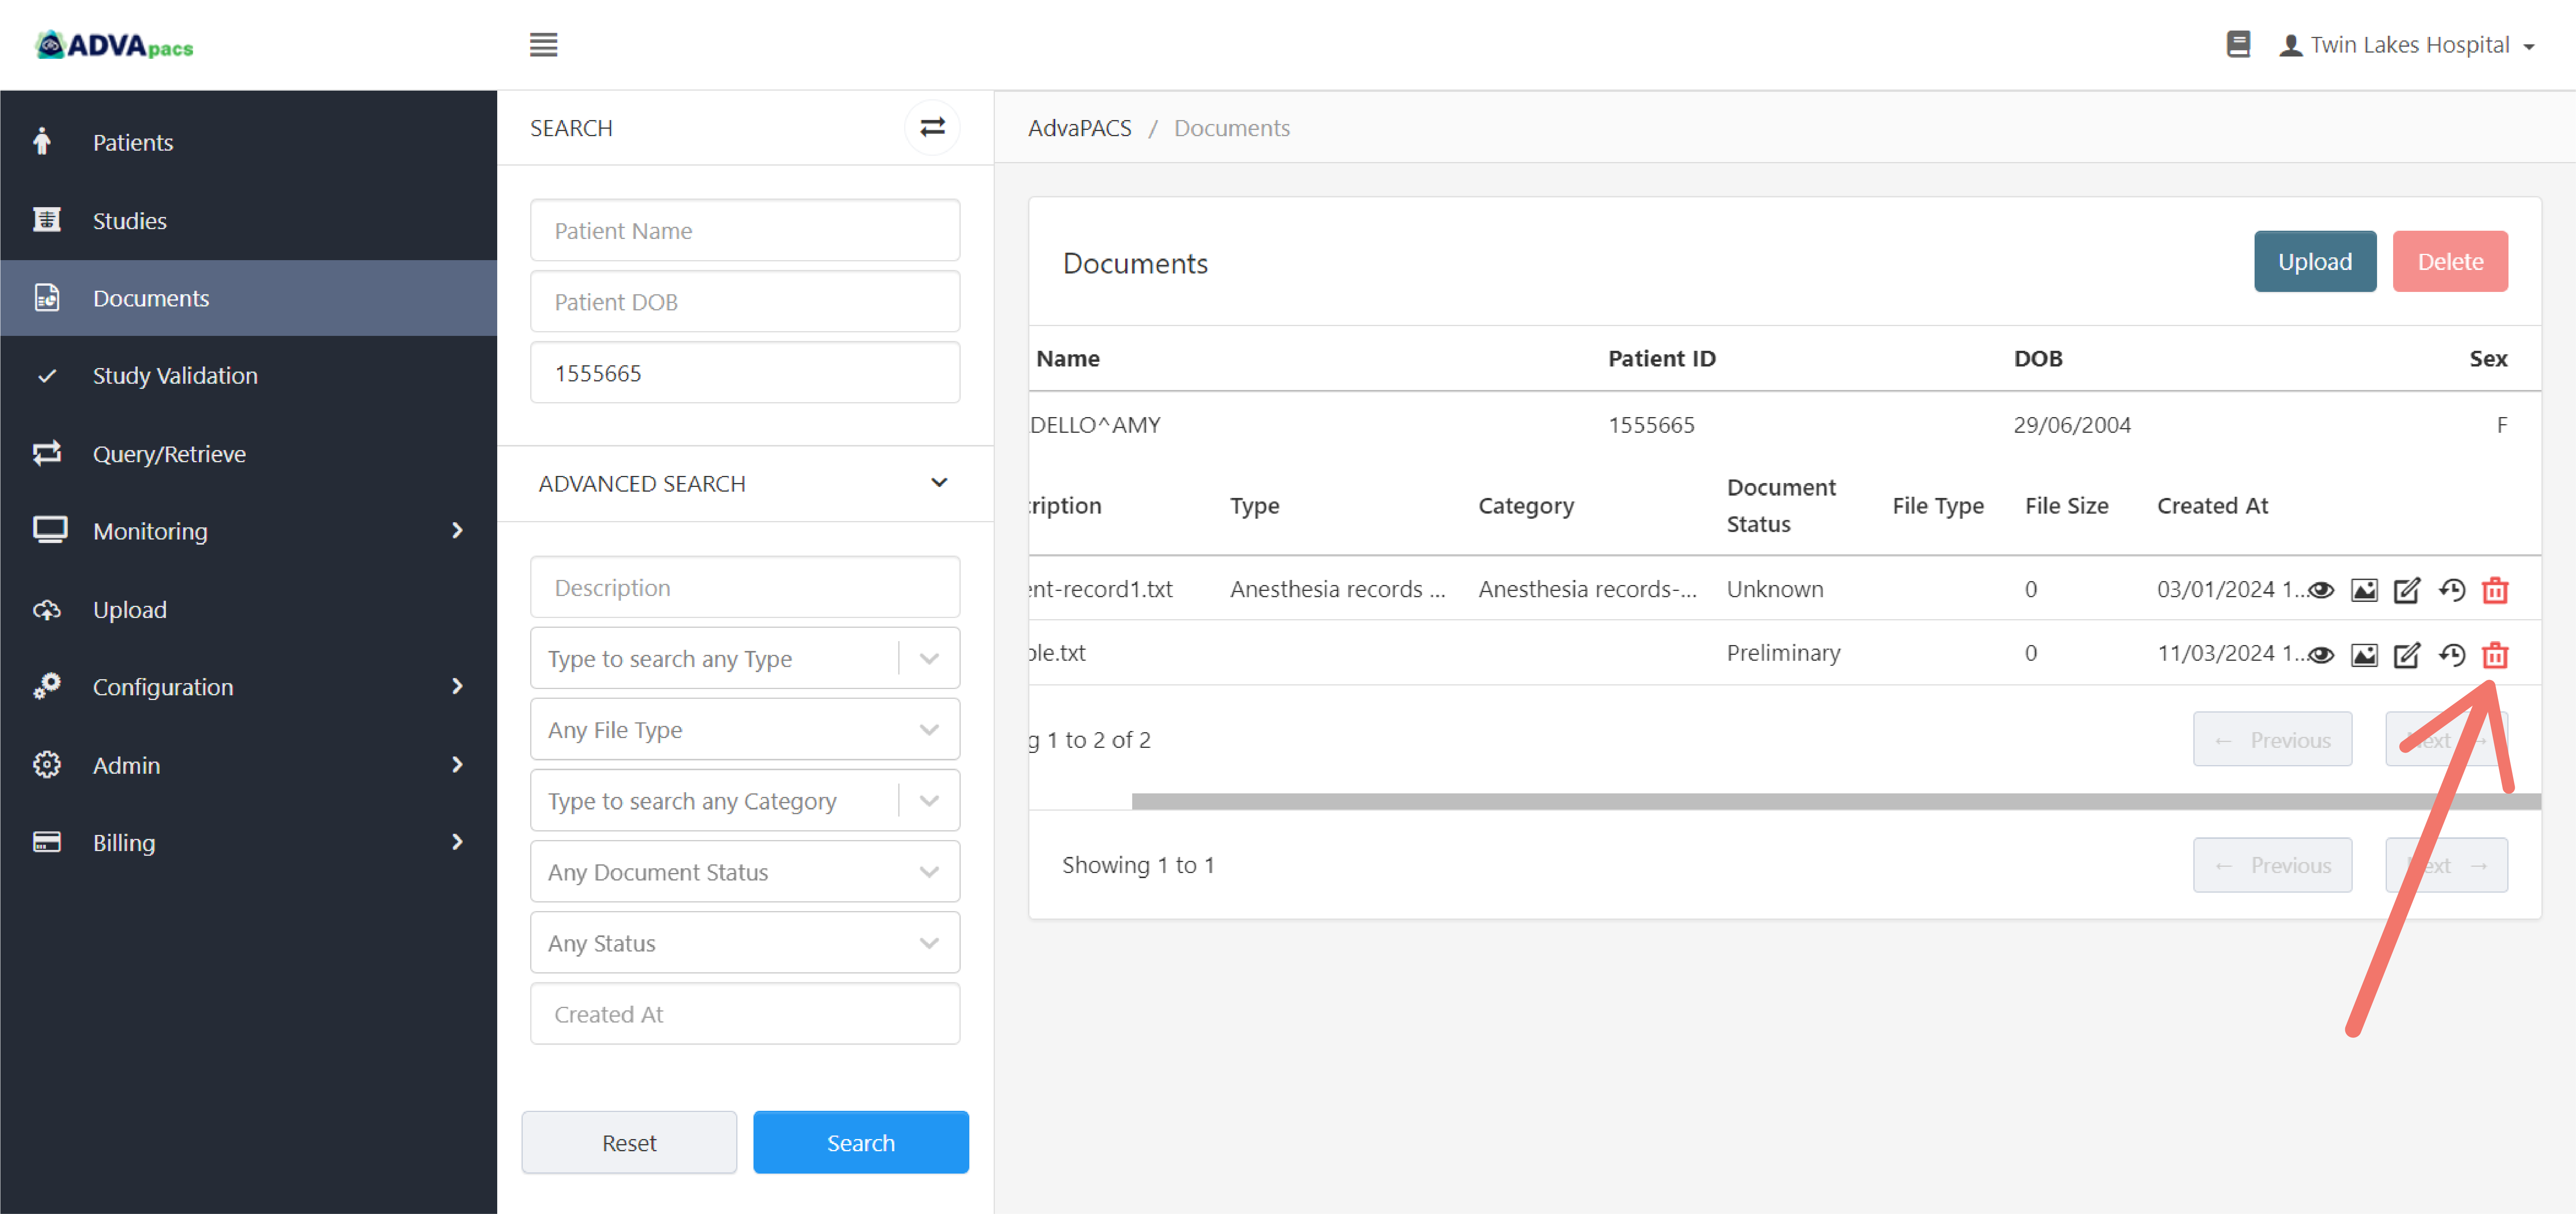
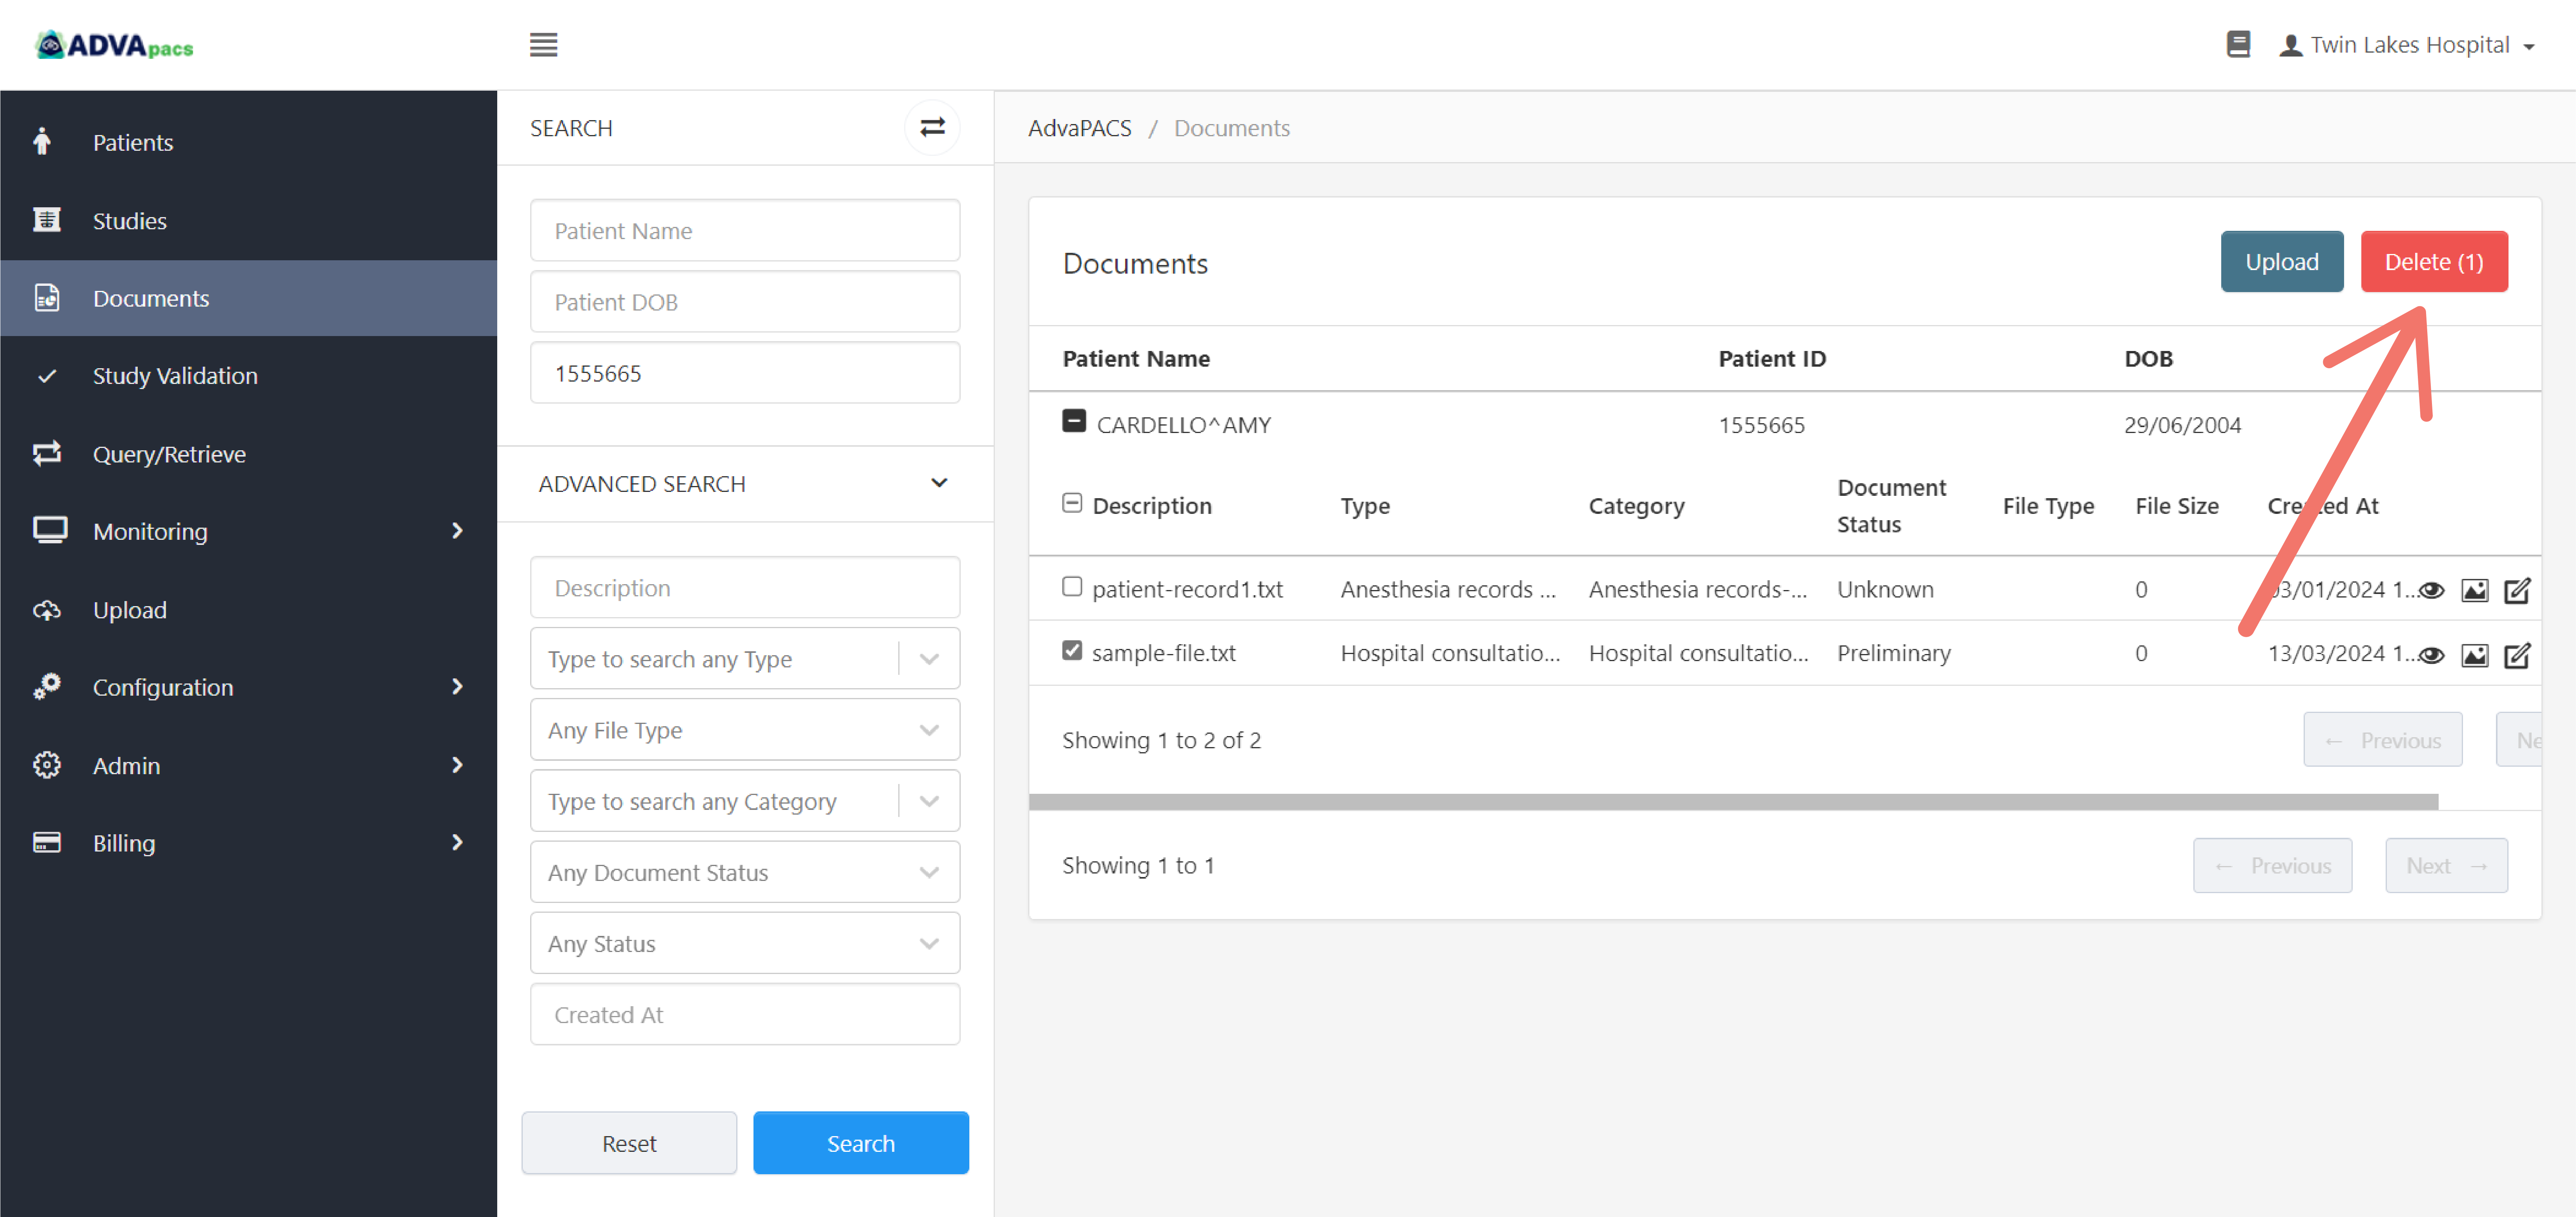
There are two ways to delete documents. Delete them individually by clicking the "trash" icon, as shown in the image above, or delete them in batches.
To delete in batches, tick the checkboxes of the corresponding studies.
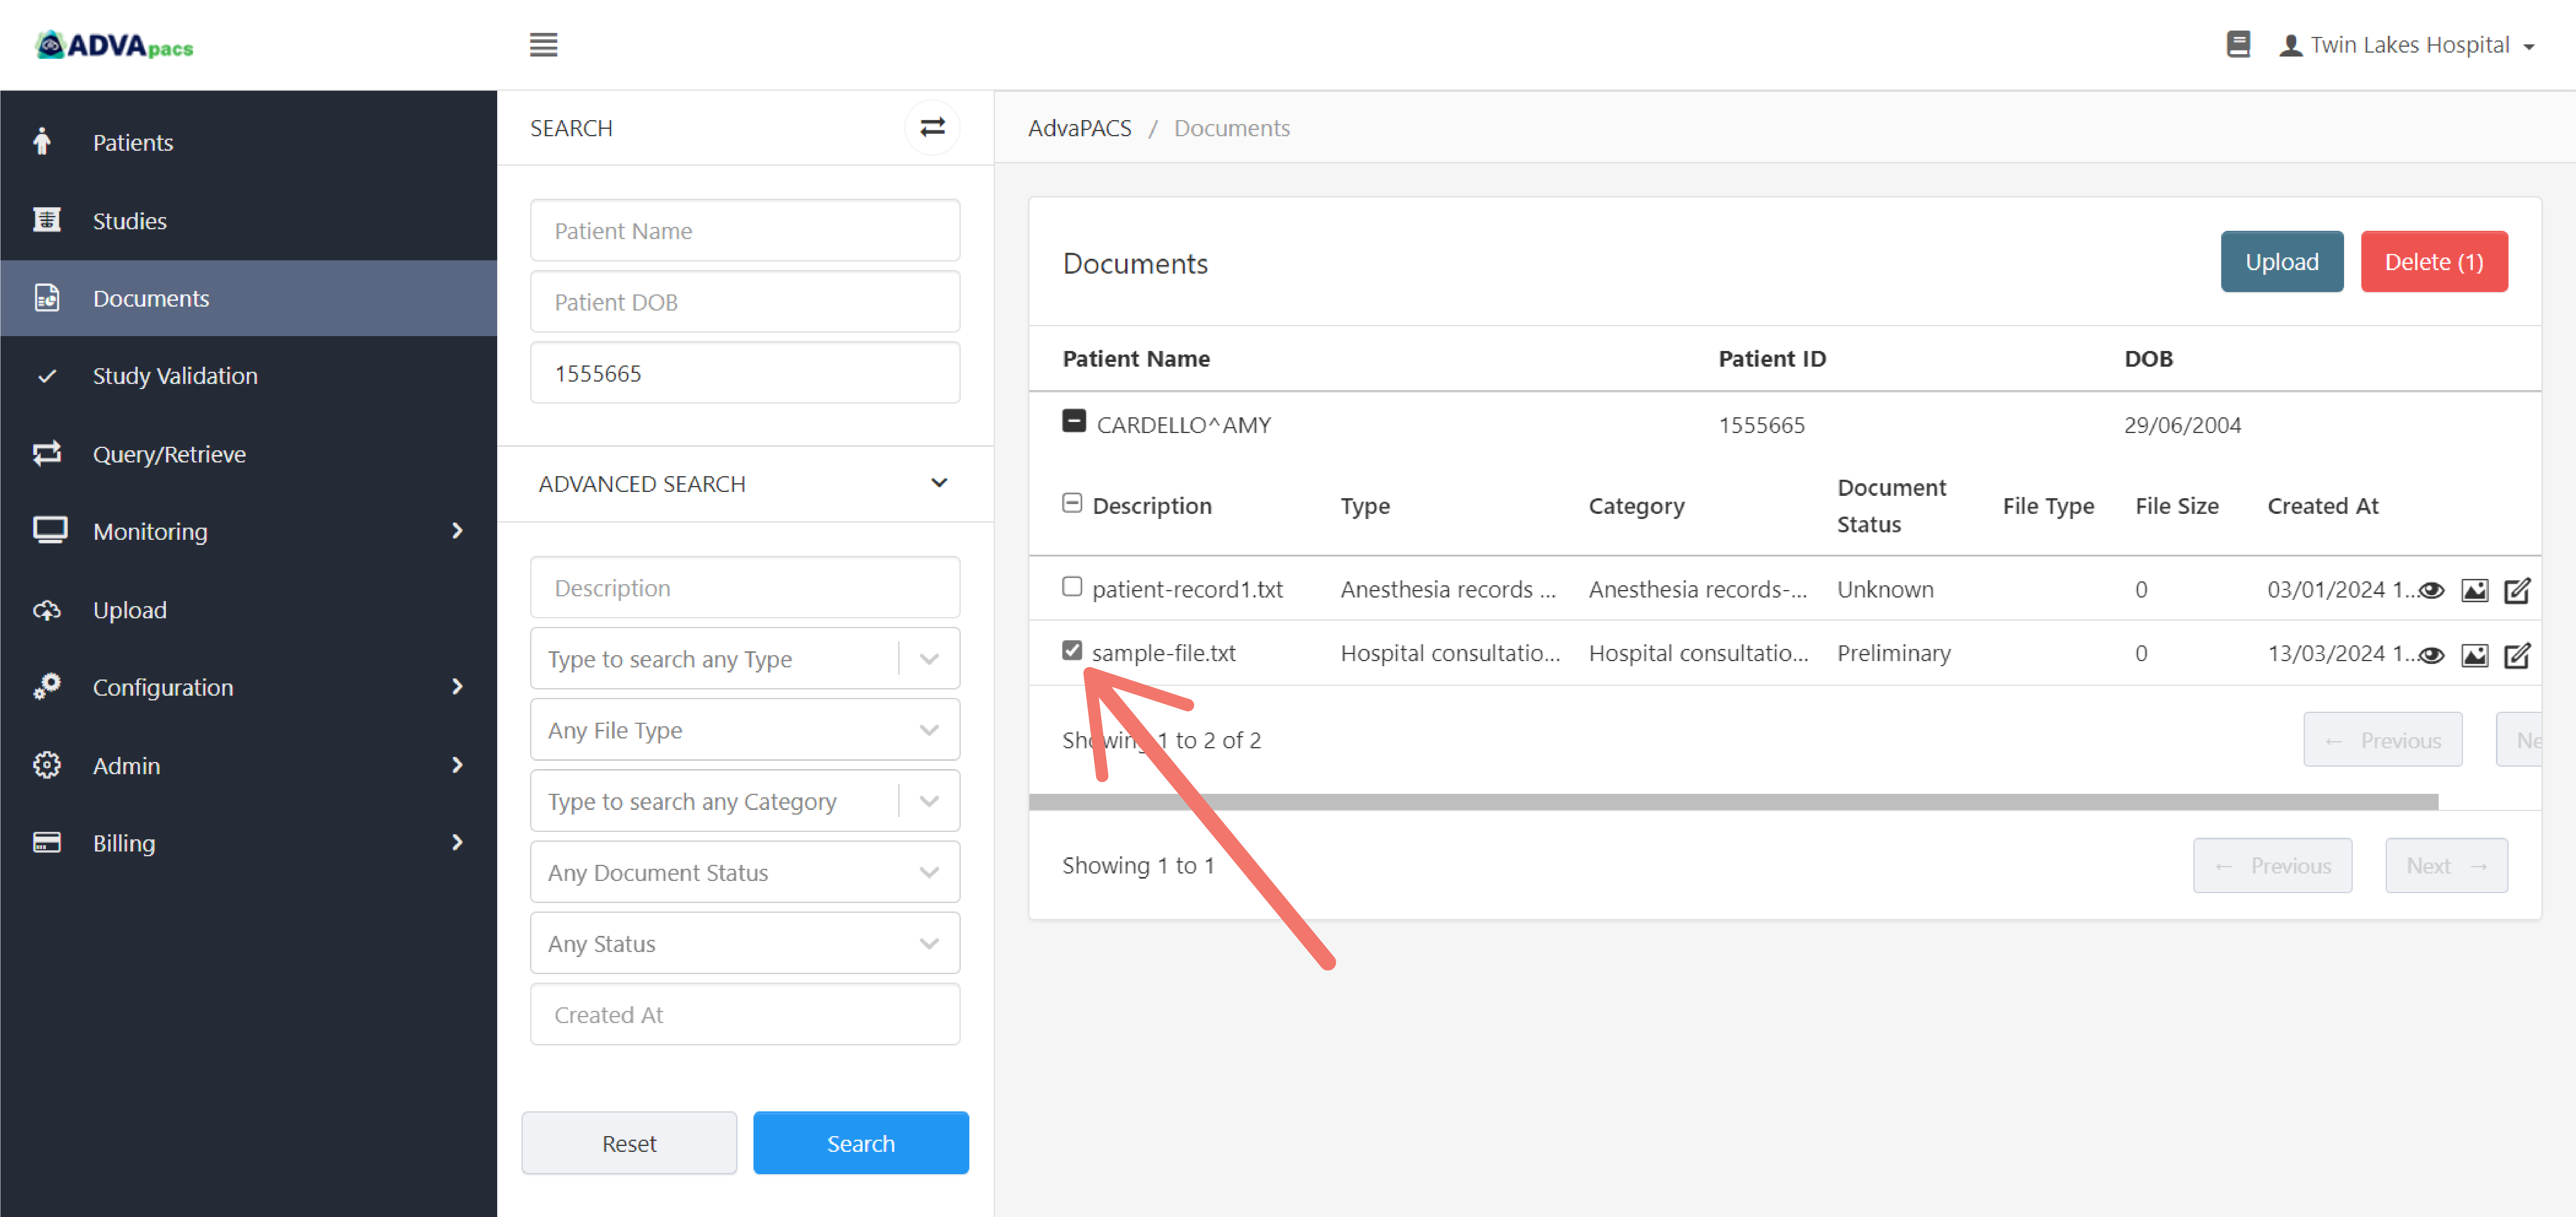
Then, click the Delete button.
