Display Configuration
Studies stored in AdvaPACS are viewed through our integrated diagnostic viewers. Two of these viewers, eUnity and MedDream, are web-based, which allows you to view studies right from your browser. This means that you can view DICOM images stored in AdvaPACS without the need for a diagnostic viewer installed on your local computer.
Display Configuration Tool
By default, viewing a study using the web-based DICOM Viewer opens the viewer in a new browser tab. The Display Configuration tool allows you to specify which monitor or monitors the diagnostic viewer opens on. This is especially useful in multi-monitor environments, where studies can automatically open on preferred displays to support a more efficient viewing workflow.
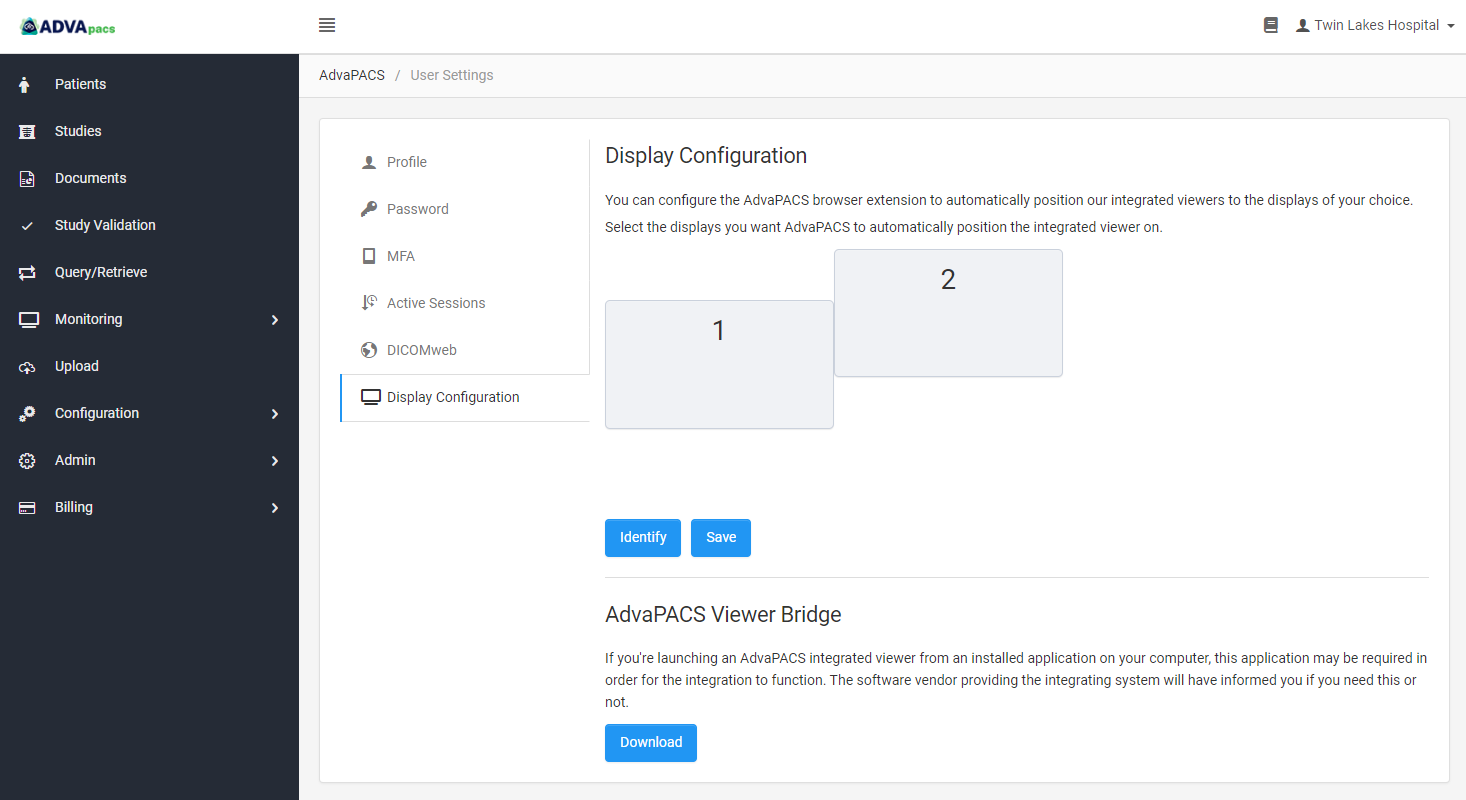
The Display Configuration works by using a browser extension, called, AdvaPACS Viewer. This extension is available in Google Chrome, Firefox, and other Chromium-based browsers.
Installation
Follow the below steps to install the Display Configuration Tool.
- Go to User Settings.
- Select Display Configuration.
- Select the link to install the AdvaPACS Viewer browser extension.
- Your browser’s extension store opens in a new tab. Add the extension to your browser.
- Return to Display Configuration.
Setting Default Monitors
Once the Display Configuration Tool has been installed, you can now configure which monitors you would like to use.
- Identify the monitors by clicking Identify. This will show the screen identification numbers on your monitors.
- Select the monitor on which you would like to launch the DICOM Viewer.
- Click Save to apply the configuration.
AdvaPACS Viewer Bridge
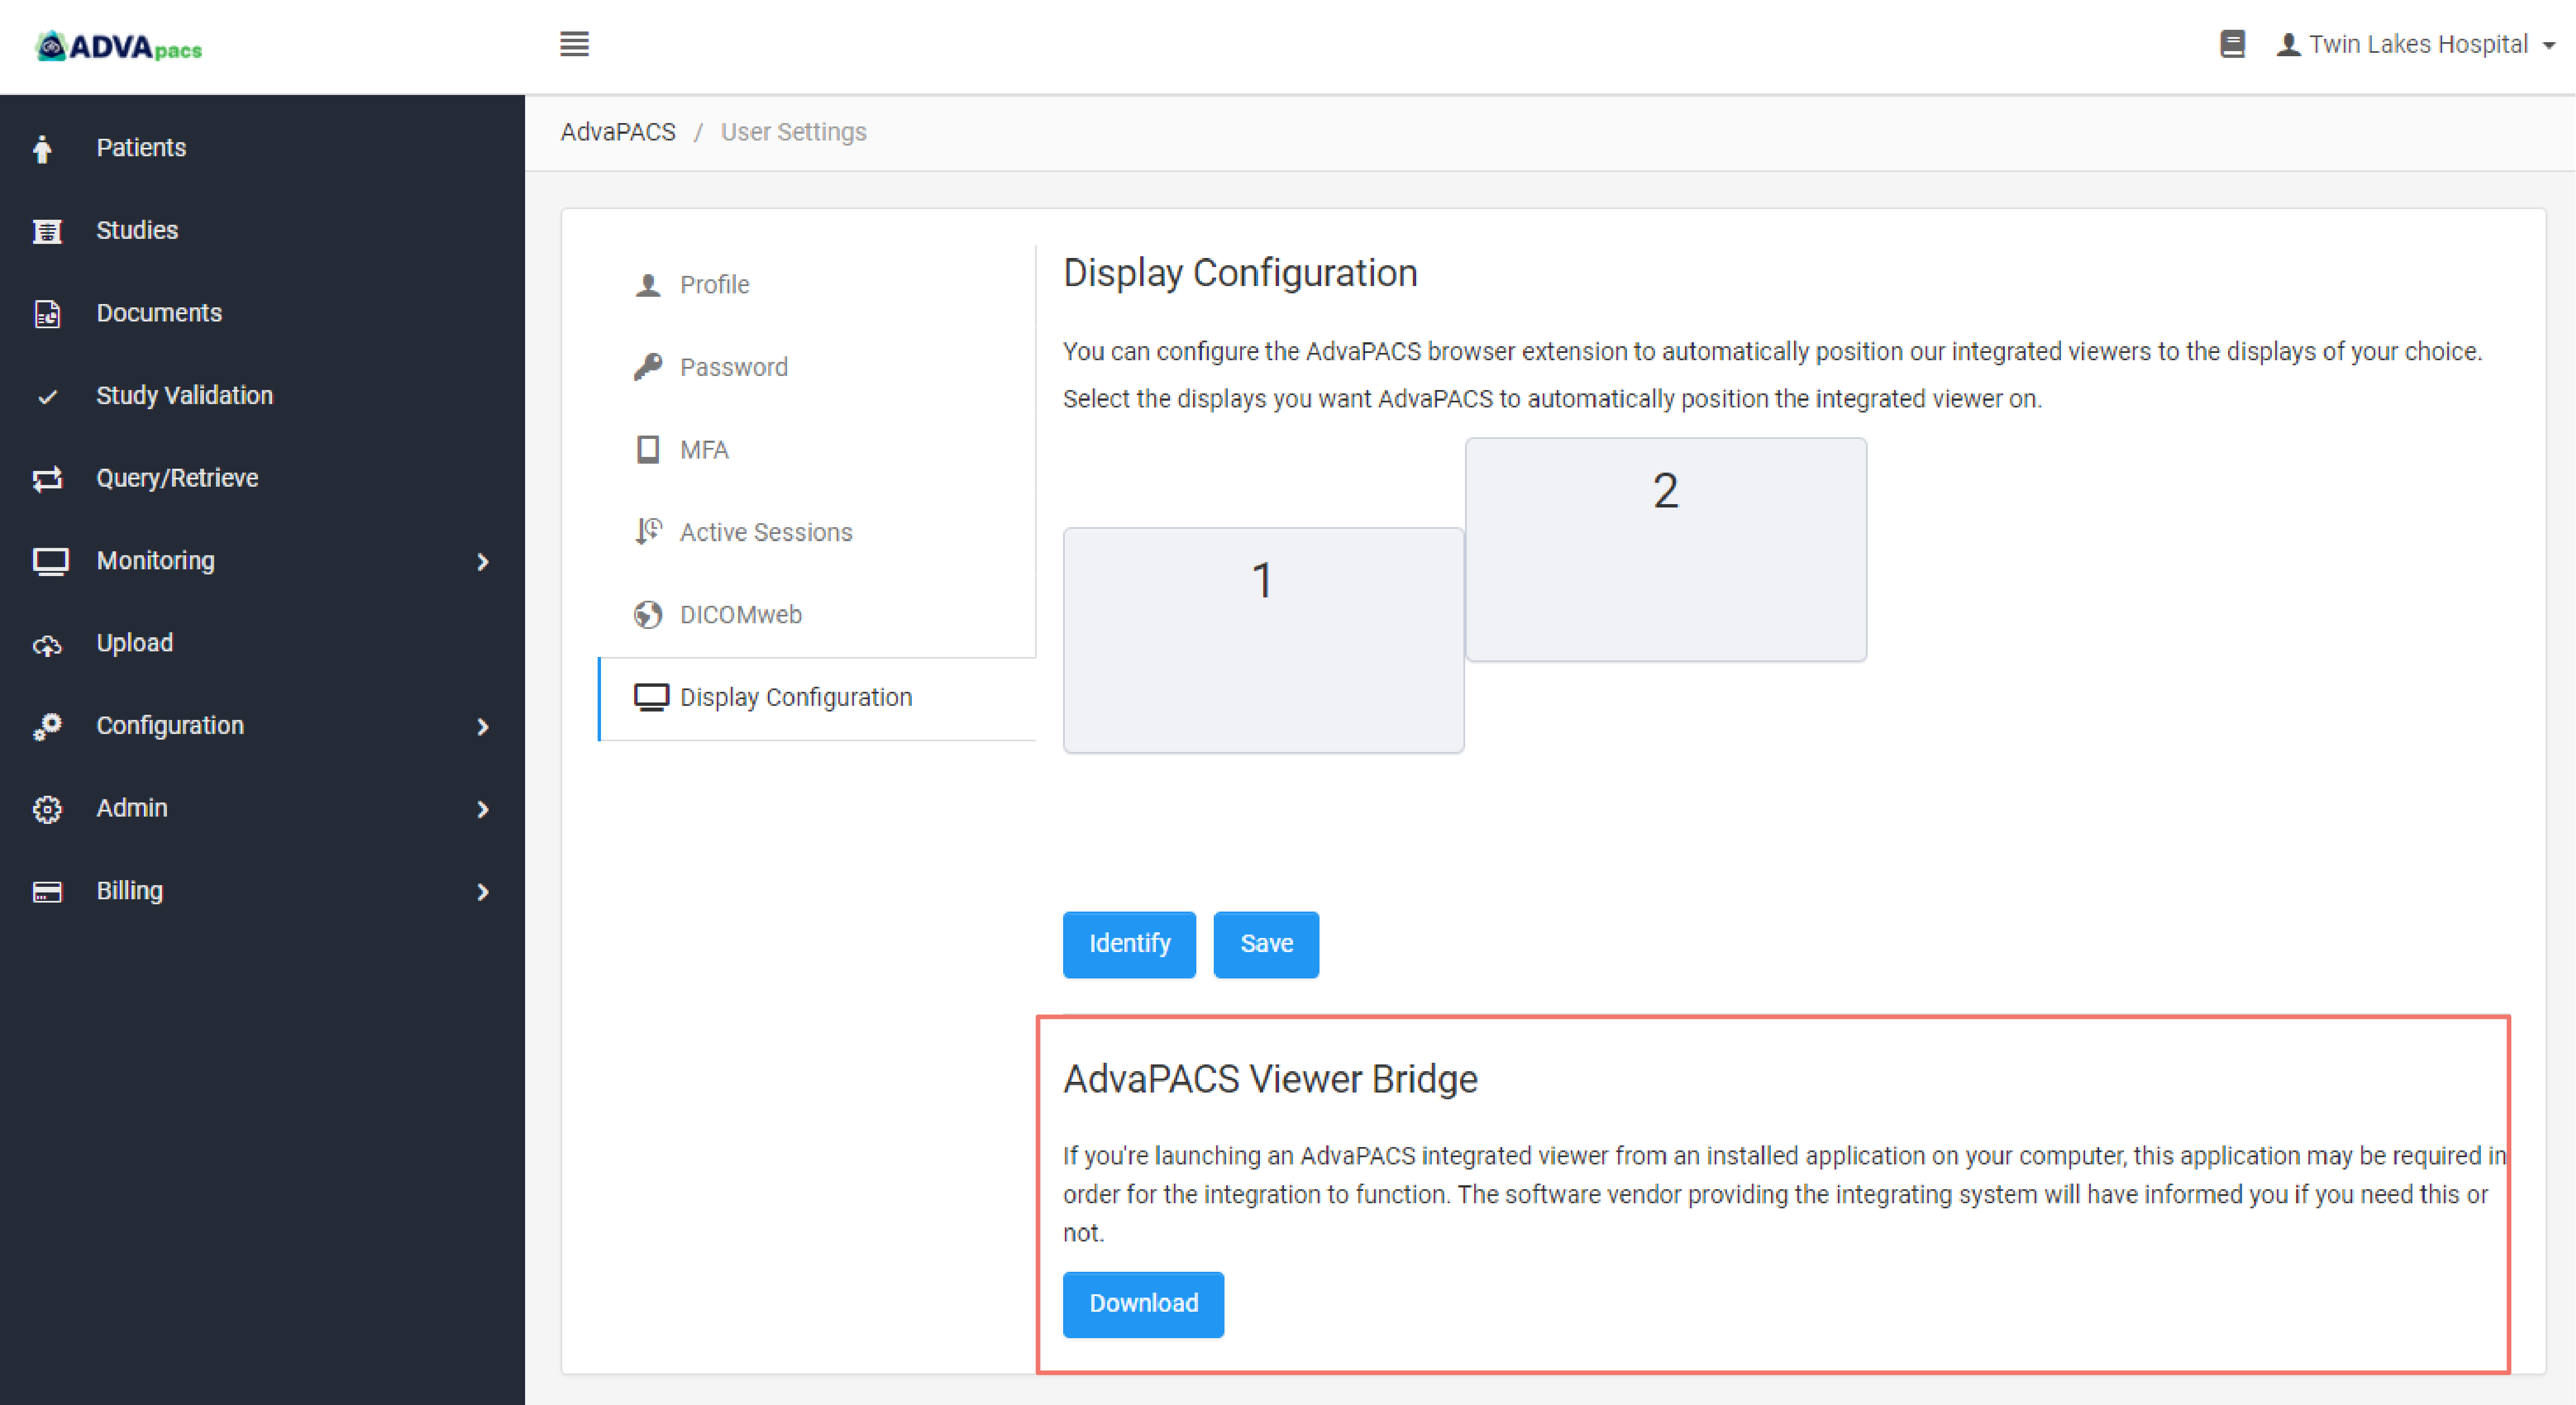
The AdvaPACS Viewer Bridge allows you to open AdvaPACS's browser-based diagnostic viewers from an application installed on your desktop.
Similar to how you can launch diagnostic viewers from AdvaPACS, the AdvaPACS Viewer Bridge allows you to launch the viewers from supported applications installed on your computer.