Docker
The AdvaPACS Gateway can be deployed using Docker Engine or Docker Desktop, providing a lightweight, portable installation that is easy to deploy, manage, and update. This option is ideal for environments that already use Docker or container-based infrastructure.
Prerequisites
Before installing the Gateway, ensure you have:
- Docker or Docker Desktop installed and running.
- Docker Compose available (included with modern versions of Docker Desktop).
- A Gateway created in AdvaPACS.
- The following Gateway details:
- Access Key ID
- Access Key Secret
- Region
If you haven't yet created a Gateway, complete that step before proceeding.
Step 1: Download the Gateway Image
-
Go to the AdvaPACS Dockerhub Page and click download.
-
Click the Tags tab.
-
Copy the latest Gateway image tag which will be used in the
docker-compose.ymlfile that we'll create later. Take note of the the image path and its latest version, for example:advahealthsolutions/advapacs-gateway:1.19.0
Step 2: Create a Gateway directory
Create a directory for the Gateway configuration and navigate to it:
mkdir gateway
cd gateway
Step 3: Create a Docker Compose File
-
Create a file named
docker-compose.ymlin macOS/Linux:touch docker-compose.ymlOr on Windows:
echo. > docker-compose.yml -
Open the file in a text editor and add the following configuration:
docker-compose.ymlversion: '3.4'
services:
advapacs:
image: advahealthsolutions/advapacs-gateway:<tag>
environment:
ADVAPACS_ACCESS_KEY_SECRET: <access key secret>
ADVAPACS_ACCESS_KEY_ID: <access key id>
ADVAPACS_REGION: <region>
network_mode: "host" -
Replace the following with the information you gathered earlier:
<version>with the Gateway image version<access-key-id>with your Gateway Access Key ID<access-key-secret>with your Gateway Access Key Secret<region>with your Gateway region abbreviation (for examplesgp)
For example:
docker-compose.ymlversion: '3.4'
services:
advapacs:
image: advahealthsolutions/advapacs-gateway:1.19.0
environment:
ADVAPACS_ACCESS_KEY_SECRET: "+rVWPp9P+6feQOu37wAnnq4Z37EiTA1MDABUUCKNU0HwonZuDgrA0gjR/FQ6mQqsts8yLlHhRFsu93M/"
ADVAPACS_ACCESS_KEY_ID: "0e408e37d6d943238f8fea1e47fc2703"
ADVAPACS_REGION: "sgp"
network_mode: "host" -
Save the changes to the file.
Using host networking allows any Local AEs created on the Gateway to be directly accessible from other devices on your network without additional Docker port mappings.
If your environment requires bridge networking instead, you can publish the required DICOM ports manually.
Step 4: Start the Gateway
-
Ensure Docker is running and start the Gateway by running running the command:
docker compose up -dIf you're using the legacy Docker Compose binary:
docker-compose up -d -
Verify that the container is running by viewing it in Docker Desktop, or by running the command:
docker psWhich will show all running containers:
CONTAINER ID   IMAGE                                        COMMAND                  CREATED         STATUS         PORTS                              NAMES
e8d3354b9891 advahealthsolutions/advapacs-gateway:1.6.2 "java org.springfram…" 3 minutes ago Up 2 minutes gateway_advapacs_1 -
Verify the Gateway is online by returning to Configuration → Gateways in AdvaPACS. Within a few minutes, the Gateway should now show as Online.
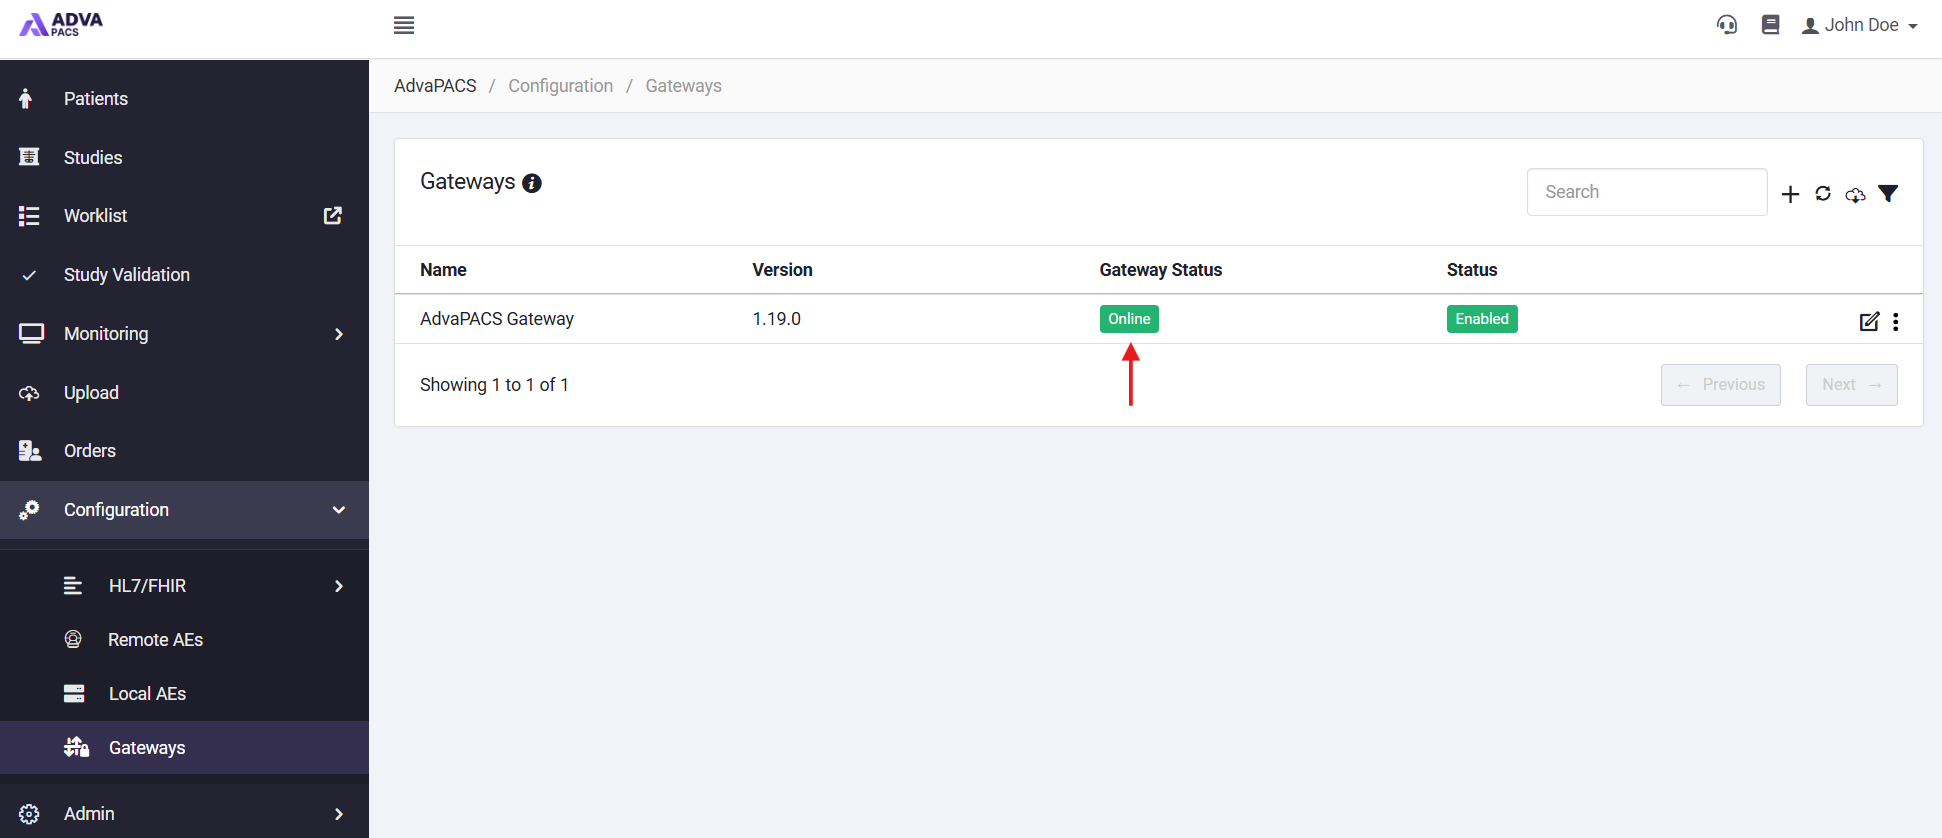
If it does not appear immediately, refresh the page.
Next steps
Your Gateway is now ready to receive DICOM studies.
The next step is to configure one or more DICOM servers on the Gateway, then point your modalities at those servers.