User Management
Users in the Reporting Worklist can be managed to control who has access to reporting workflows and what actions they can perform. User management allows administrators to add and configure users, assign appropriate roles and permissions, configure signatures and manage each user's access to the Reporting Worklist. This ensures that radiologists, reporting staff, and other users have the appropriate level of access for their responsibilities.
Create a Role
Roles define the permissions available to users within the Reporting Worklist. By creating roles, you can ensure users have access only to the features required for their responsibilities.
To create a new role:
- From the Reporting Worklist, navigate to Admin → Users.
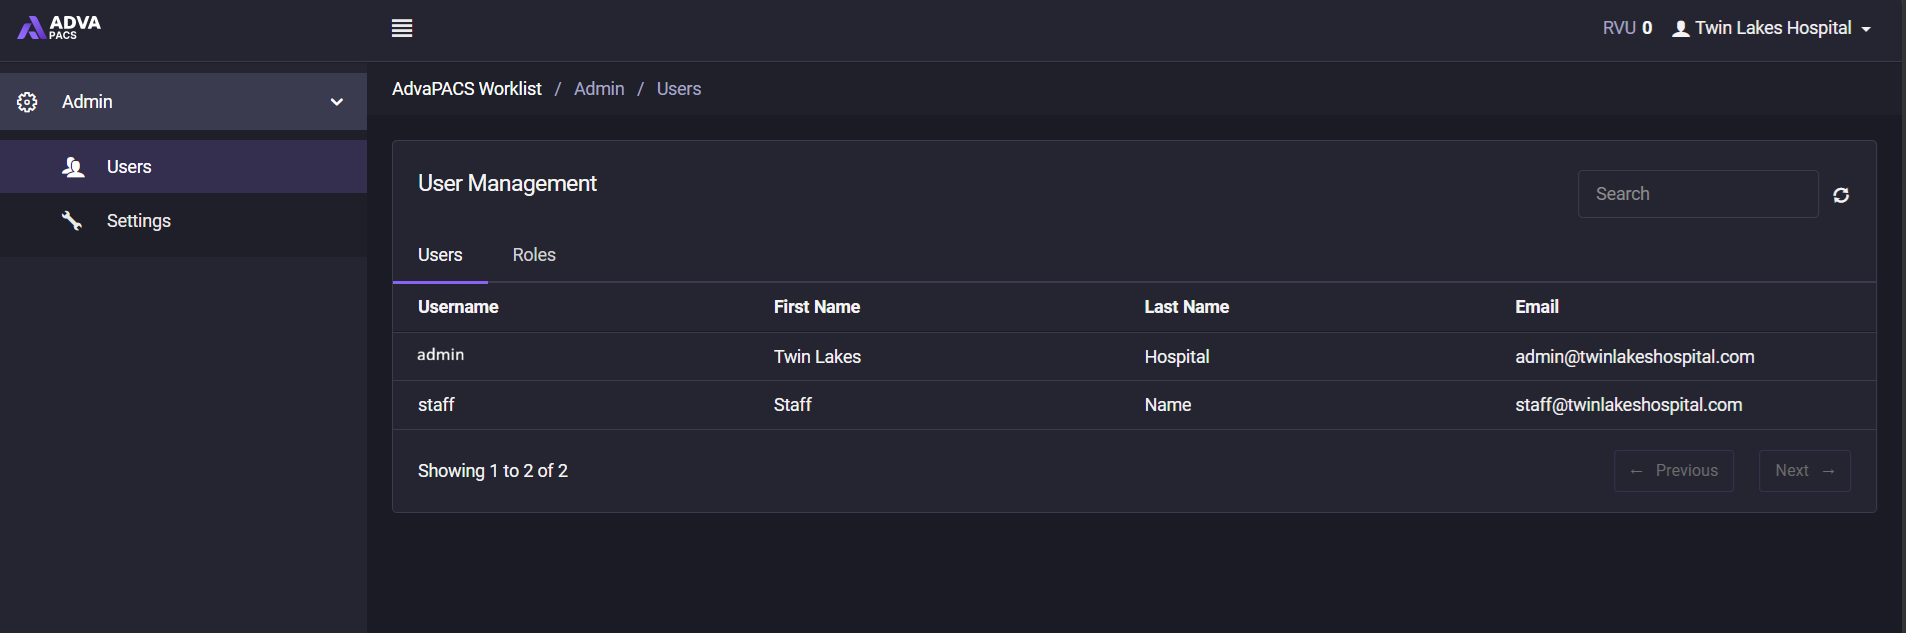
- Select the Roles tab.
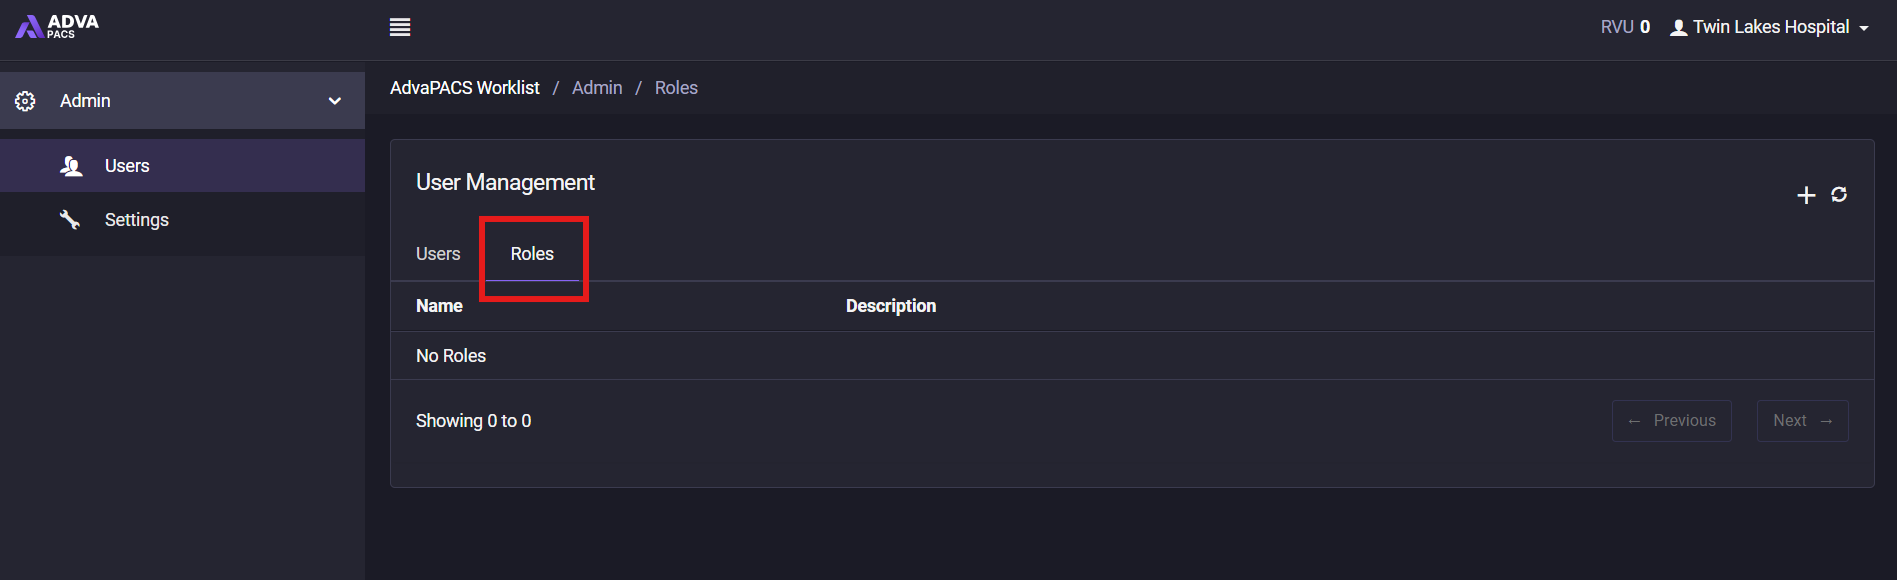
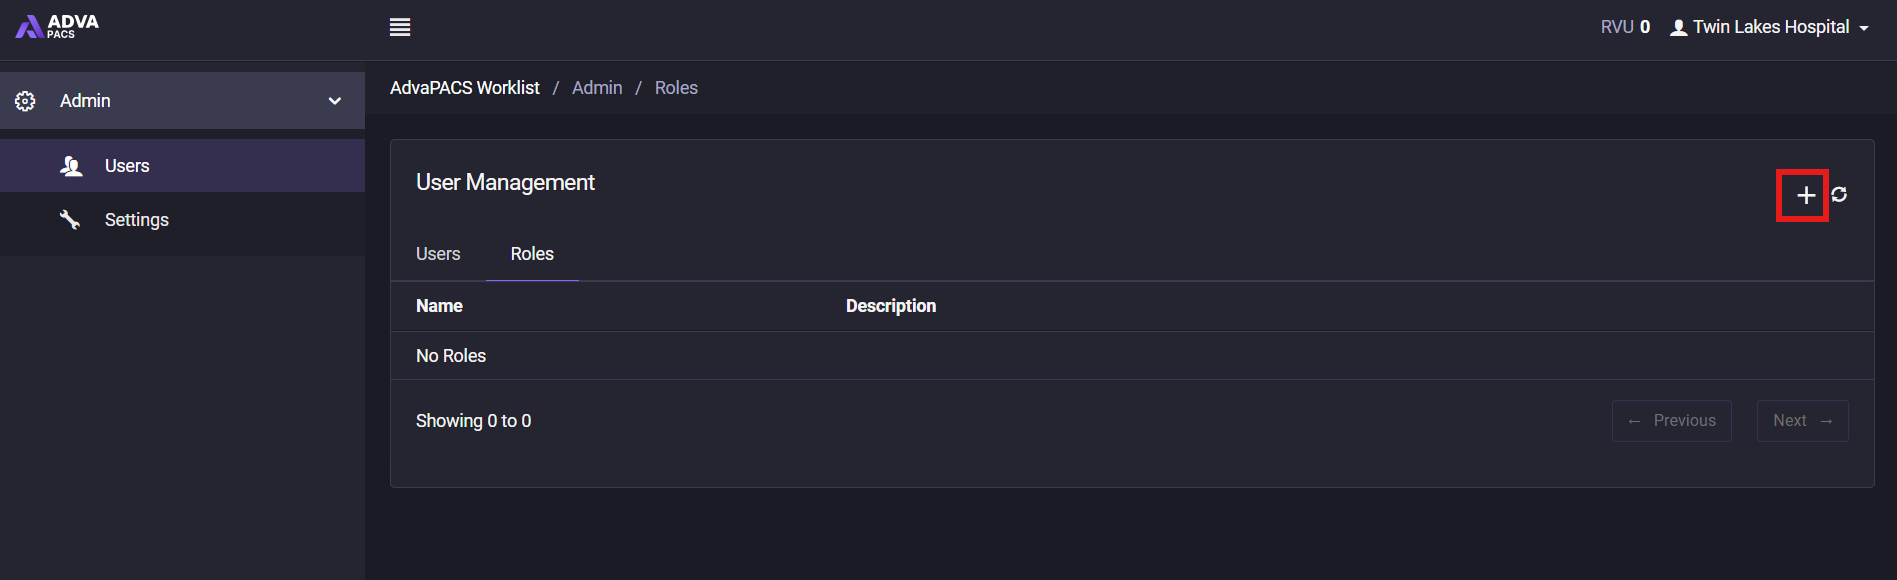
- Click Add Role.
- Enter a descriptive Name for the role.
- Select the required permissions.
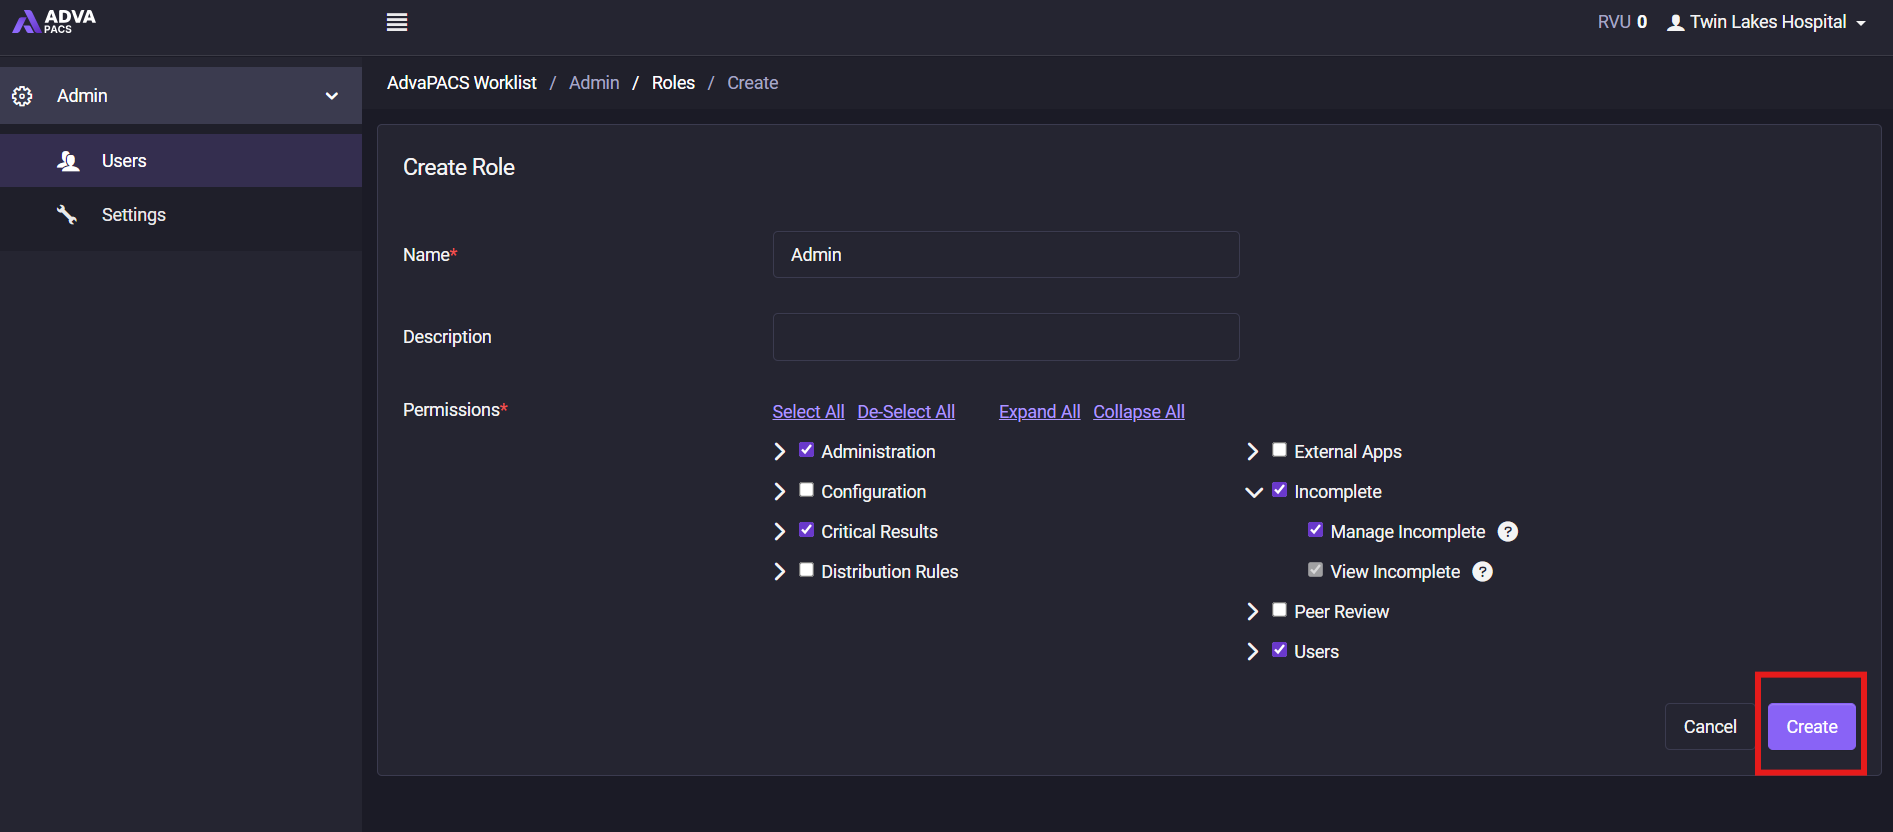
- Click Save.
The new role can now be assigned to one or more users.
Assign a Role to a User
Once a role has been created, it can be assigned to one or more users. A user may be assigned multiple roles, with their effective permissions being the combination of all assigned roles.
To assign a role to a user:
- From the Worklist, Navigate to Admin → Users.
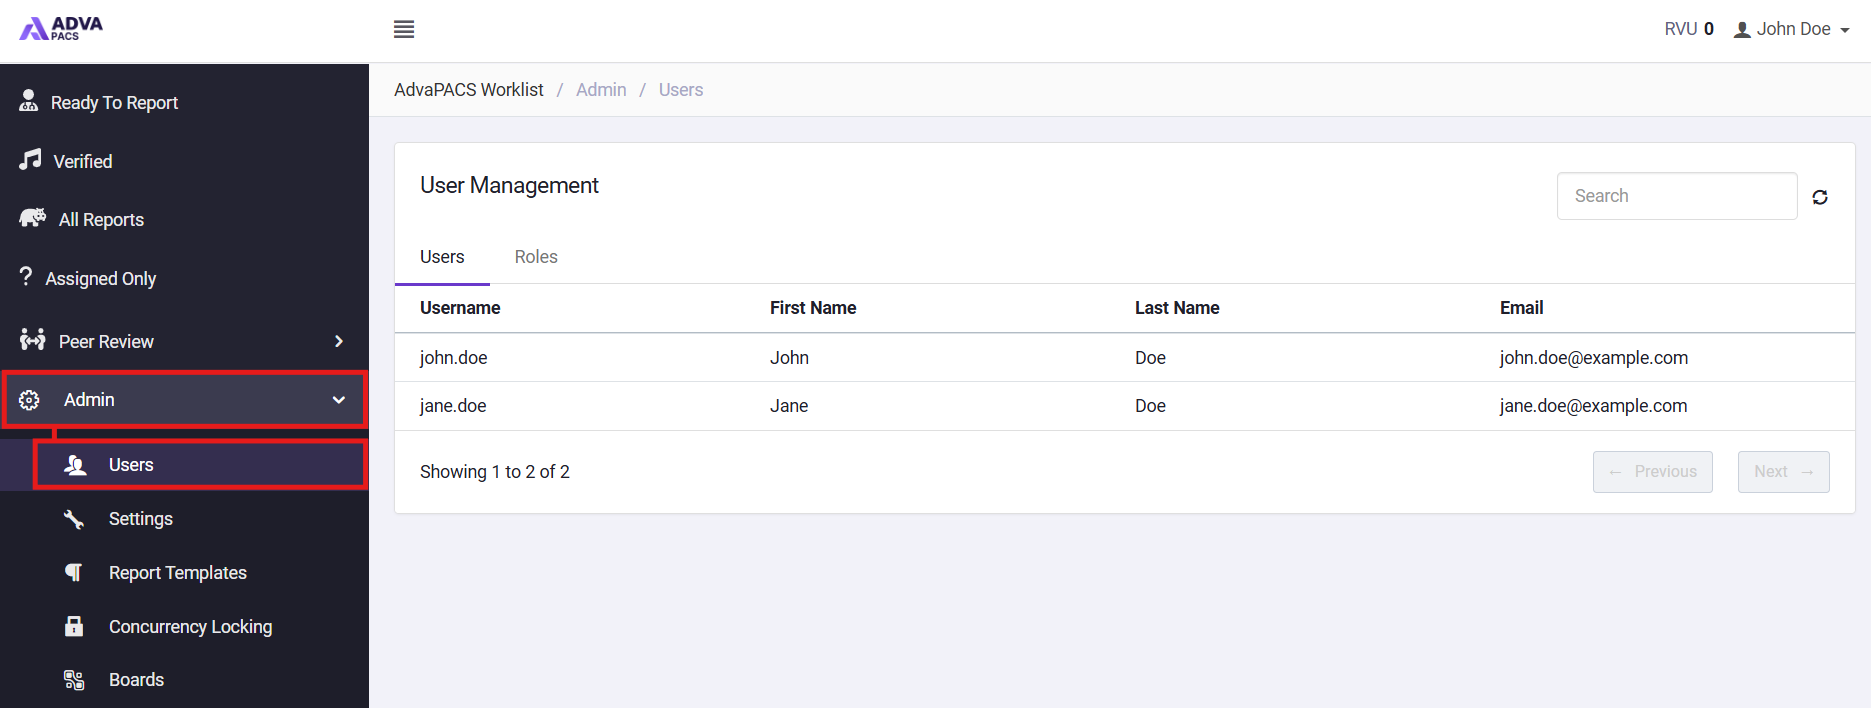
- Open the user you want to update.
- In the Roles section, select one or more roles.
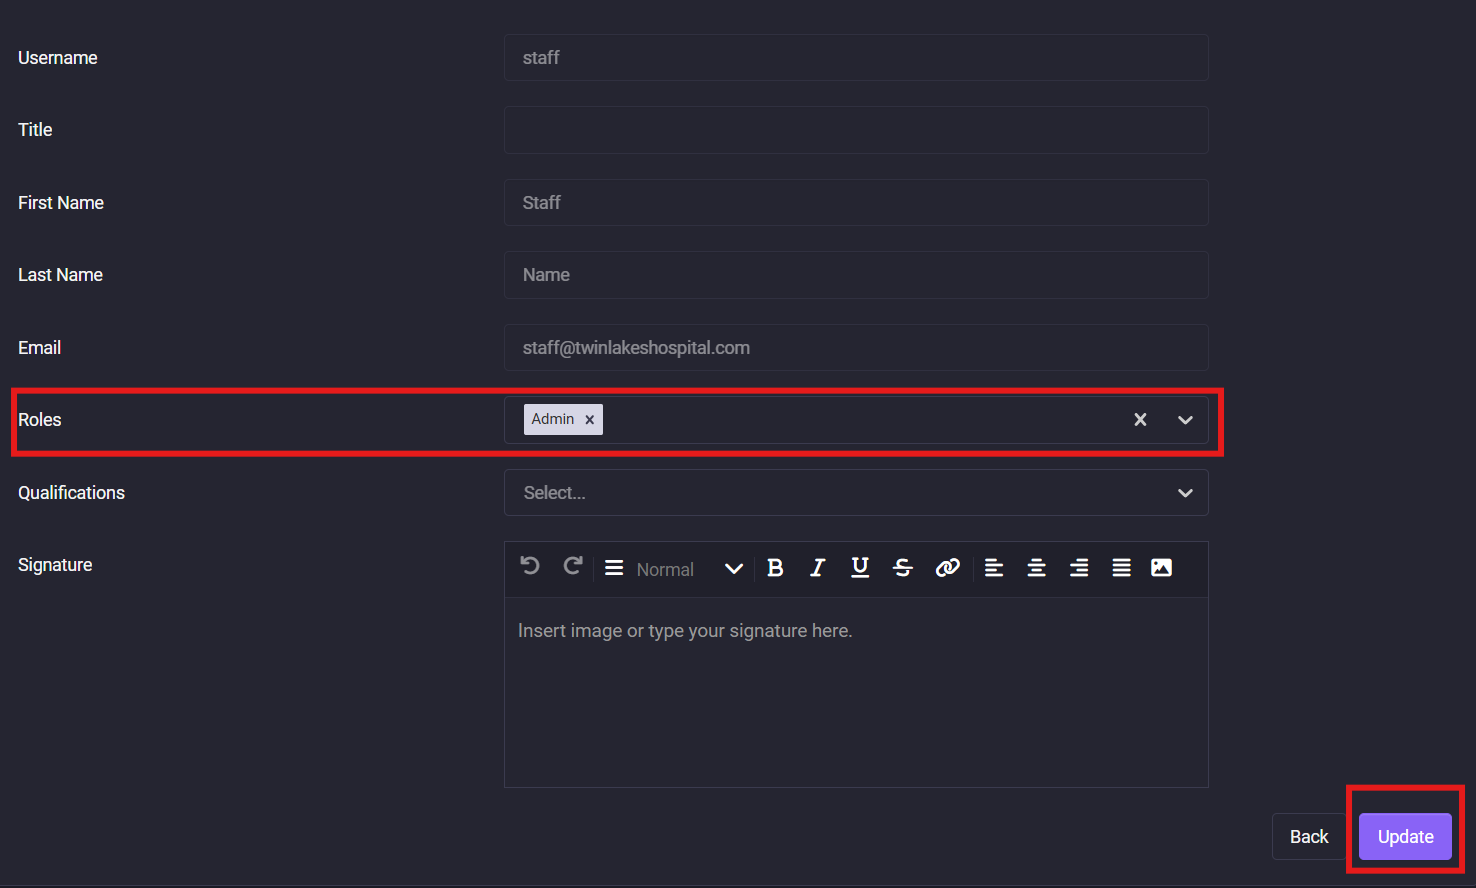
- Click Update.
The changes take effect immediately, and the user will have access to the permissions granted by their assigned roles.
Add a Report Signature
Administrators can add or update a report signature on behalf of a user. The signature can then be displayed on PDF reports if the report template has been configured to include it.
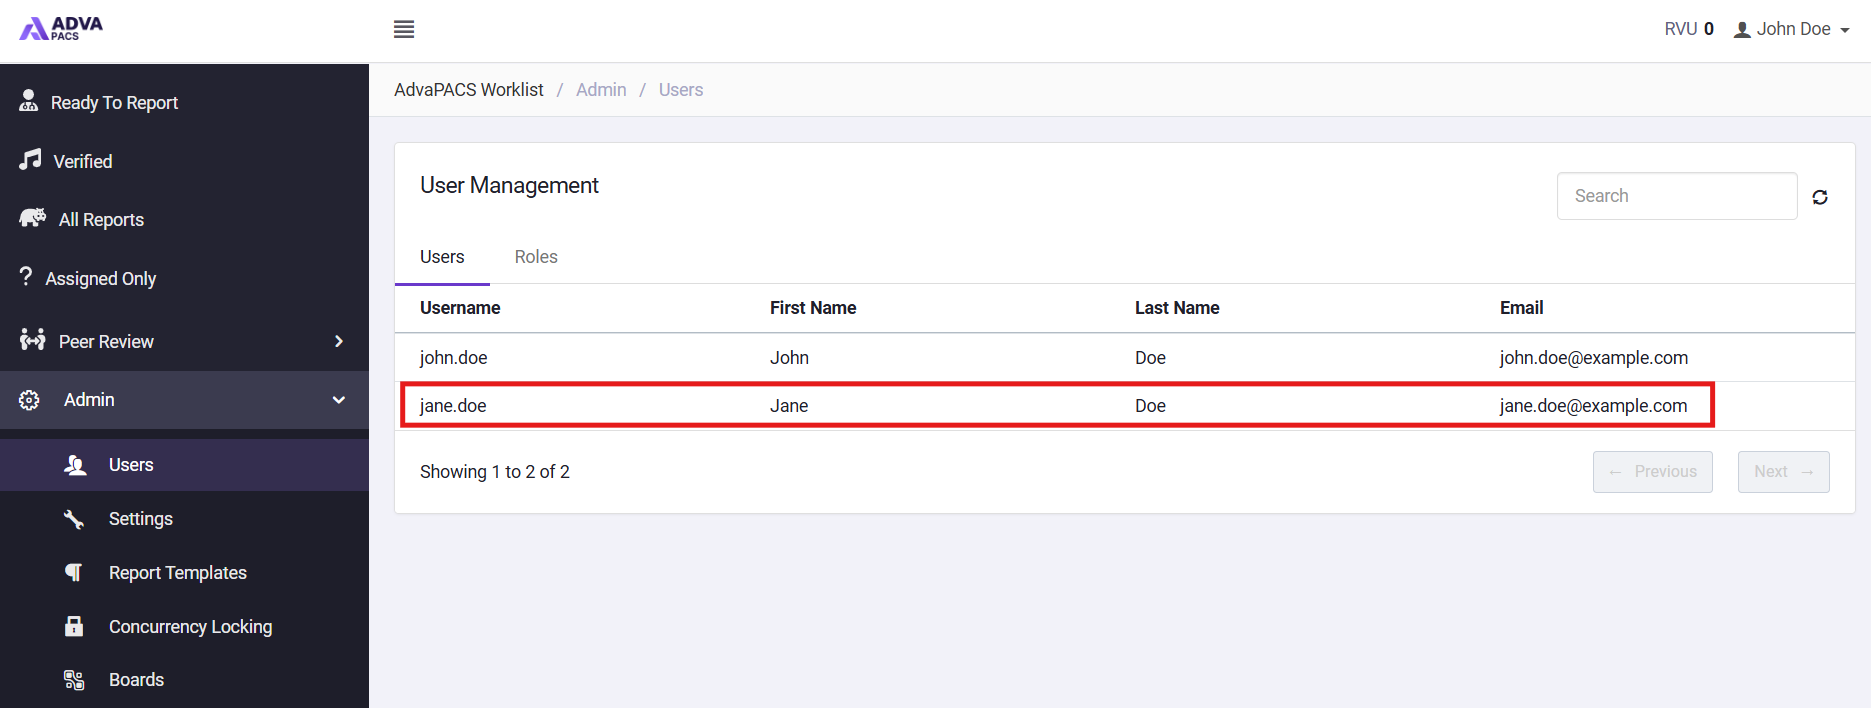
- From the Worklist, Navigate to Admin → Users.
- Select the user whose report signature you want to configure.
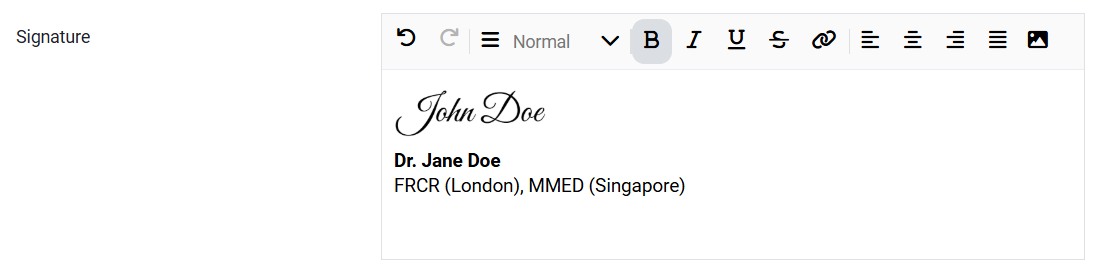
- Enter the user's signature using the editor. You can:
- Type a text-based signature.
- Paste an existing signature.
- Insert an image of the user's handwritten signature using the Image button in the toolbar.
- Use the formatting options to adjust the appearance of the signature as required.
- Click Save to apply the changes.
Once saved, the signature will be associated with the selected user and can automatically appear on supported PDF report templates when that user's signature is referenced by the template. Any changes to the signature will be reflected on all new and pre-existing reports.
Radiologist signatures are supported only on tenants with a custom PDF report template. If a PDF template has not been configured for your account, the signature methods described in this guide will not be available.
Please contact AdvaPACS Support to discuss enabling a custom report template.