Critical Results Management
The Critical Results Management module in AdvaPACS Worklist helps healthcare providers efficiently handle urgent cases by setting response times (SLAs), defining critical findings, and standardizing response instructions.
To access this module, go to Admin → Critical Results Management.
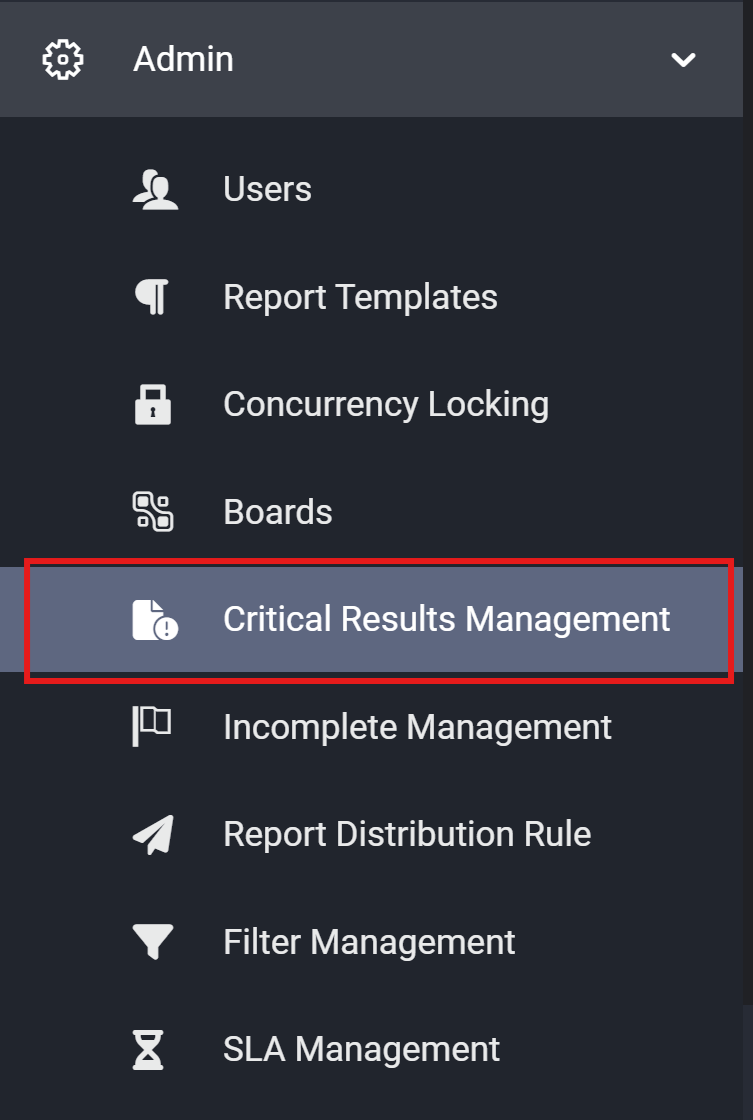
You need the "Manage Critical Results" permission to access this feature.
Key Components
The module consists of three main sections:
- SLAs (Service Level Agreements) – Define response time expectations for critical cases.
- Findings – Identify abnormal imaging results that require immediate attention.
- Instructions – Standardize response actions for critical cases.
1. SLAs (Service Level Agreements)
SLAs establish expected response times for urgent cases, ensuring timely follow-ups and better patient outcomes.
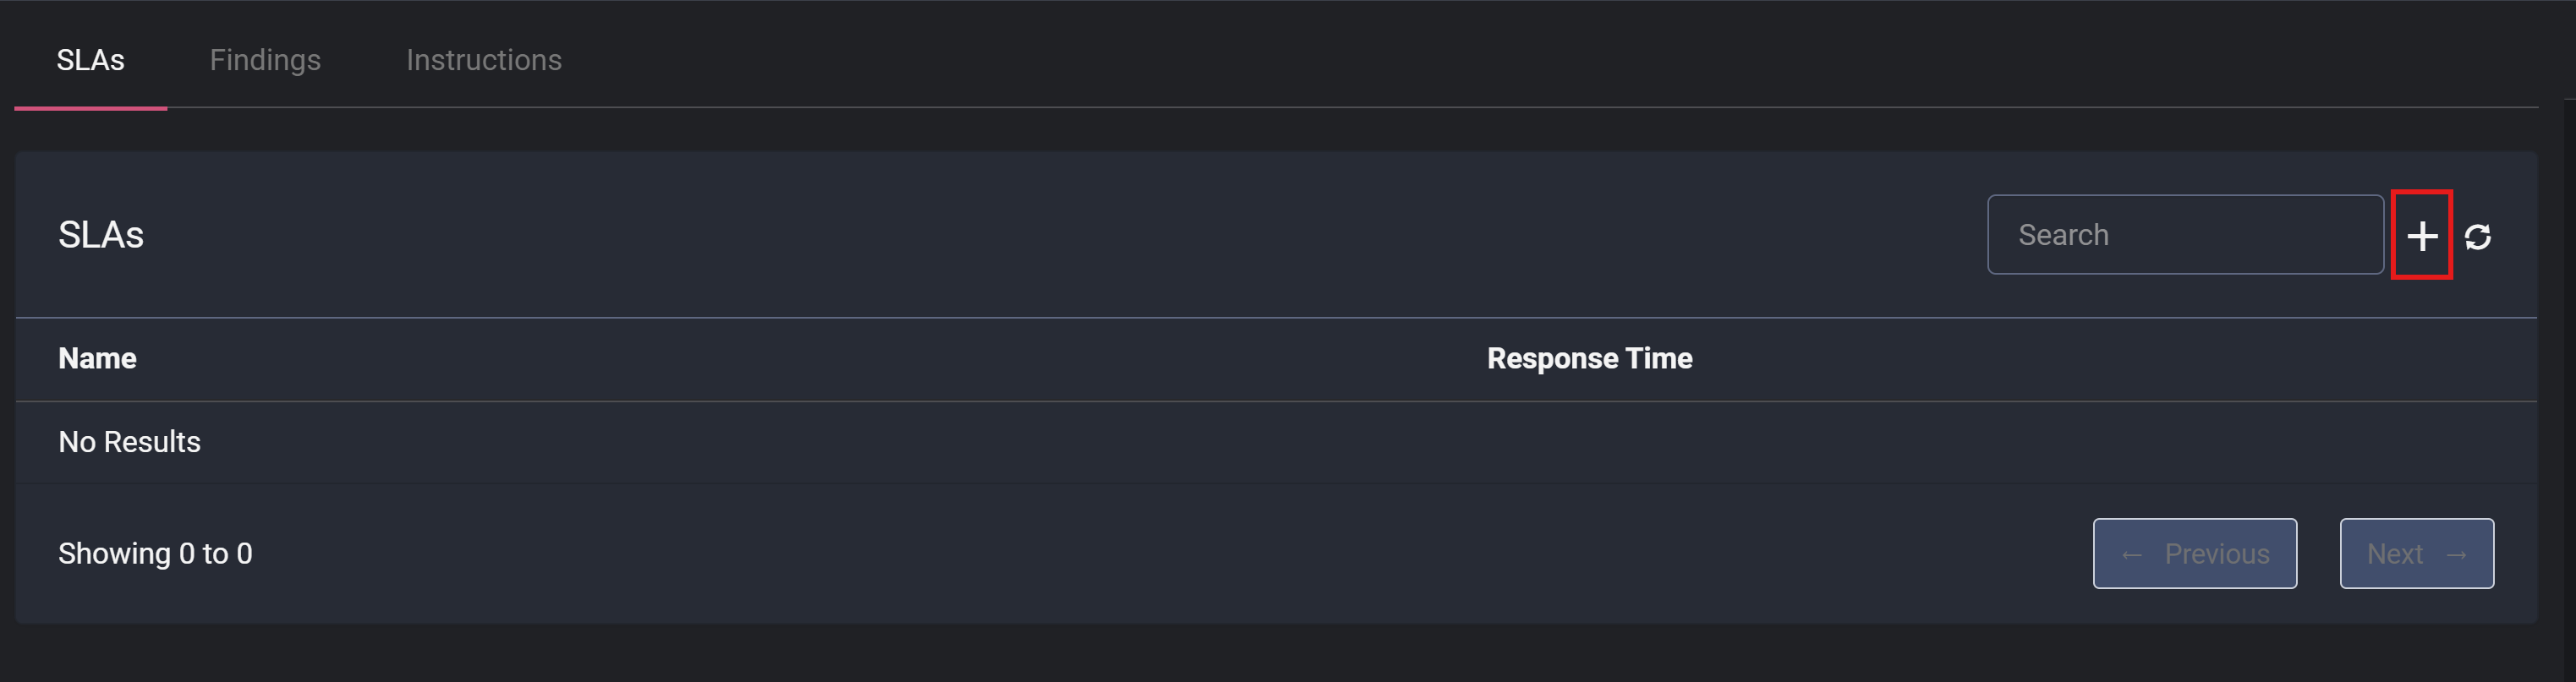
Creating a New SLA
-
Click the Add icon.
-
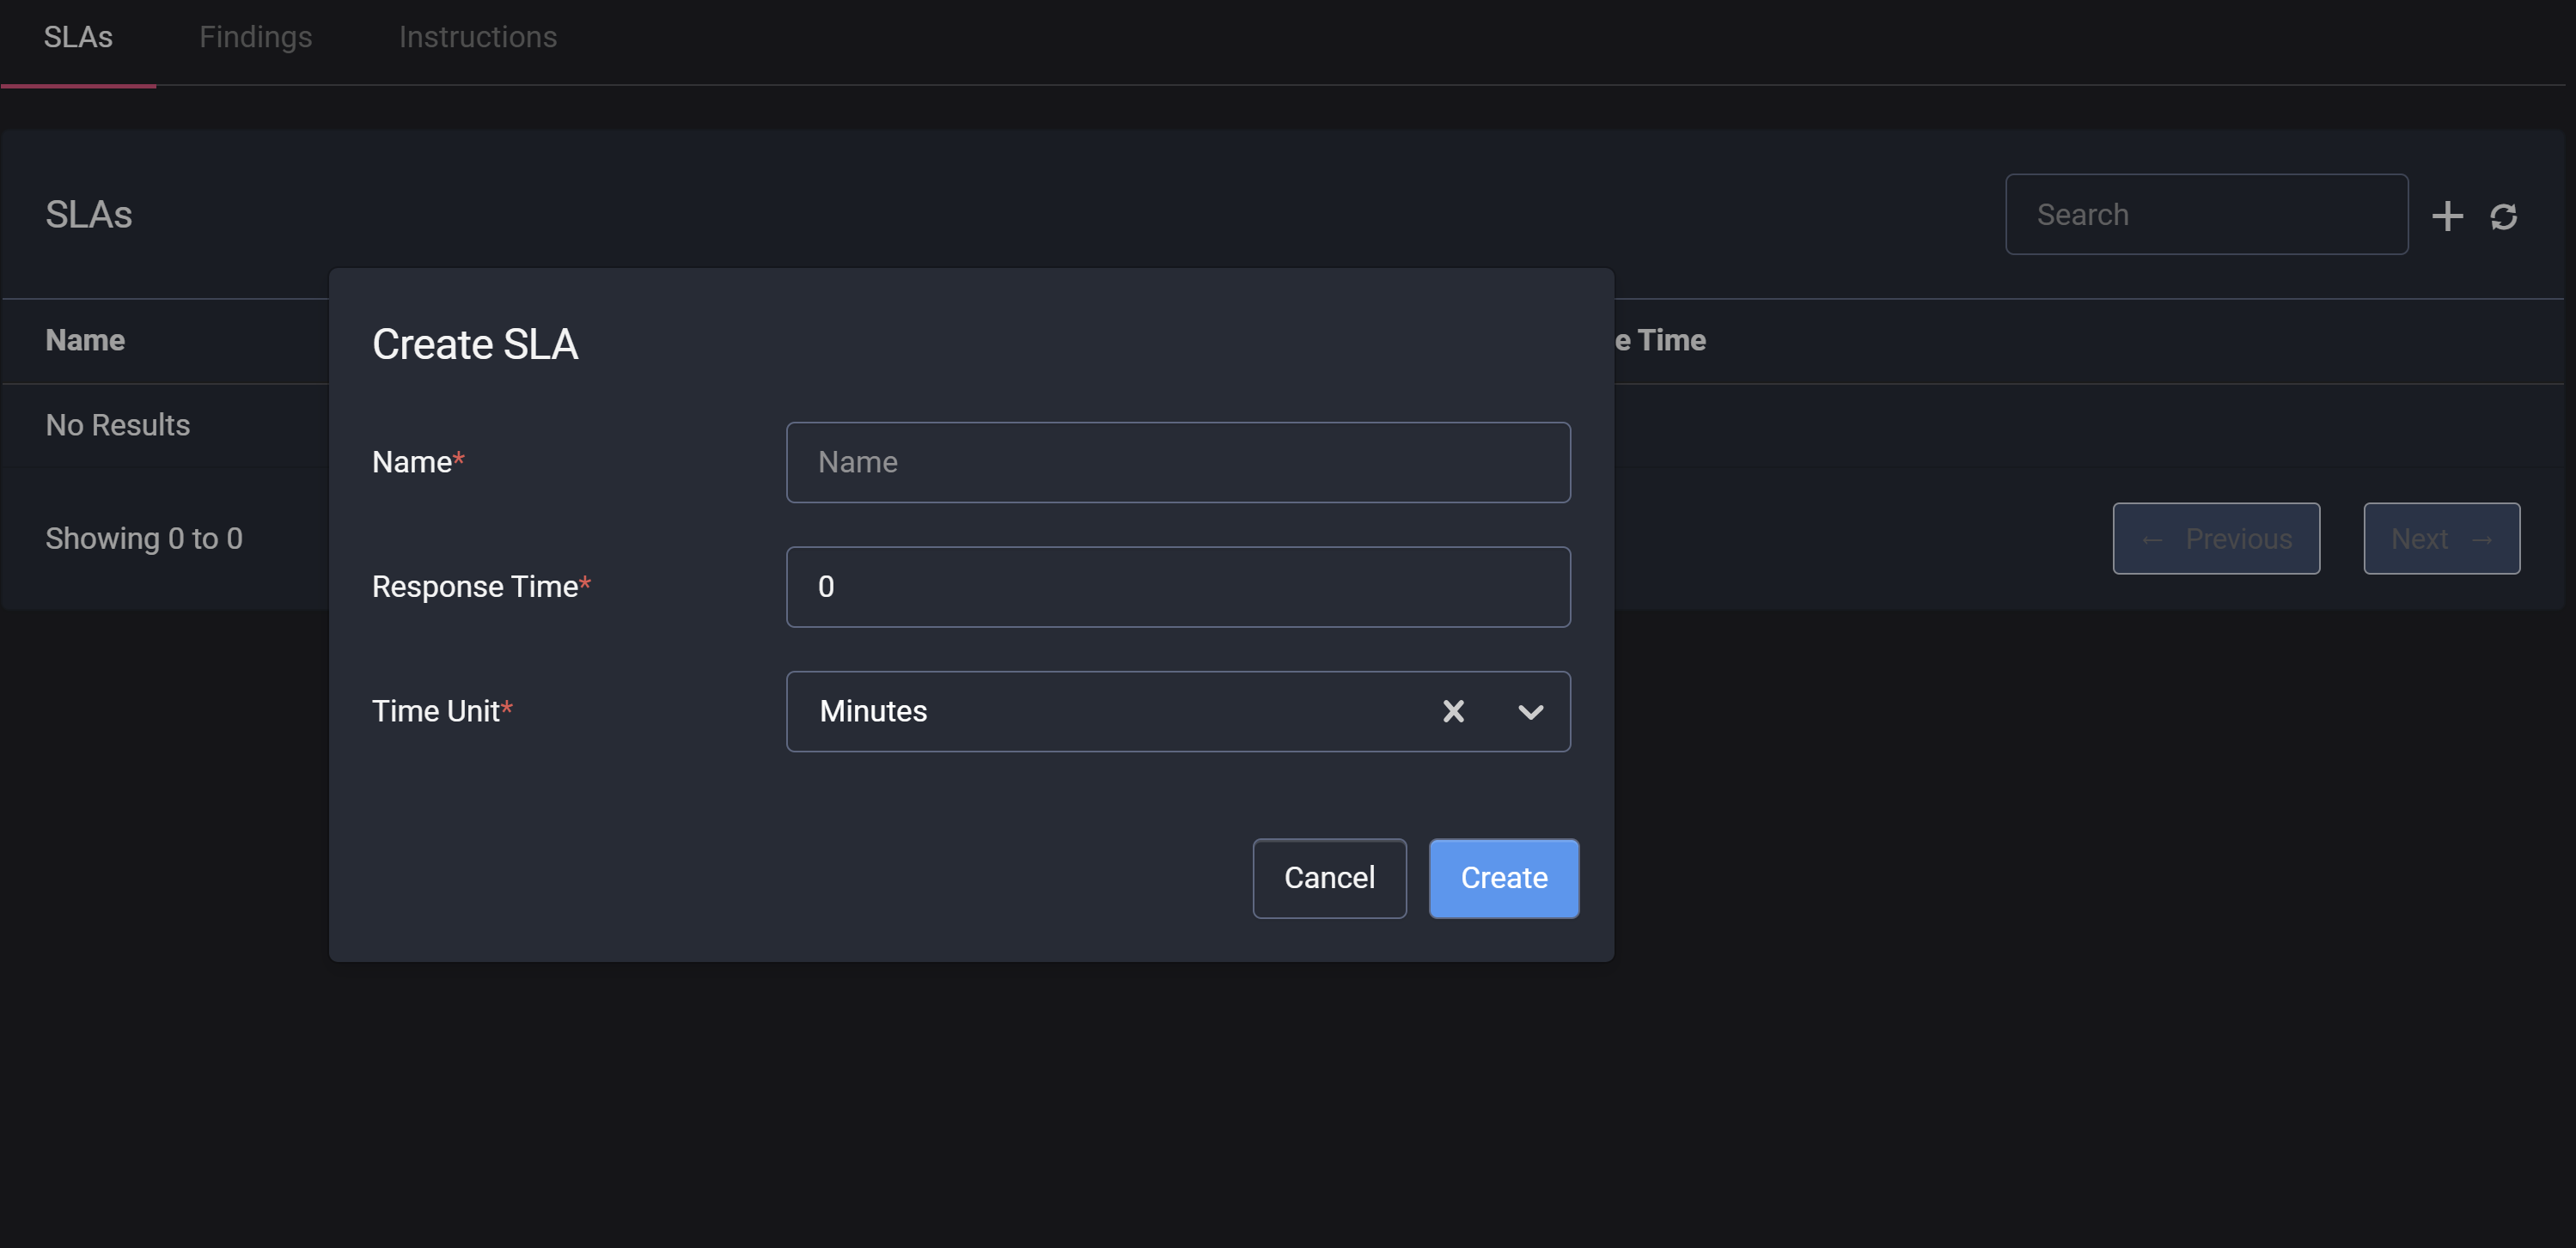
In the Create SLA window, enter:
- Name – Provide a meaningful name for the SLA.
- Response Time – Define the expected response time.
- Time Unit – Choose a unit (Minutes, Hours, or Days).
-
Click Save. The SLA is now available in the list.
Managing SLAs
Users can add, edit, and delete SLAs from the listing screen.
An SLA cannot be deleted if it is currently linked to a Finding. You must first remove the SLA from the Finding before deletion.
2. Findings (Abnormal Imaging Results)
Findings highlight critical abnormalities in medical images that require urgent attention. Each Finding is linked to an SLA, ensuring timely follow-up.
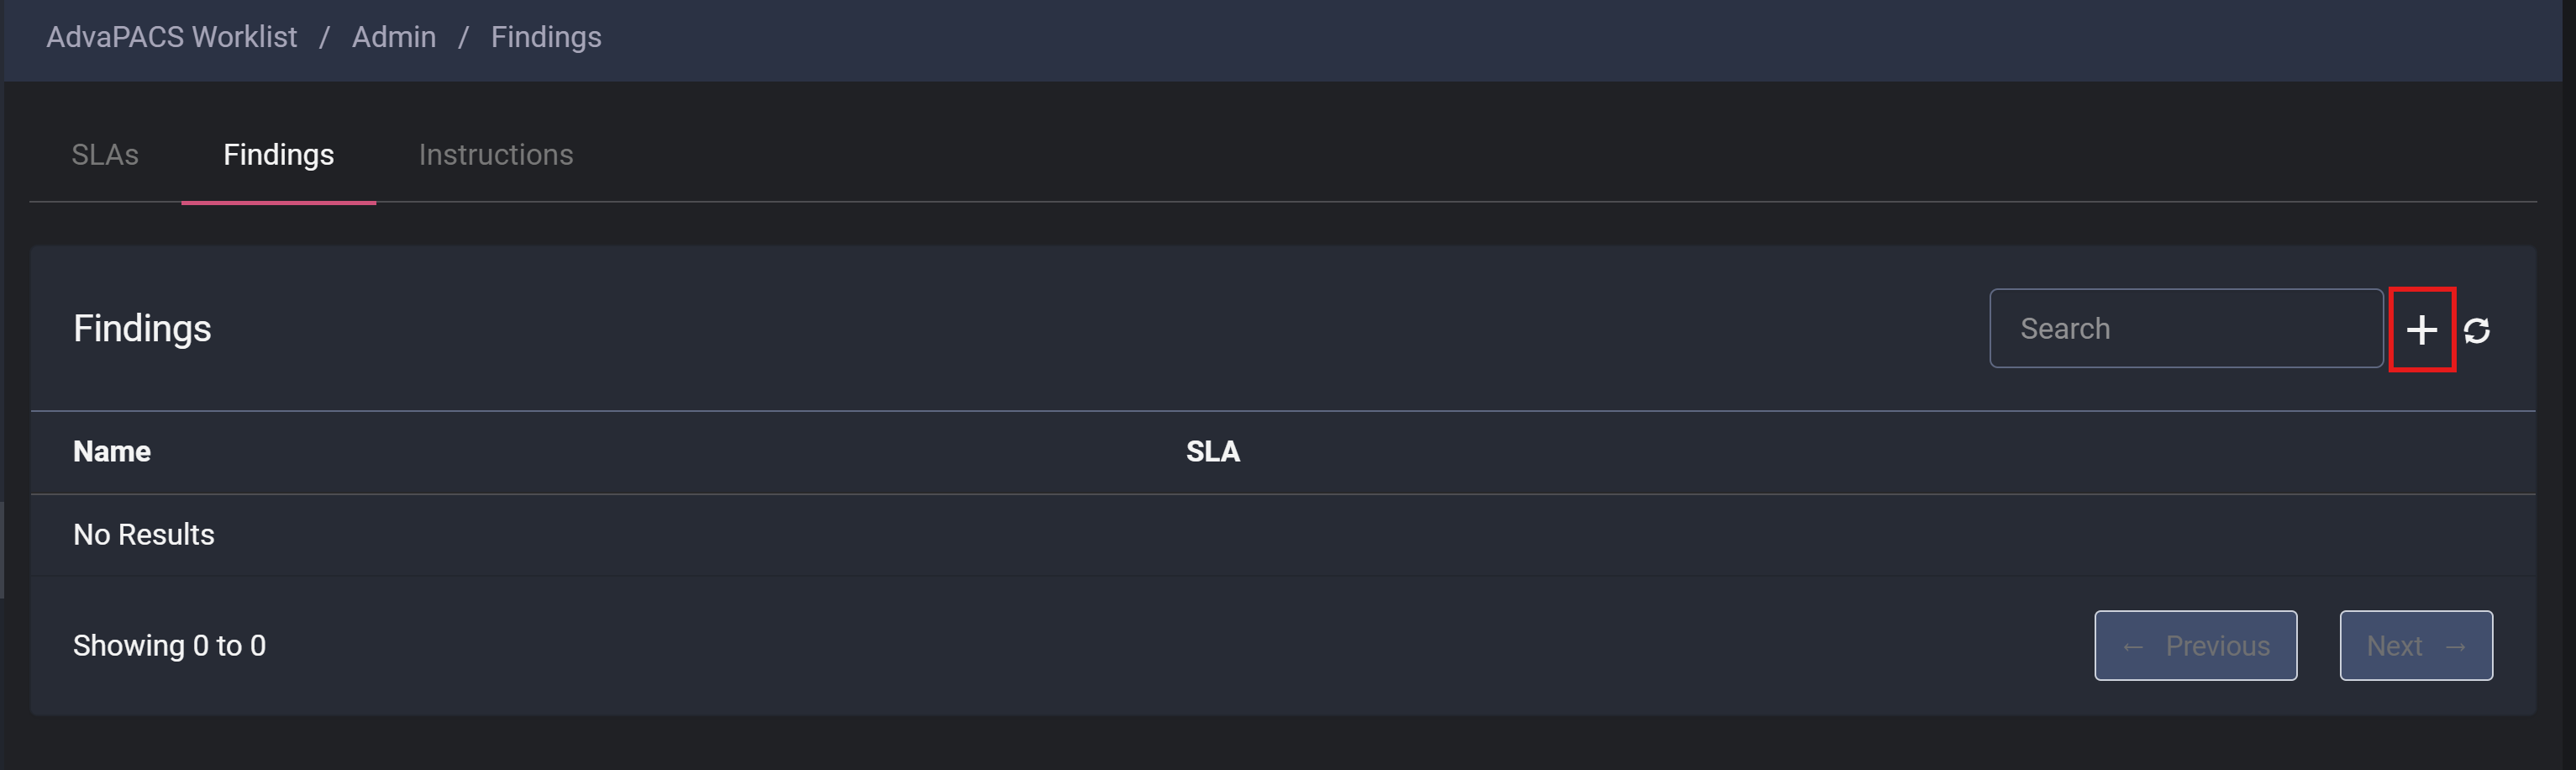
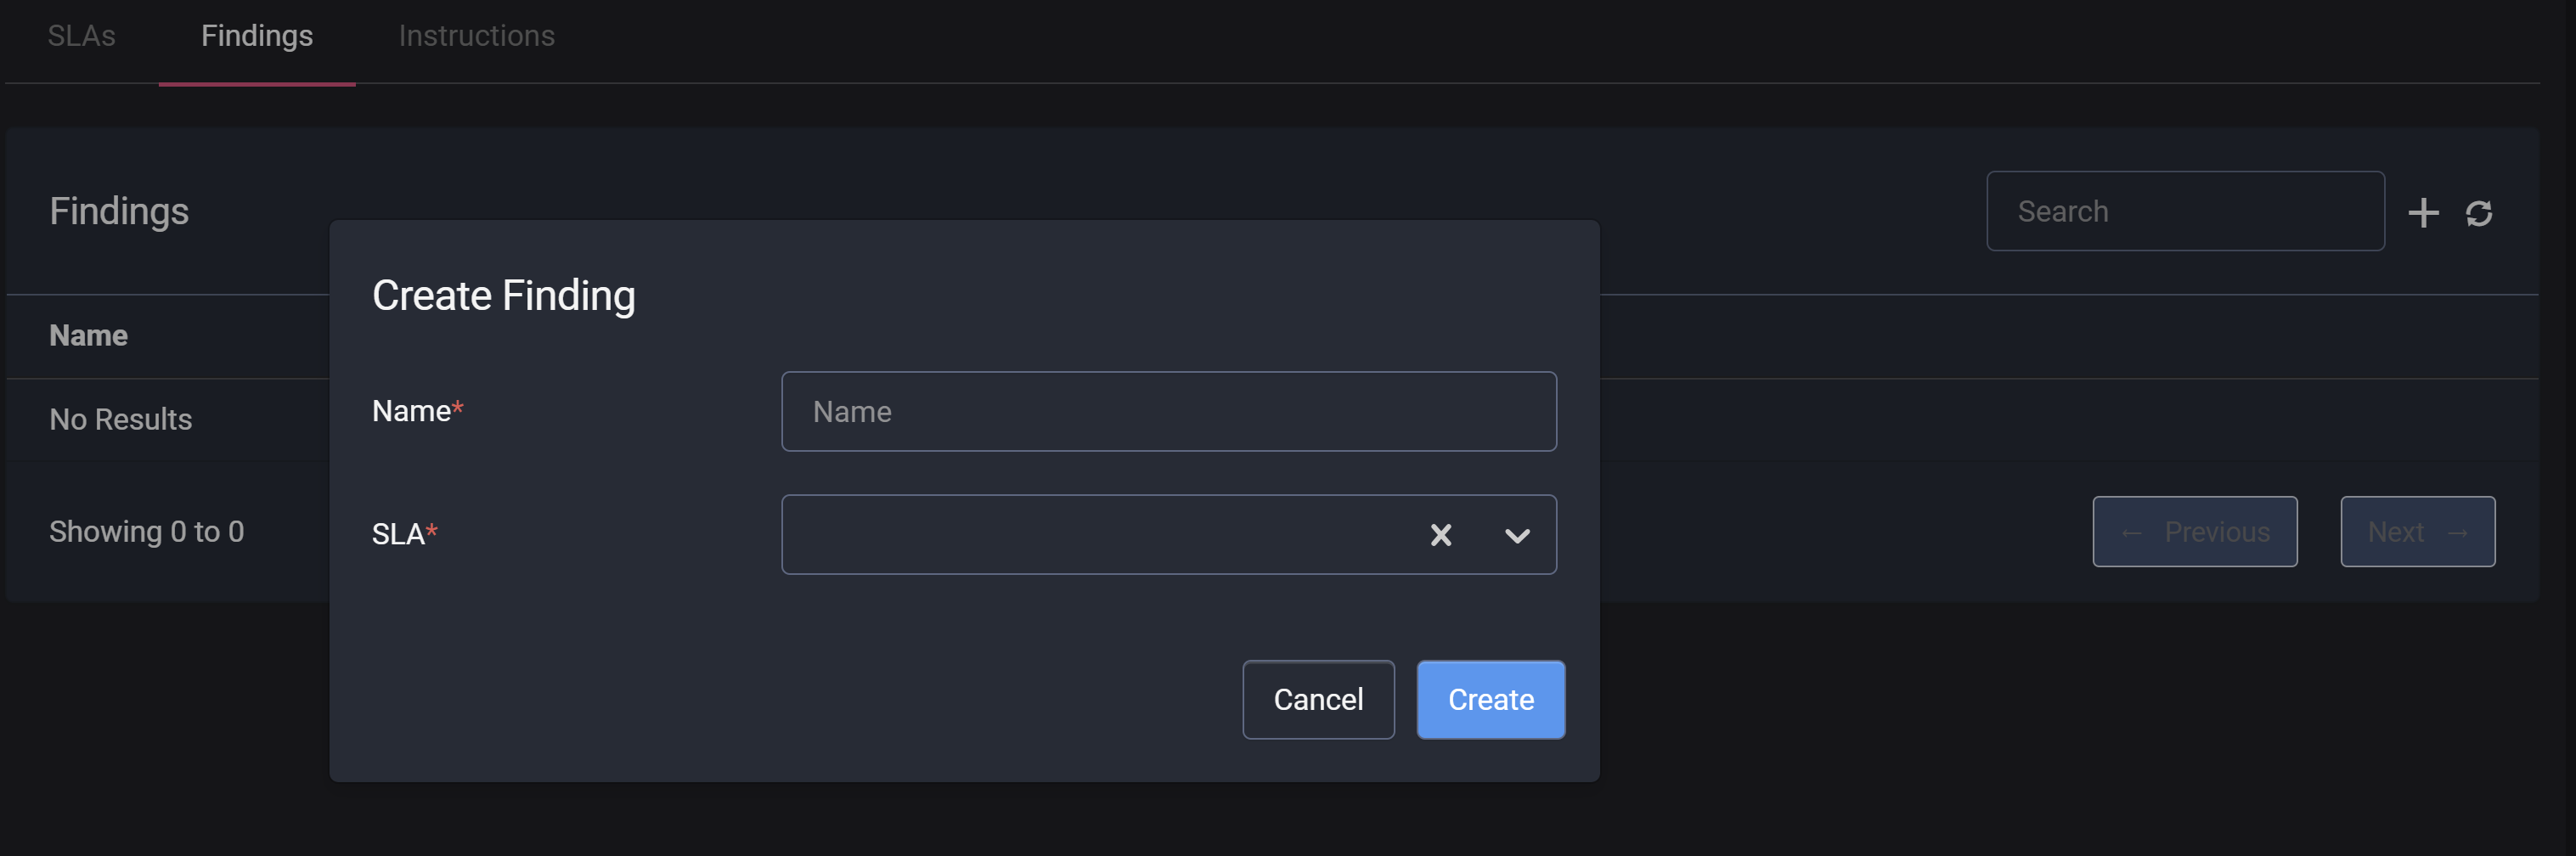
Creating a New Finding
-
Click the Add icon.
-
In the Create Finding window, enter:
- Name – Describe the abnormal finding (e.g., "Severe Brain Hemorrhage").
- SLA – Select the corresponding SLA to define urgency.
-
Click Save. The Finding is now available in the list.
You must create an SLA before adding Findings.
Managing Findings
Users can add, edit, and delete Findings from the listing screen.
3. Instructions (Standardized Response Actions)
Instructions ensure a consistent and standardized response to critical findings, helping teams take appropriate actions quickly.
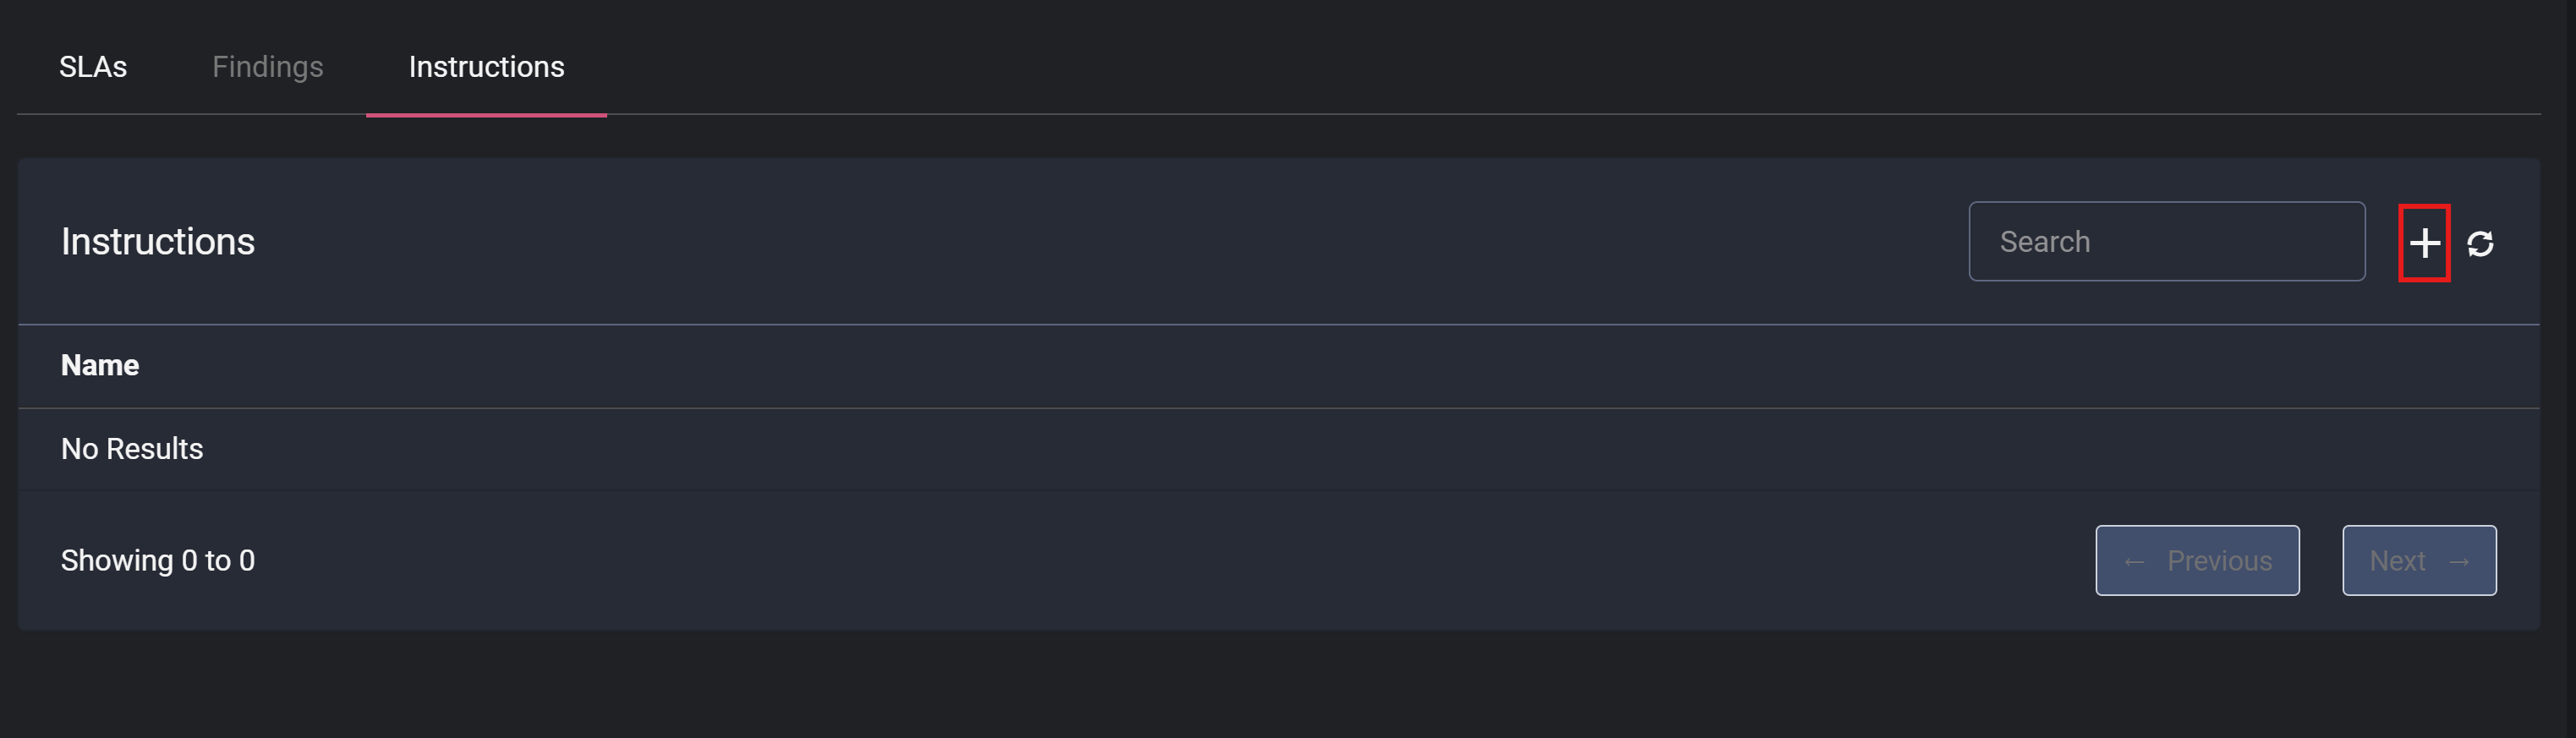
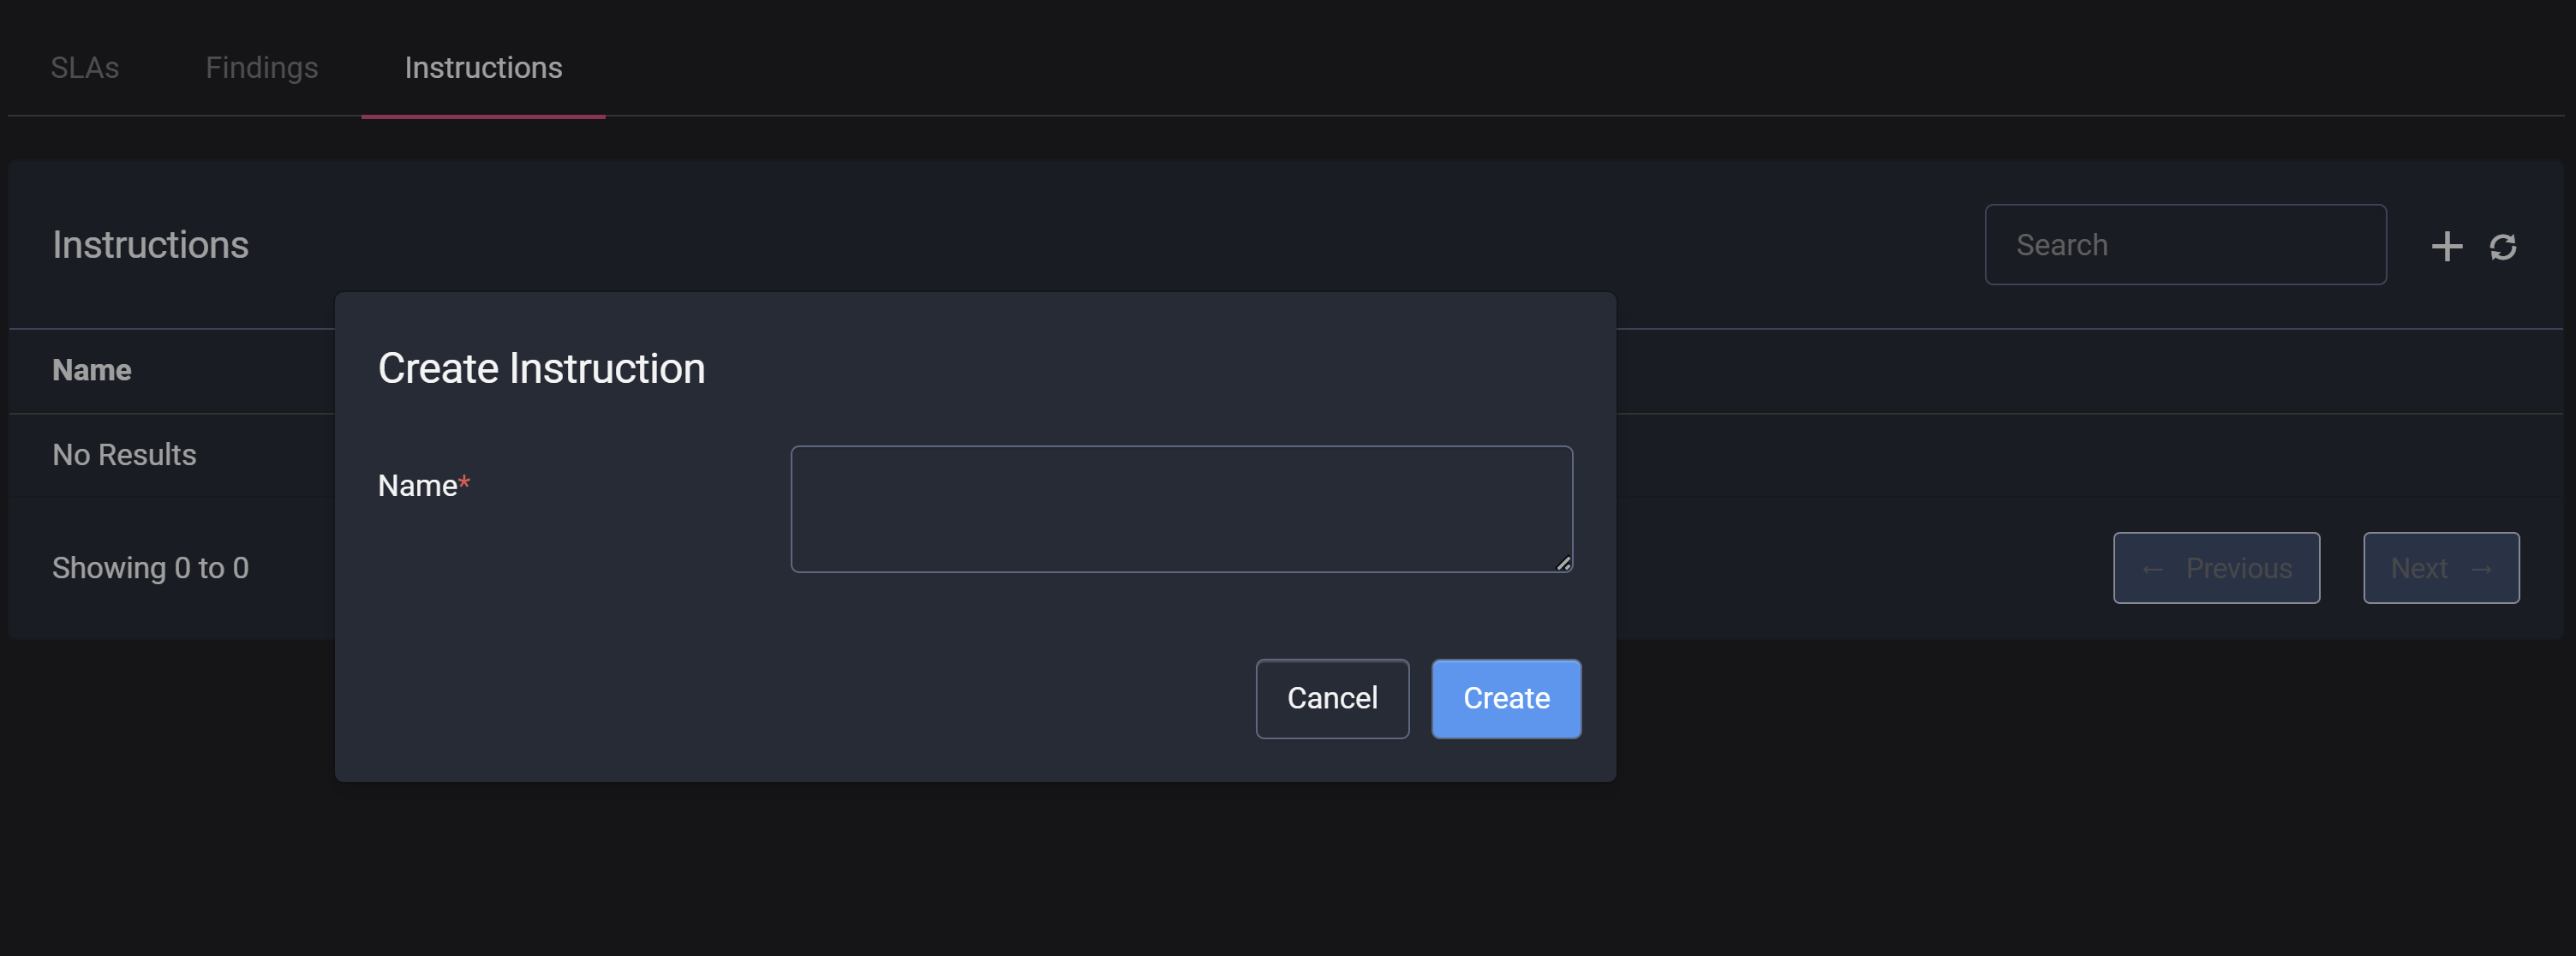
Creating a New Instruction
-
Click the Add icon.
-
In the Create Instruction window, enter:
- Name – Define the action to be taken (e.g., "Call the attending physician immediately").
-
Click Save. The Instruction is now available in the list.
Managing Instructions
Users can add, edit, and delete Instructions from the listing screen.
Summary
The Critical Results Management module enables healthcare teams to:
✅ Set response times (SLAs) to ensure timely action on urgent cases.
✅ Identify and track critical findings in medical images.
✅ Standardize response instructions for improved coordination.
By implementing these elements, healthcare providers can improve efficiency, enhance patient safety, and ensure better outcomes.