SLA Management
Service Level Agreements (SLAs) allow you to define target reporting timeframes for studies in the Reporting Worklist. They help ensure studies are reported within the expected timeframe and provide visibility into studies that are approaching or have exceeded their reporting targets.
SLAs can be configured based on a number of Conditions and Reporting Priorities, allowing different reporting targets to be applied to studies depending on their urgency. Once applied, AdvaPACS tracks the study against the configured SLA throughout the reporting workflow, making it easier to prioritise work and monitor reporting performance.
Create an SLA
An SLA defines the reporting timeframe that can be applied to studies in the Reporting Worklist. Creating an SLA sets the target duration but does not determine which studies the SLA applies to.
To create an SLA:
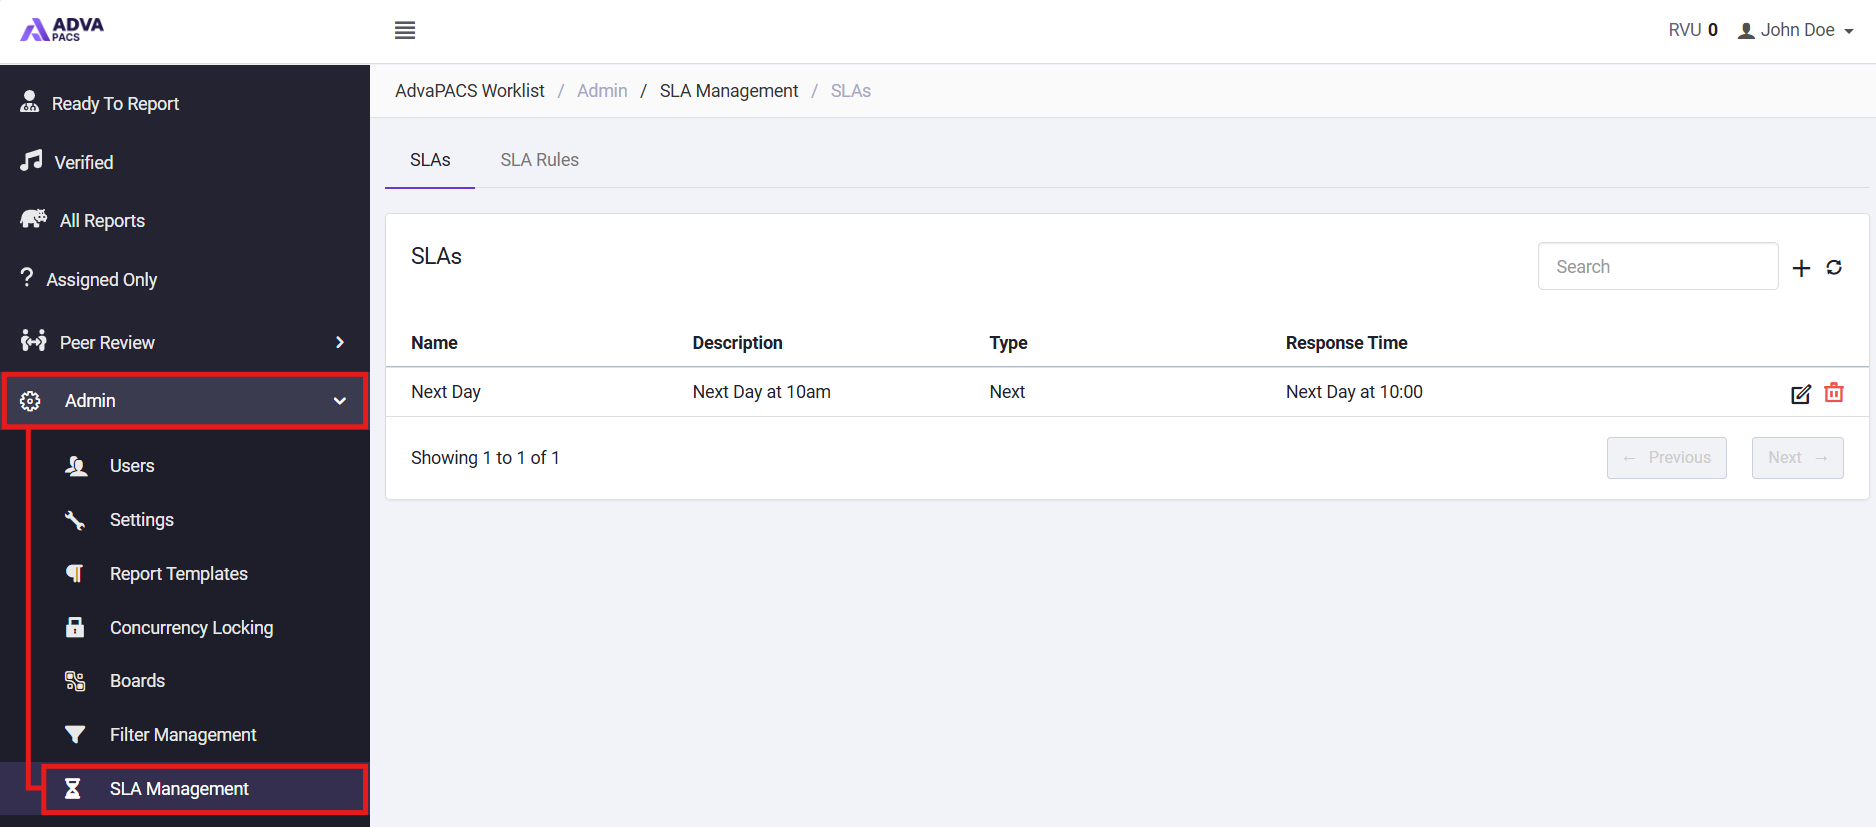
- From the Reporting Worklist, Navigate to Admin > SLA Management.
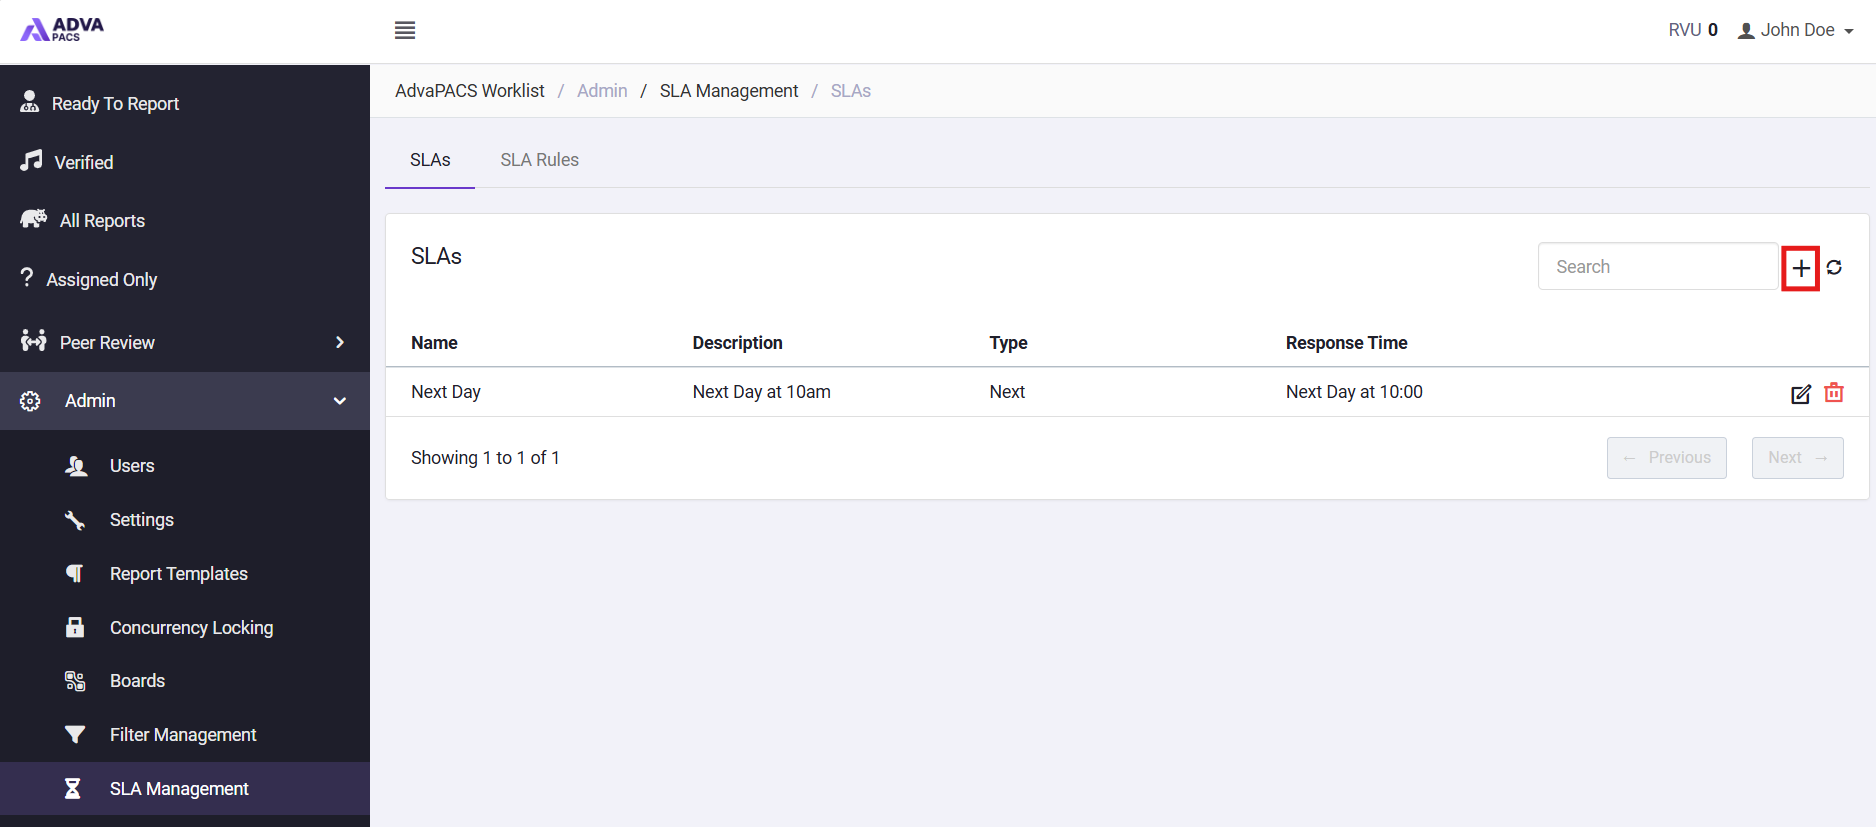
- Click the + icon to create a new SLA.
- Enter a Name for the SLA.
- Configure the required Expected Response.
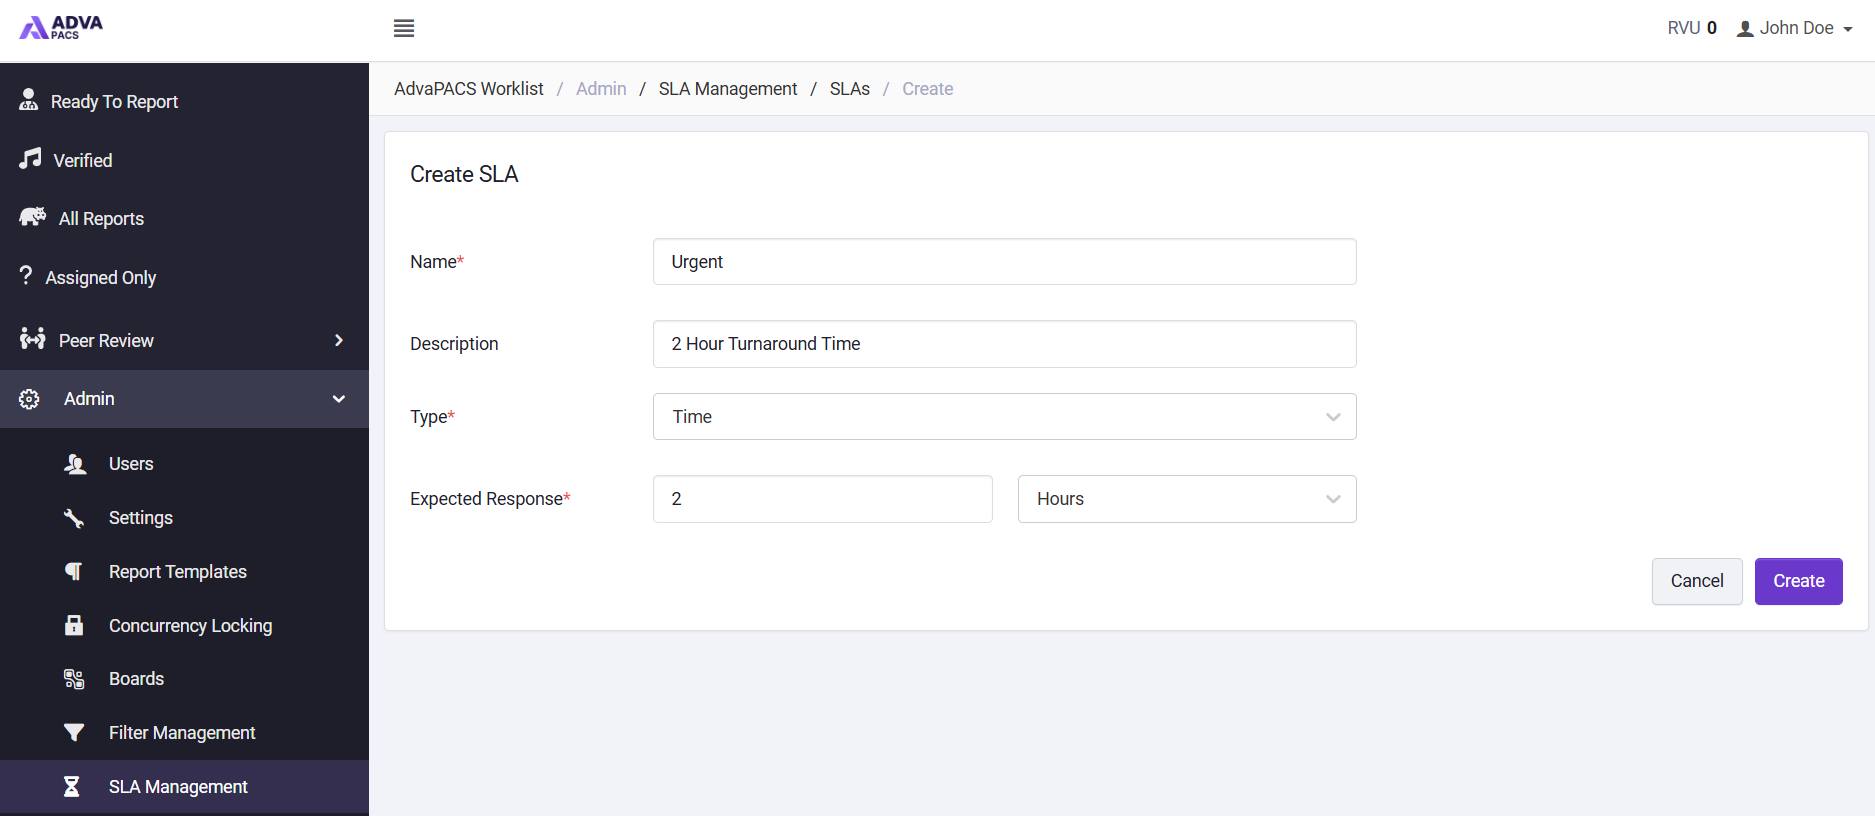
- Click Save to create the SLA.
Creating an SLA does not automatically apply it to studies. You must also create an SLA Rule to define when the SLA should be applied.
Create an SLA Rule
SLA Rules define the conditions used to determine when an SLA is applied to a study. An SLA Rule links a configured SLA to studies that match the specified criteria. To create an SLA Rule:
- From the Reporting Worklist, Navigate to Admin > SLA Management.
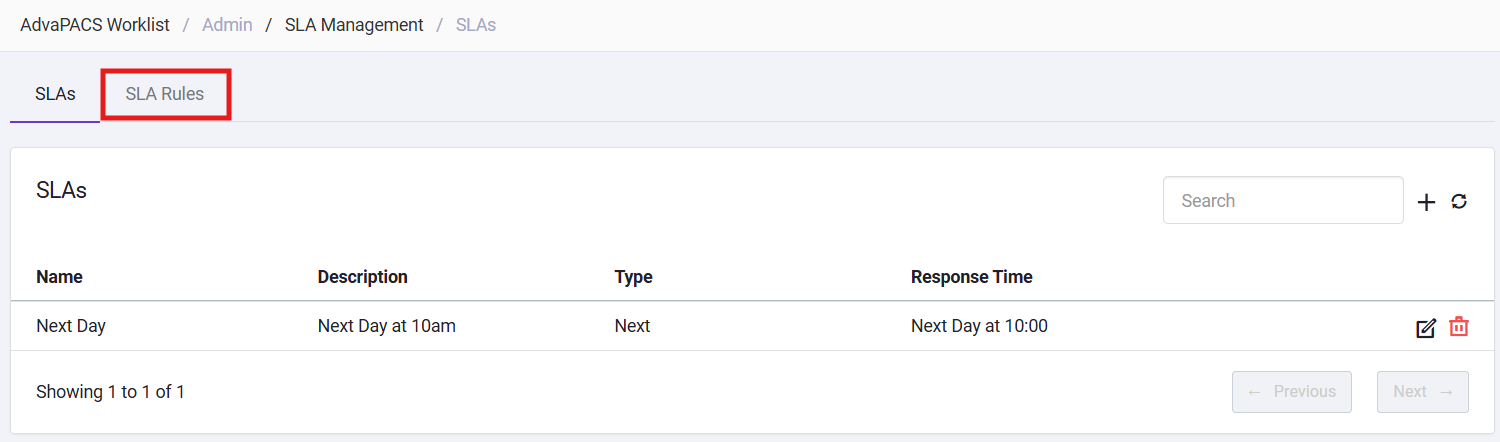
- Click on the SLA Rules tab.
- Click the + icon to create a new SLA Rule.
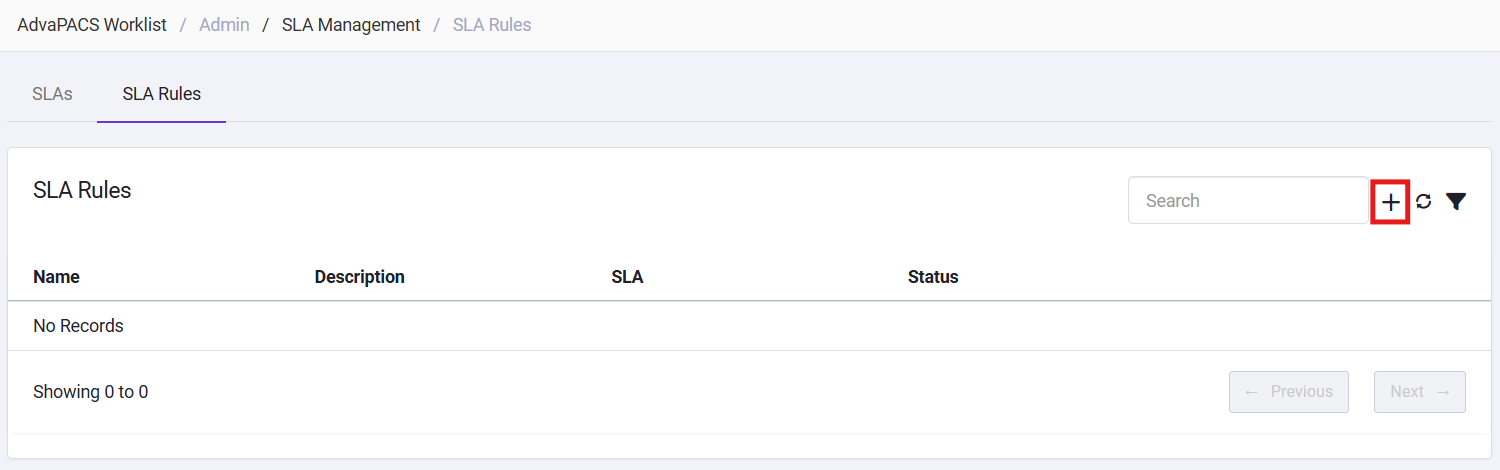
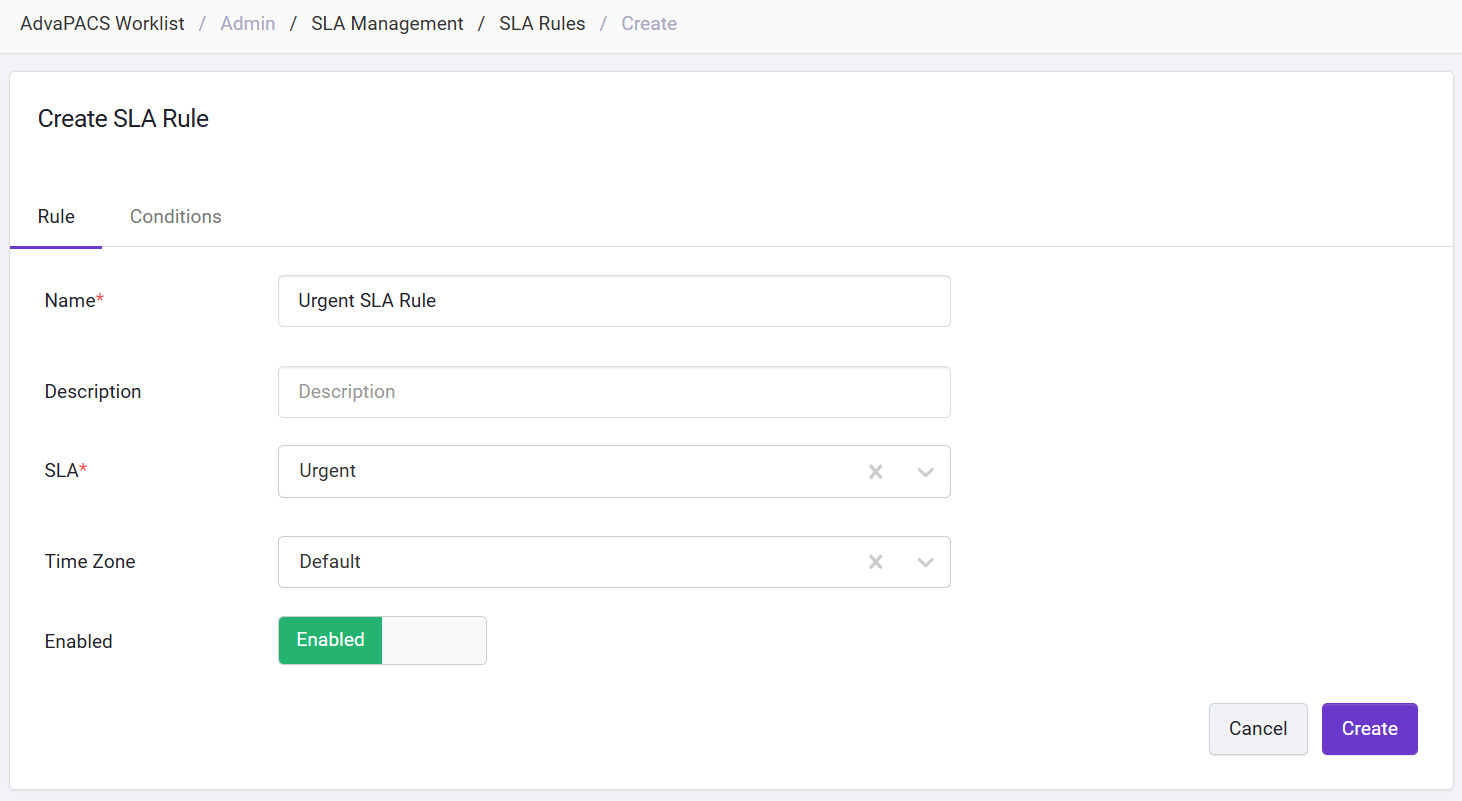
- Enter a Name for the rule and select the SLA that should be applied when the rule is matched.
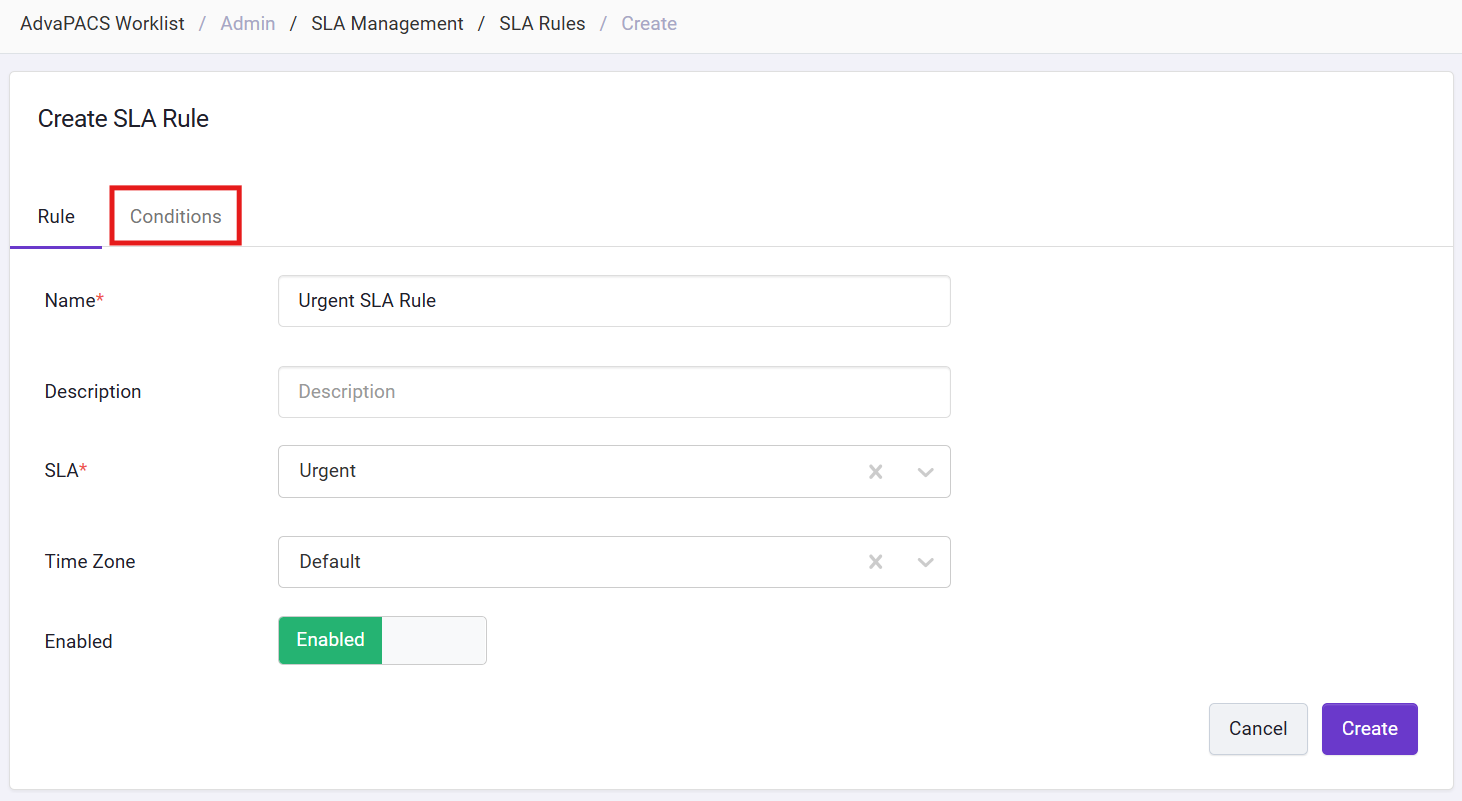
- Click on the Conditions tab.
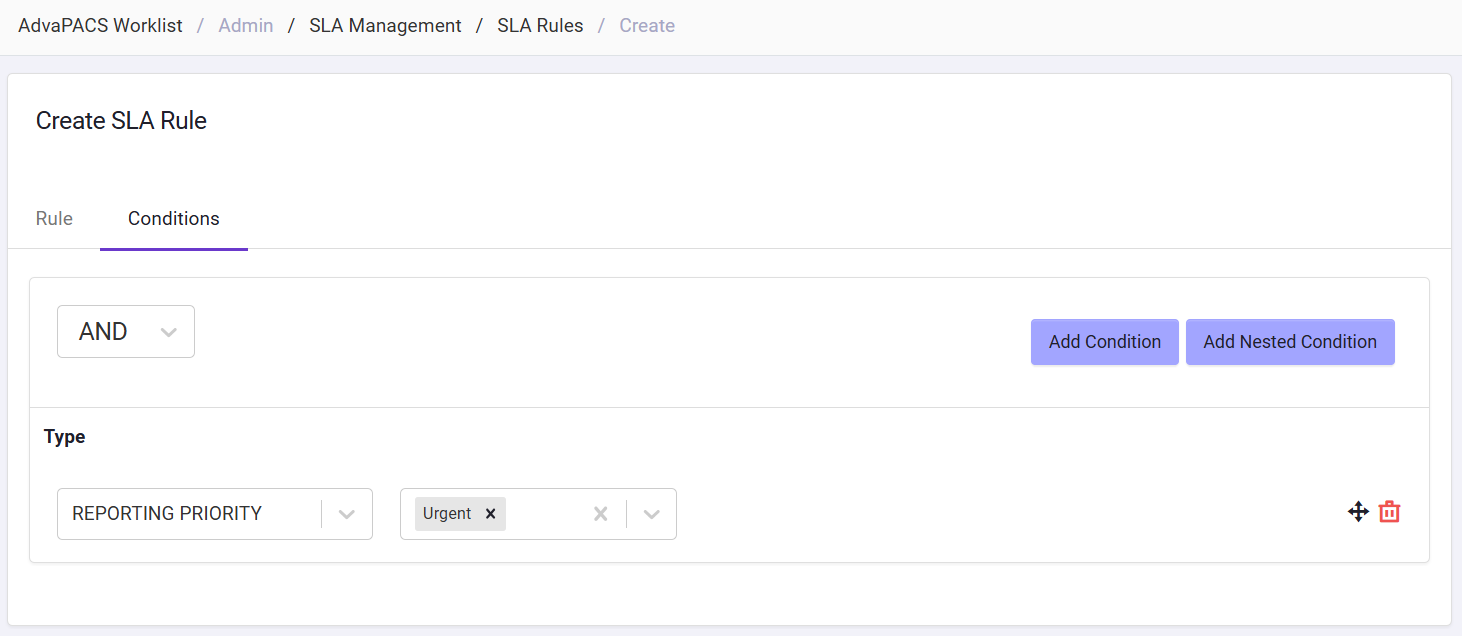
- Configure the conditions that determine which studies the rule applies to.
- Click Save to create the SLA Rule.
When a study matches the conditions of an SLA Rule, the associated SLA is applied and its reporting timeframe is used to calculate the SLA target for the study.