Accounts and Access
Tenant
In AdvaPACS, we use the term "tenant" to refer to the medical facility that subscribes to it. For example, a hospital, clinic, or imaging center that uses AdvaPACS would each be considered a tenant.
Depending on the context, we may also refer to the tenant's AdvaPACS account itself as the "tenant". For instance, we might say, "you're tenant needs to be connected to the AdvaPACS Gateway". In this case, we're referring specifically to the AdvaPACS account of the medical facility, and not the medical facility itself.
Tenant Registration
You can register and create your tenant's AdvaPACS account at https://register.advapacs.com/.
Accounts
A tenant consists of two types of accounts:
Account Owner
After a tenant is registered, the first user account created in the tenant becomes the account owner. It is an exclusive account that the tenant uses to manage its subscription to AdvaPACS.
A tenant can only have one account owner and it's the only account that has the following privileges:
- It can't be deactivated.
- It can always log in to settle bills if the tenant's subscription is suspended due to non-payment.
- It has access to User Management and Billing, no matter what permissions are given to it by its assigned role.
If you need to transfer the Account Owner to a different user account, you will need to contact support.
User
A User account is a regular account, which means it doesn't have the same privileges as the account owner. It can be created by either the account owner or other users and needs to be assigned specific roles and permissions.
Accessing AdvaPACS
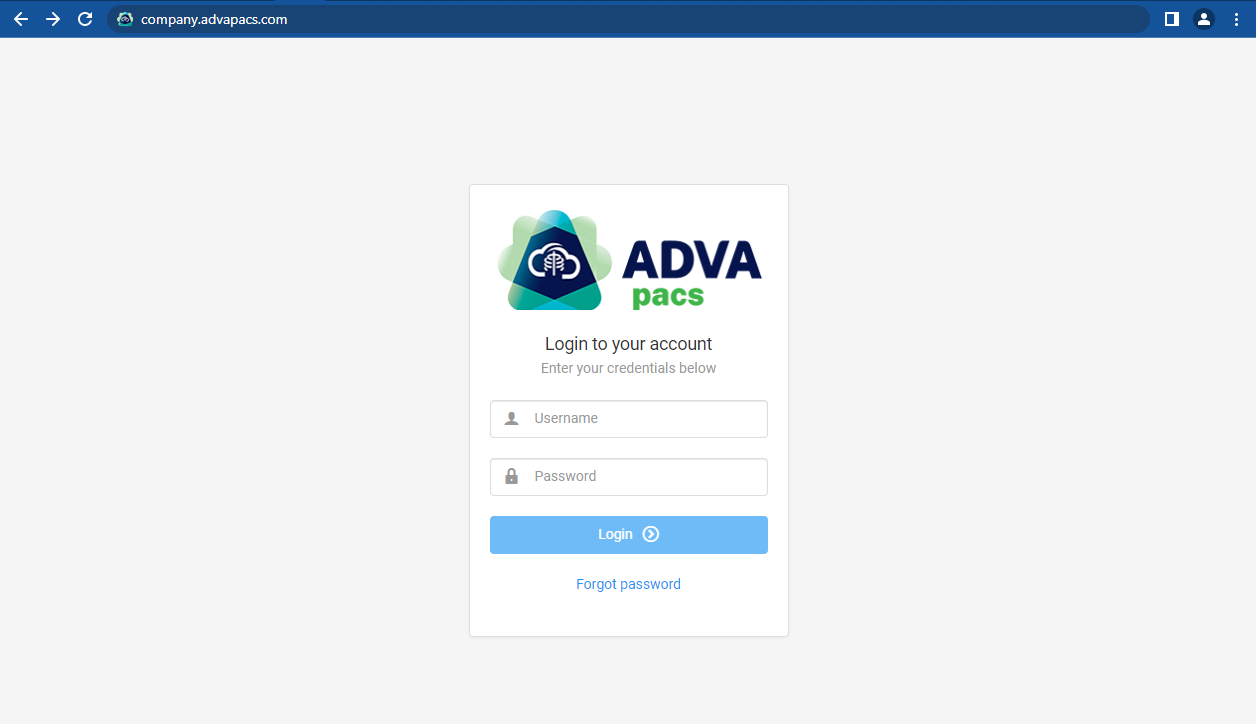
To access your AdvaPACS account, go to your tenant's subdomain that's created during the tenant registration process, and log in from there.
An example of a subdomain is, company.advapacs.com
.
After logging in, you'll be routed to the dashboard.
Set up 2FA
Once logged in, we highly recommend to immediately set up 2FA to enhance the security of your tenant. Follow the steps below to set it up in User Settings.
Click your account's name in the top-right corner of the dashboard, which will open a drop-down menu.
Click "Settings".
Click the 2FA tab and follow the on-screen instructions to set it up.
If 2FA is enforced by your administrator, the 2FA enrollment screen will show up after logging in, and you will not be able to navigate around the dashboard unless it is set up.
Update Password
If your administrator requires you to set a new password after logging in, the password update screen will show up, and you will not be able to navigate around the dashboard unless your password is updated.
After setting up 2FA and updating your password, proceed to the next article to start creating users and assigning roles.