Portal Configuration
Permissions Required
Access to the Patient Portal and its features is restricted to users with appropriate permissions. To utilize this documentation and test the portal’s features, ensure that the following role permissions are enabled:
Patient Portal > Manage Patient Portal
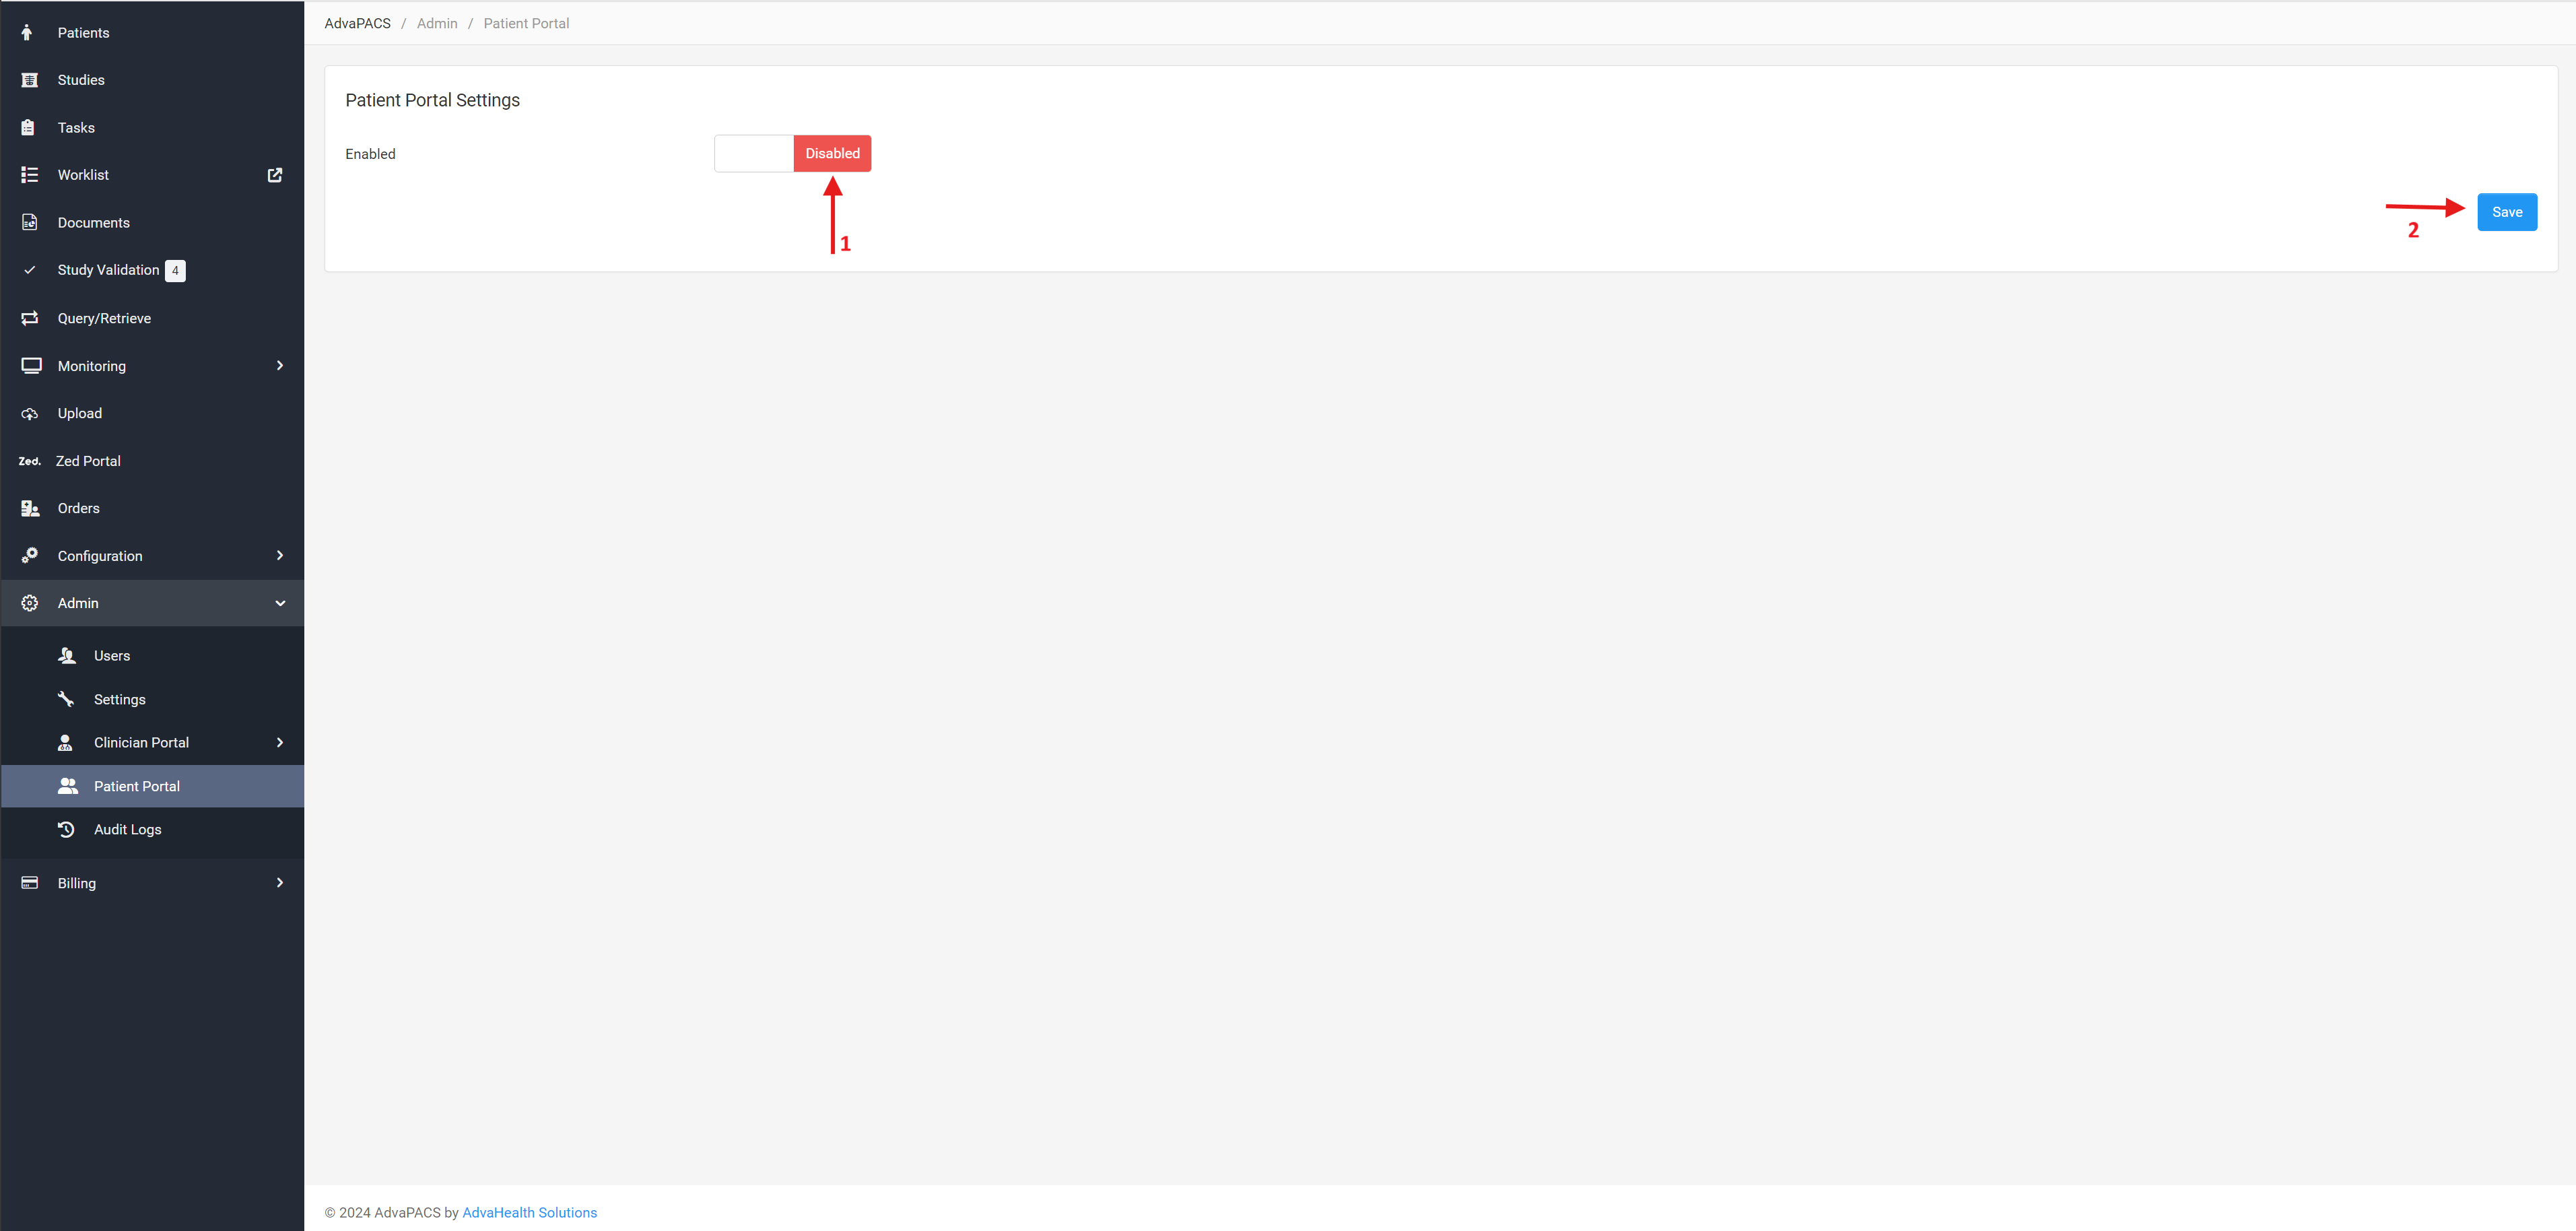
1. Enable Patient Portal
Follow these steps to enable it:
- Navigate to Admin > Patient Portal

- Toggle the switch to Enabled.
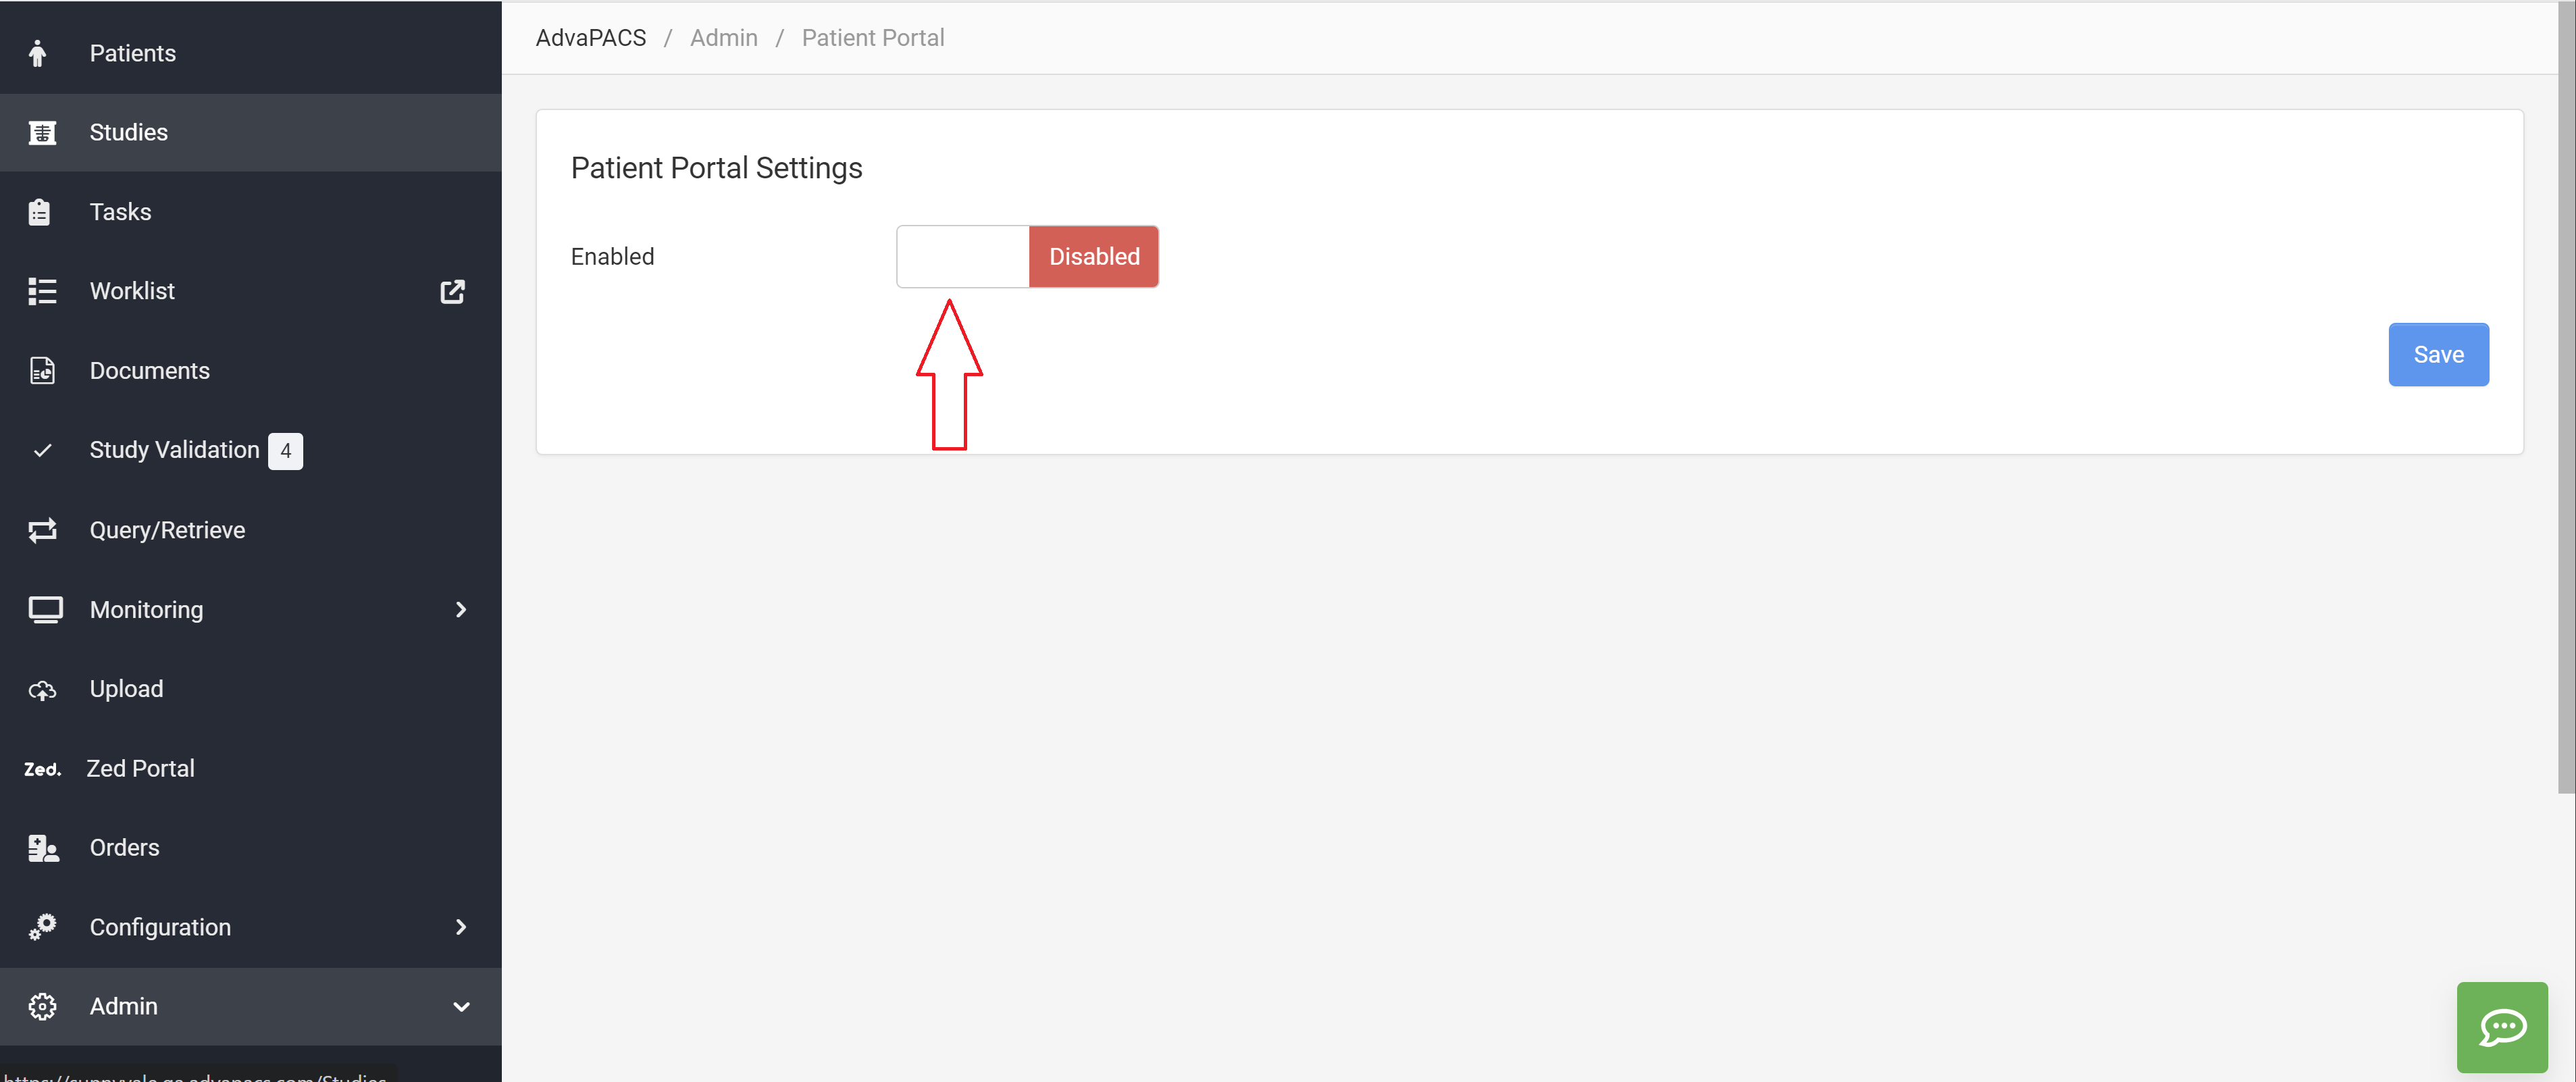
- Once the Patient Portal is enabled, the settings will become visible.
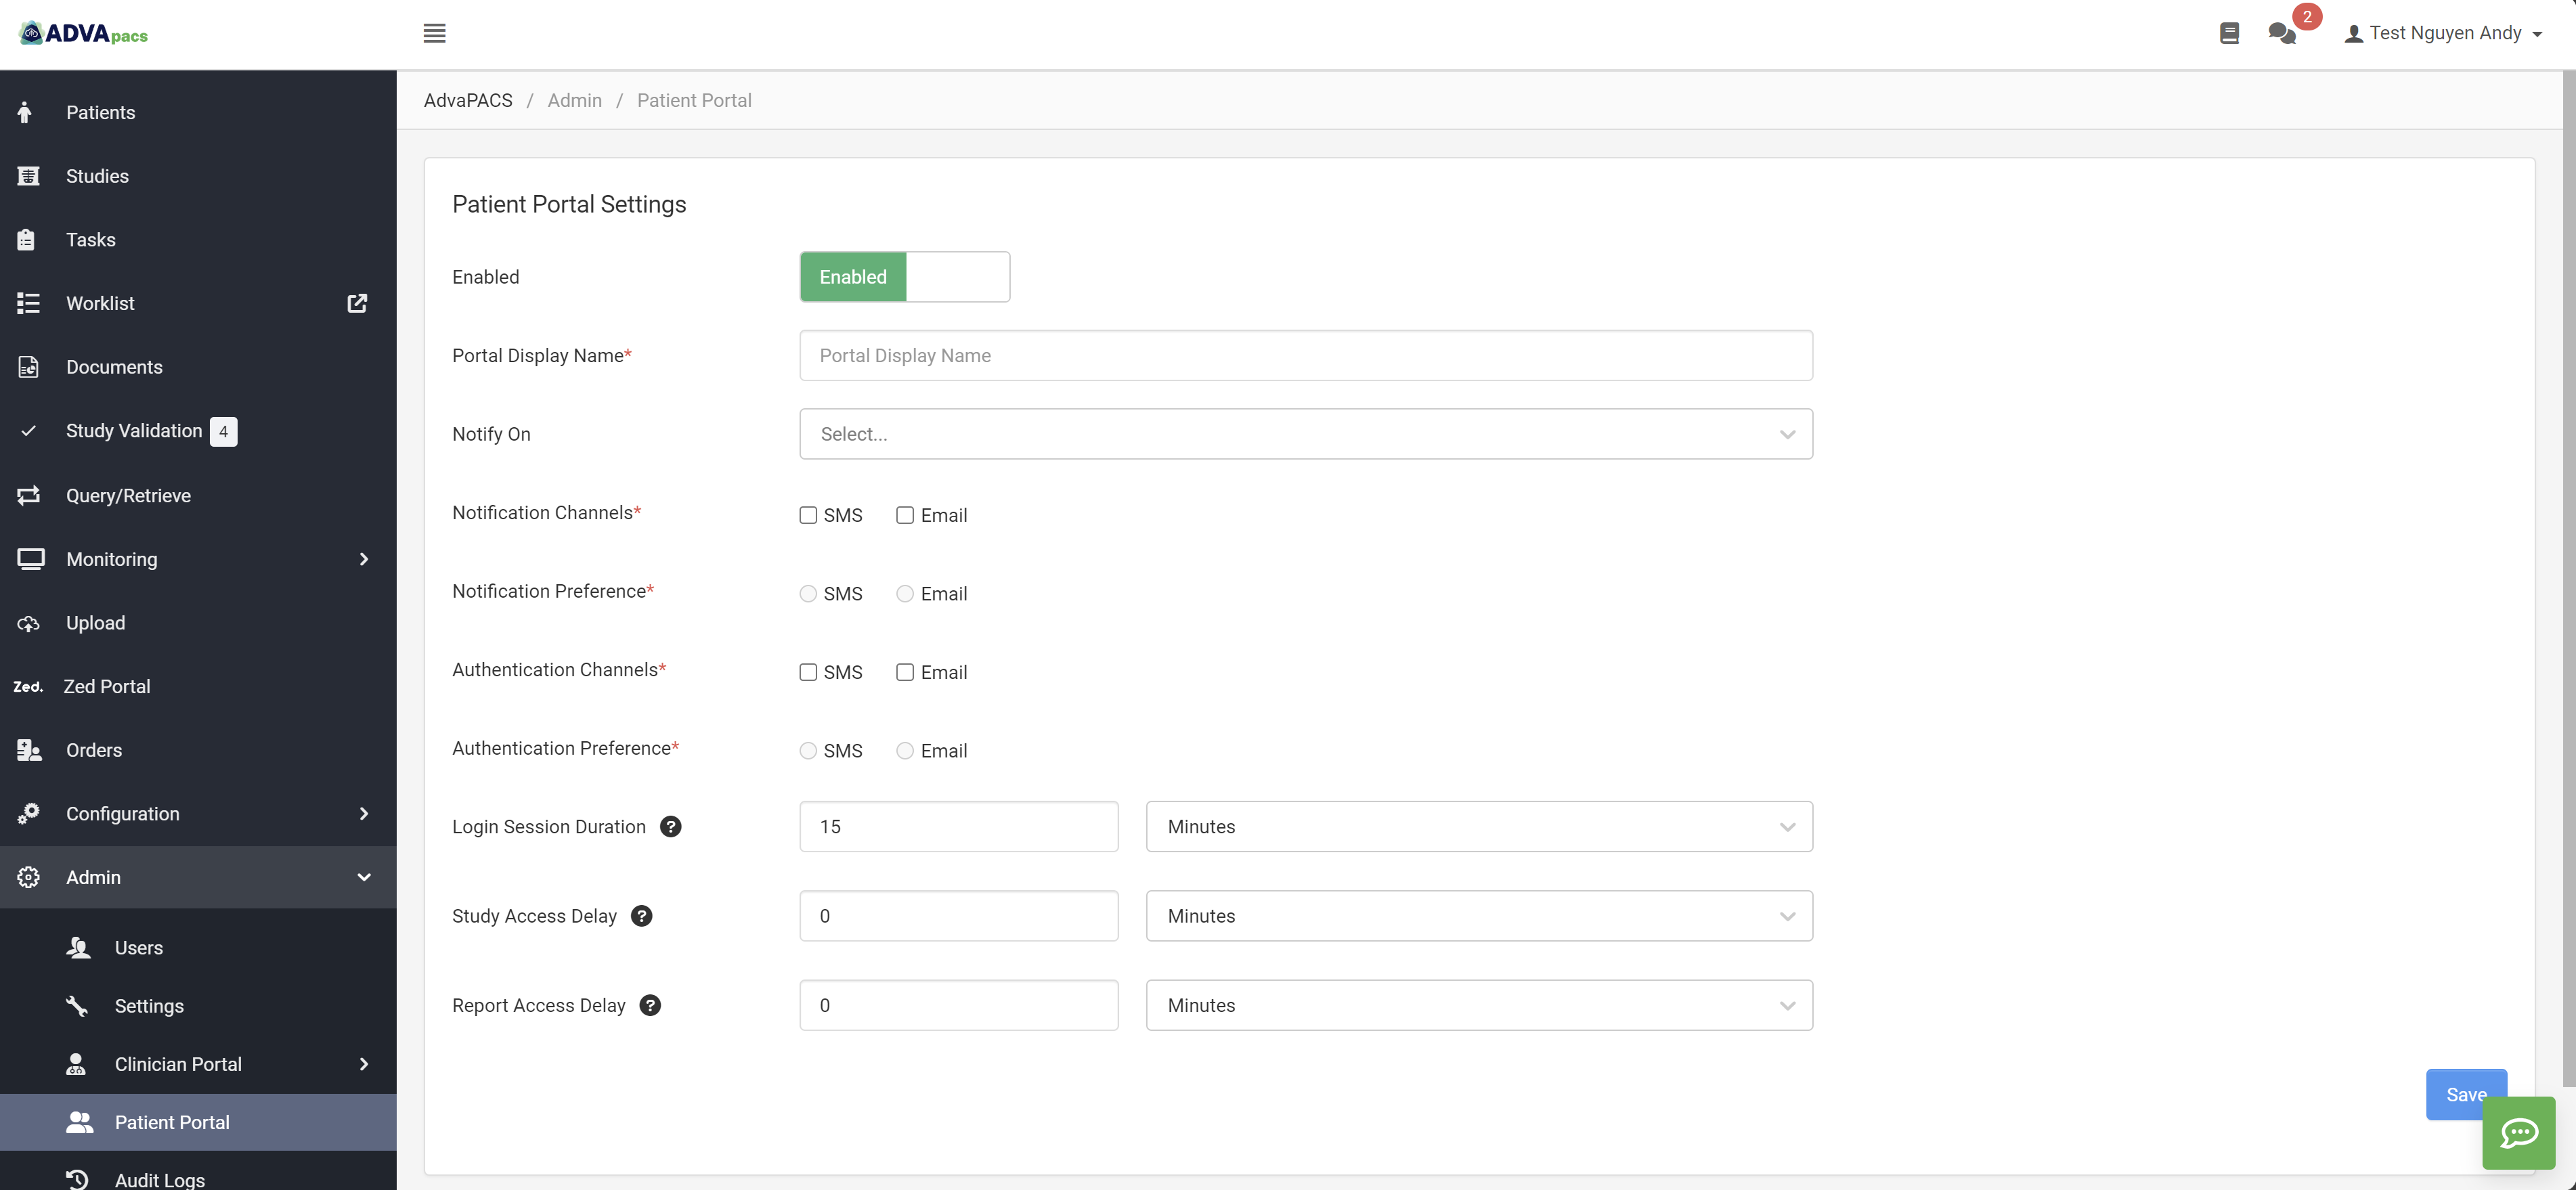
2. Patient Portal Configuration Guide
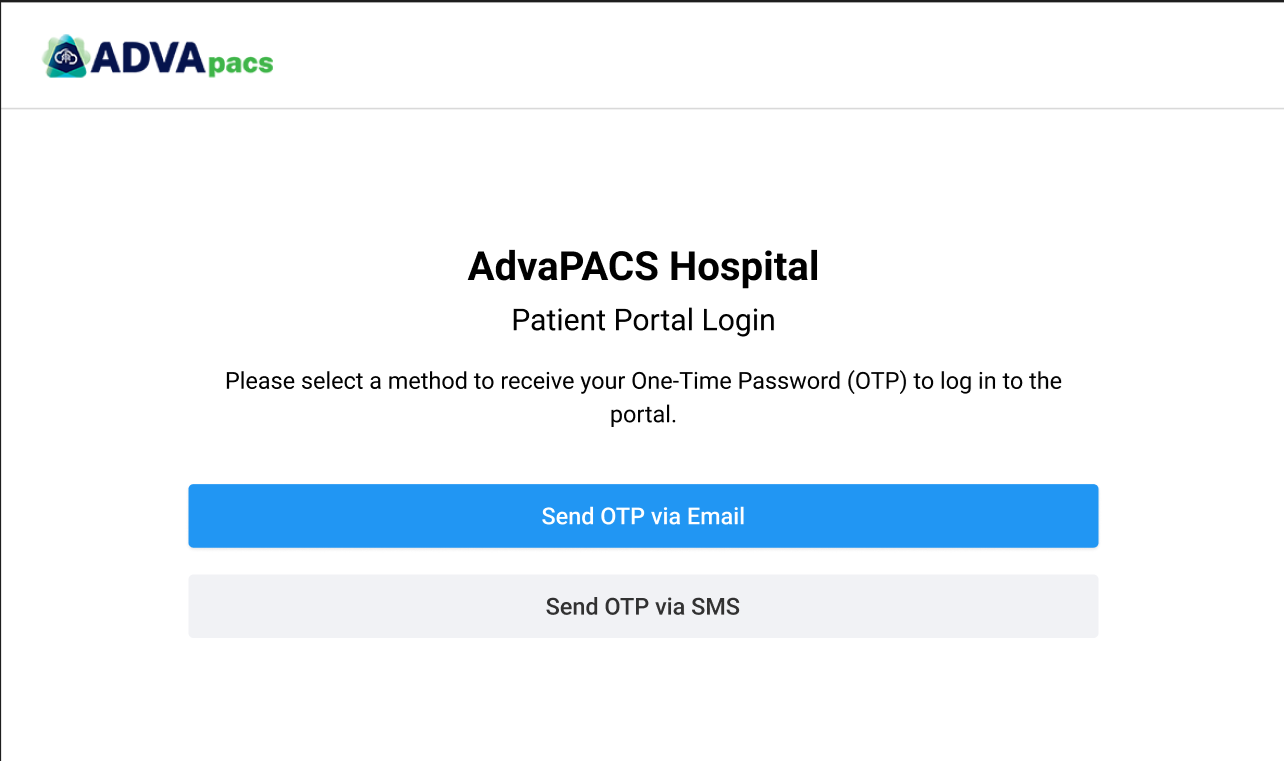
1. Portal Display Name
This field defines the name displayed on the login page of the portal.
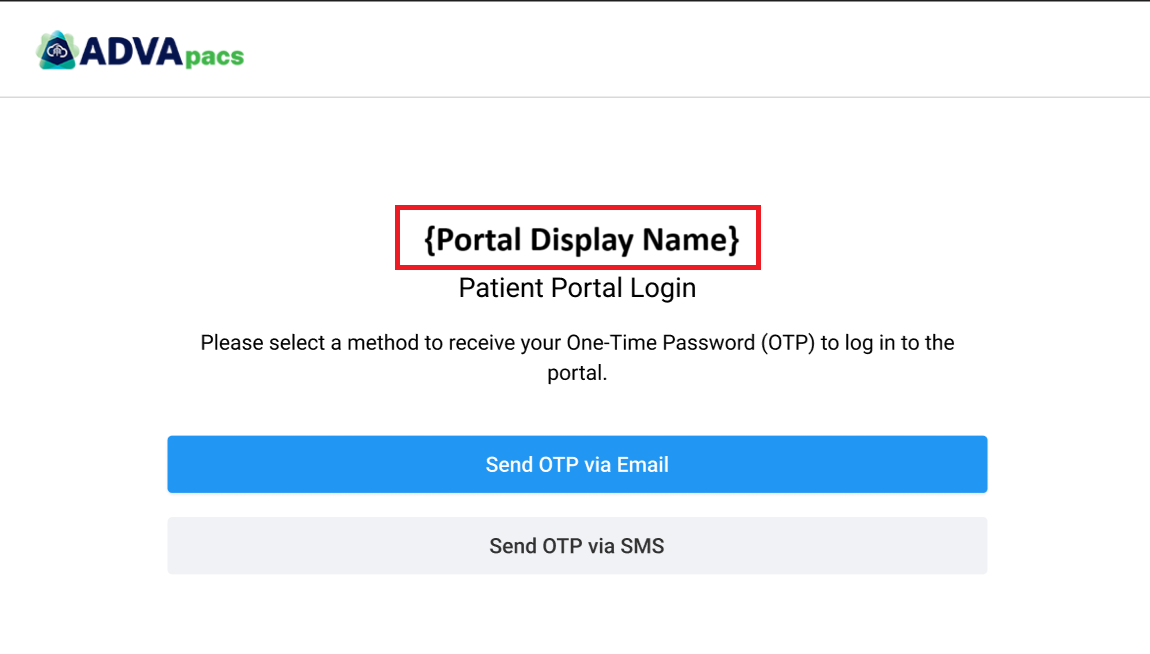
The length of the name should not exceed 100 characters.
2. Notify On
Specify the events that trigger a notification with an access link to the patient.
AdvaPACS supports the following event types:
- New Study: Triggered when a study with images is successfully imported into AdvaPACS. A study is considered new when it is successfully validated.
- New Report: Triggered when a report is created in AdvaPACS or imported into AdvaPACS. A report is considered new when it reaches a status containing the “Final” condition.
If no event is selected, the automatic notification will not be triggered. In this case, the patient will only receive the notification through a manual send.
3. Notification Channels and Notification Preference
AdvaPACS supports the following communication channels:
- SMS
You can select one or both channels to send access links to patients.
Notification Preference:
- Sets the default communication channel.
- If a patient does not have contact information for the default channel, the system will automatically use the alternate channel.
Note: SMS notifications incur charges based on applicable messaging rates.
4. Authentication Channels and Authentication Preference
Configure the channels used to send OTPs to patients:
- Authentication Preference: Highlights the preferred channel for authentication on the portal.
- If a patient lacks contact information for the preferred channel, the system will automatically display the alternate channel.
5. Login Session Duration
Specify the duration of inactivity before a session times out.
- Default: 60 minutes.
- Minimum: 15 minutes.
6. Study Access Delay
Set a delay period after a study is successfully validated before the patient can view or download it.
- During this delay, the patient will see an alert in the portal indicating when the images will be ready.
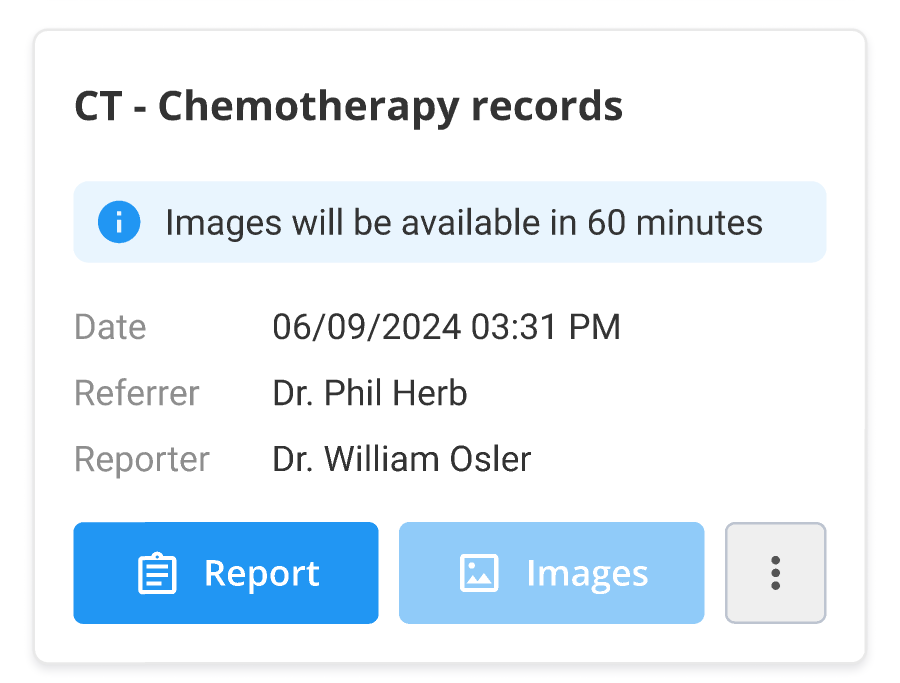
If the value is set to 0, the study will become accessible immediately after it is ready in AdvaPACS.
7. Report Access Delay
Set a delay period after a report reaches the Final status before the patient can view or download it.
- During this delay, the patient will see an alert in the portal indicating when the report will be ready.
If the value is set to 0, the report will become accessible immediately after it is ready in AdvaPACS.
3. Disable Patient Portal
If you decide to stop using the Patient Portal, you can set Enabled to Disable and click Save.
Disabling the Patient Portal will revoke patients' access to the portal and their current links. Additionally, their data will no longer be accessible through the portal.
Ensure that patients are informed of this change beforehand.