Upload DICOM Files
Introduction
Manual Upload allows you to import DICOM studies directly into AdvaPACS without using a DICOM network connection. This is useful for importing historical studies, uploading studies received from external sources, or adding imaging when a modality is unable to send directly to AdvaPACS. You can upload studies directly from your computer or connect to third-party services such as Box, Dropbox, or Google Drive.
Supported File Types
AdvaPACS accepts:
- Individual DICOM files (
.dcm) - ZIP files containing DICOM files
Files that do not contain valid DICOM data cannot be uploaded.
The options displayed on the Upload page depend on your AdvaPACS configuration. Accounts without connected Local AEs or Remote AEs will not be shown the corresponding selection fields.
Upload DICOM Files
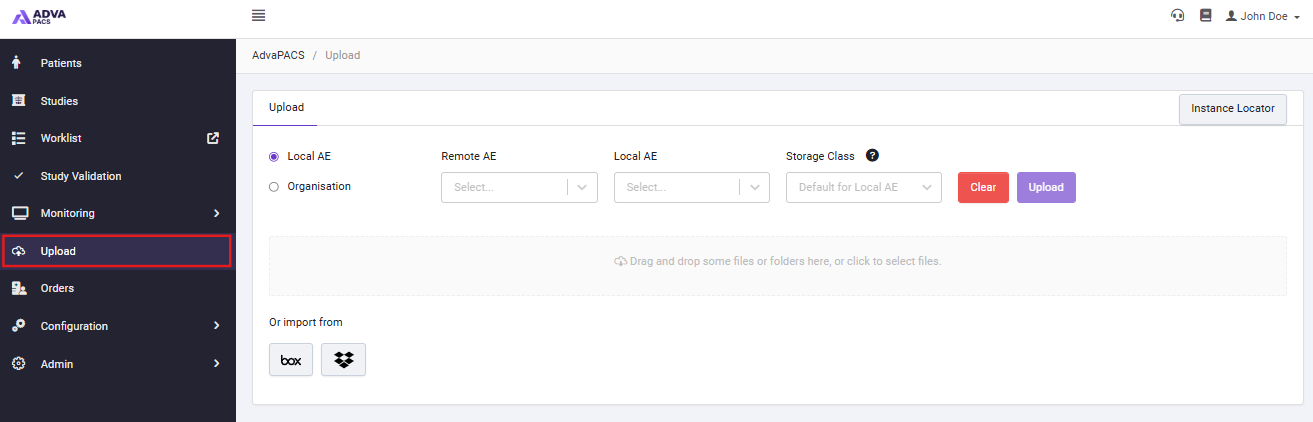
- Navigate to the Upload page in AdvaPACS.
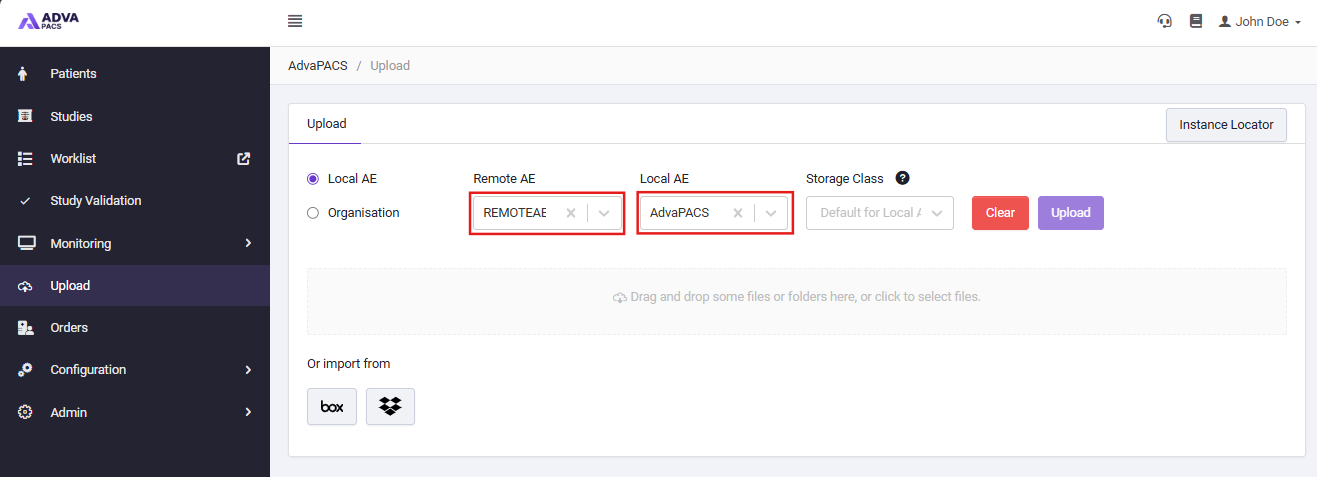
- Select the Remote AE and Local AE. AdvaPACS uses these to identify the modality that the files originated from and the DICOM server that received them.
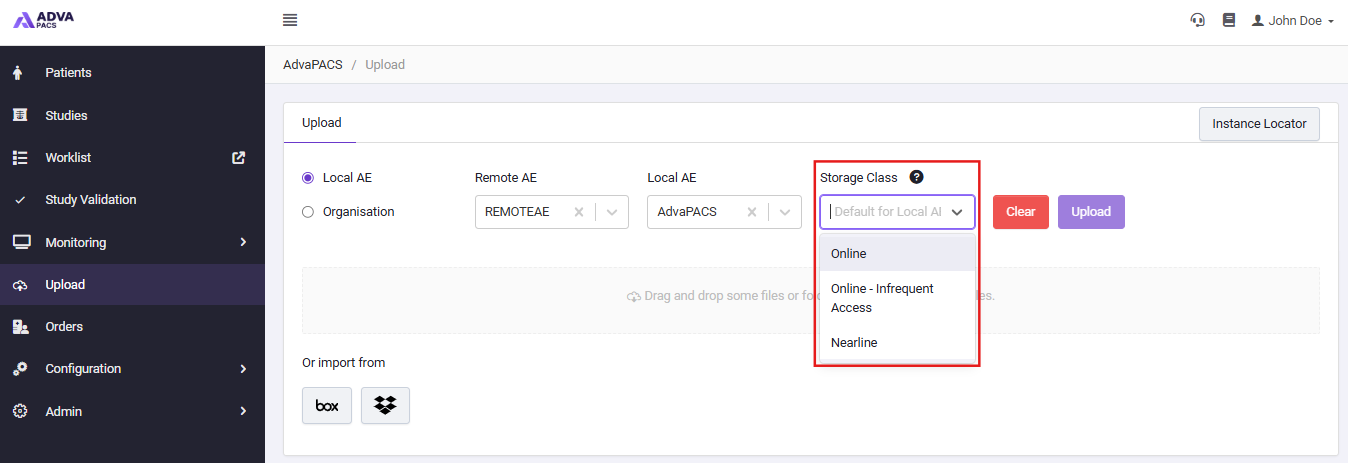
- Select the Storage Class in which the uploaded files should be stored. When a Local AE is selected, the configured storage class for that Local AE is used by default. Select a different storage class only when you need to override this configuration.
-
Add the files to be uploaded. Files can be added from your computer or from a supported third-party storage service.
- Upload from Your Computer - Drag the files into the upload area, or alternetively you can select the upload area to browse for files on your computer.
- Upload from Third-Party Storage - Select the relevant third-party storage provider (Box, Dropbox or Google Drive), sign in and select the files to be uploaded.
-
Selected files will appear in the Queue section. Review the files in the queue, then select Upload.
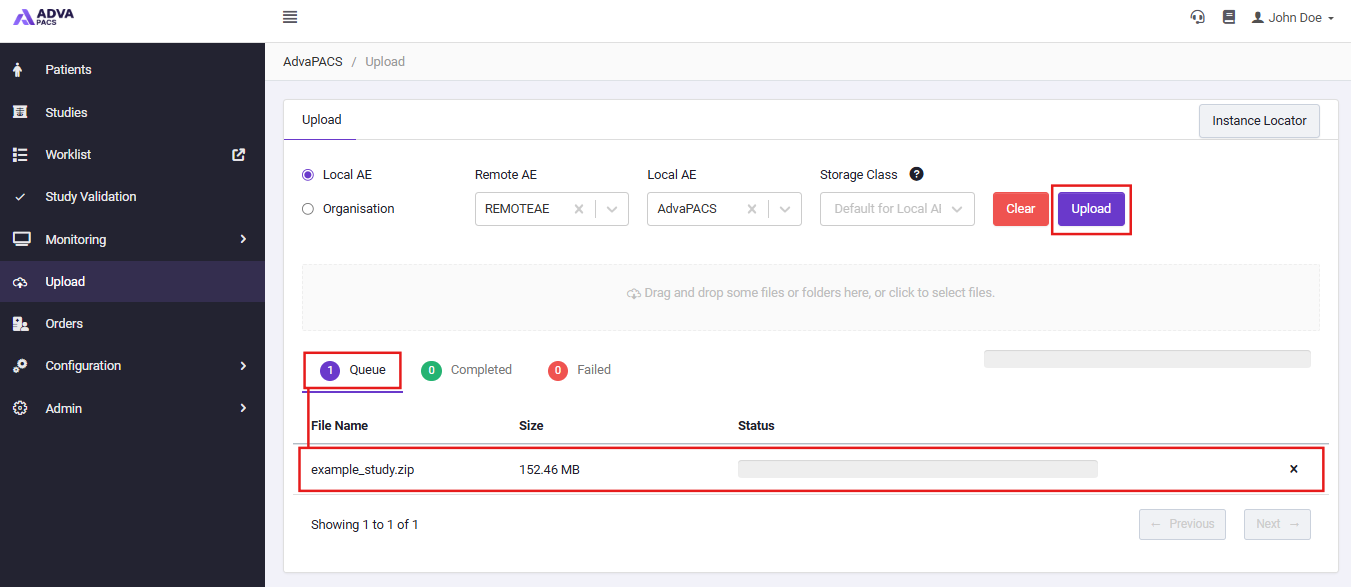
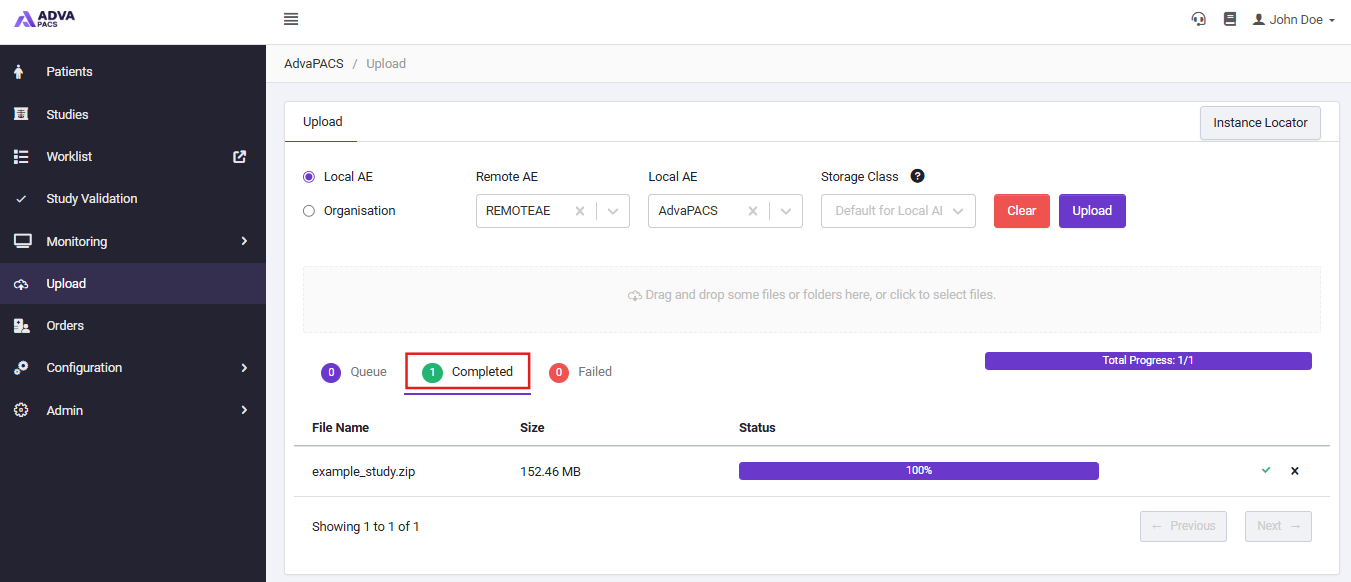
- Once a file has been successfully uploaded, they will automatically move to the Completed queue:
Retrying Failed Uploads
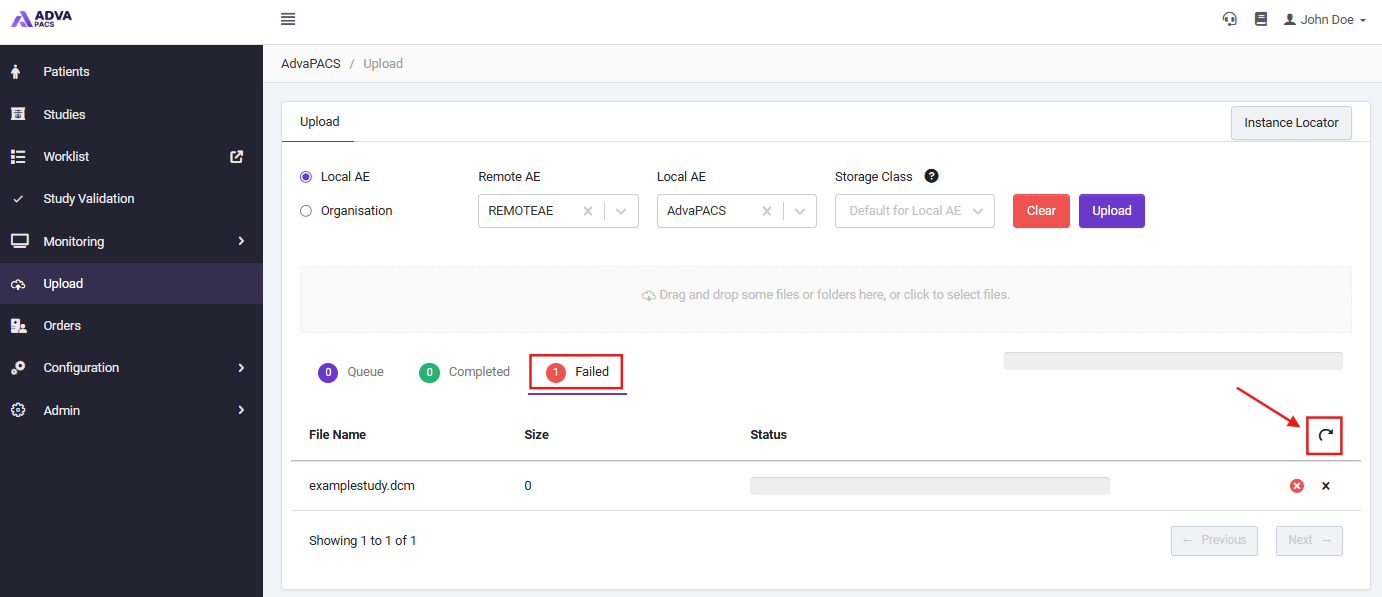
If for some reason the upload was unsuccessful, the files will move to the Failed Queue.
These can be reuploaded by click the "retry" button which will place it back into the Queue for you to upload again.