Setup Users & Roles
Introduction
Before configuring Reporting Worklist roles, ensure the user has been granted access to the Reporting Worklist. For instructions, see Grant Reporting Worklist Access.
Reporting Worklist roles are managed independently from AdvaPACS permissions and determine what each user can see and do within the Reporting Worklist. A user with access but no assigned Reporting Worklist roles will be able to sign in, but their worklist will appear empty.
The following sections describe how to create roles and assign them to users.
Create a Role
Roles define the permissions available to users within the Reporting Worklist. By creating roles, you can ensure users have access only to the features required for their responsibilities.
To create a new role:
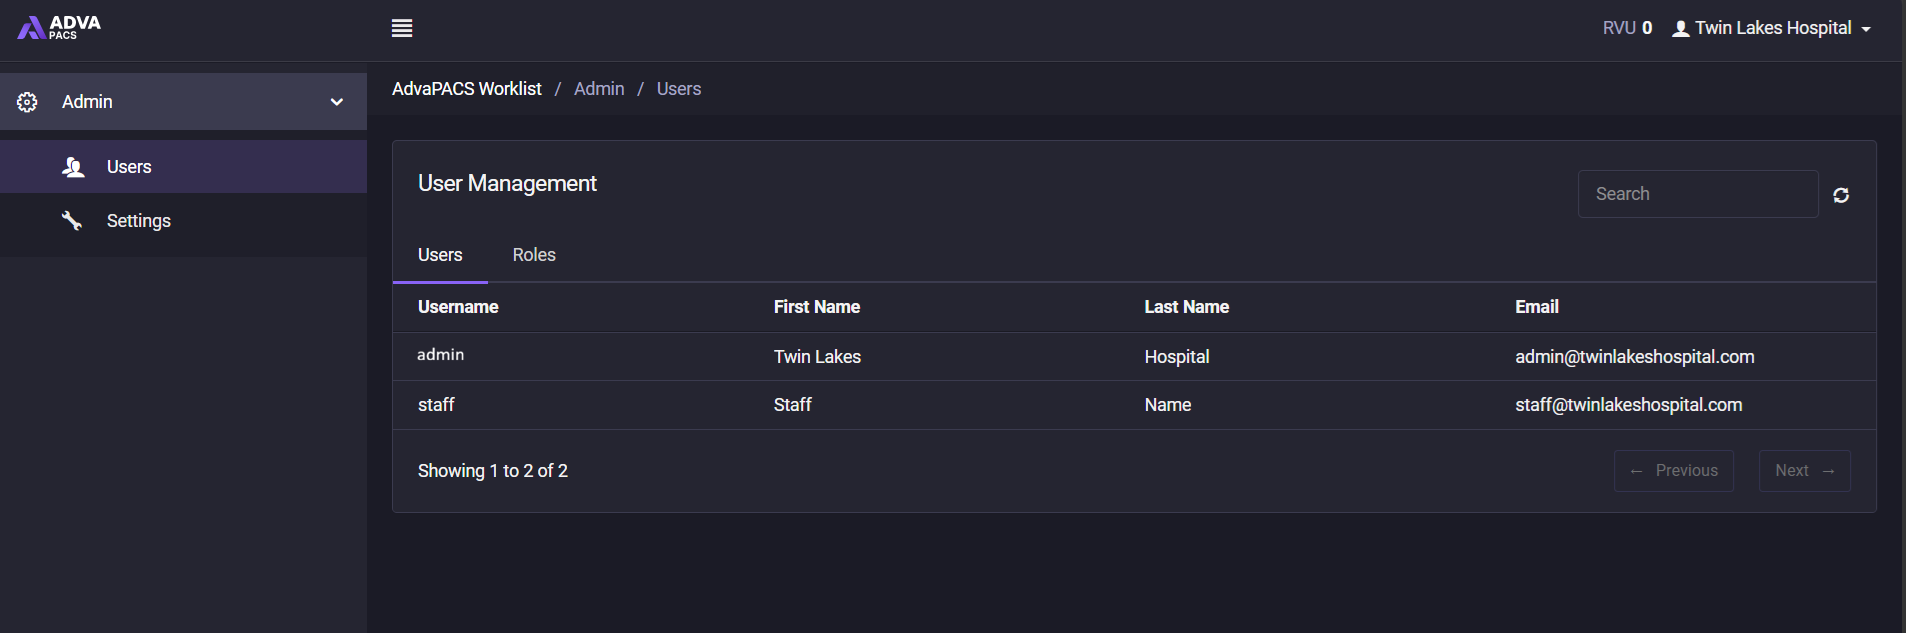
- From the Reporting Worklist, navigate to Admin → Users.
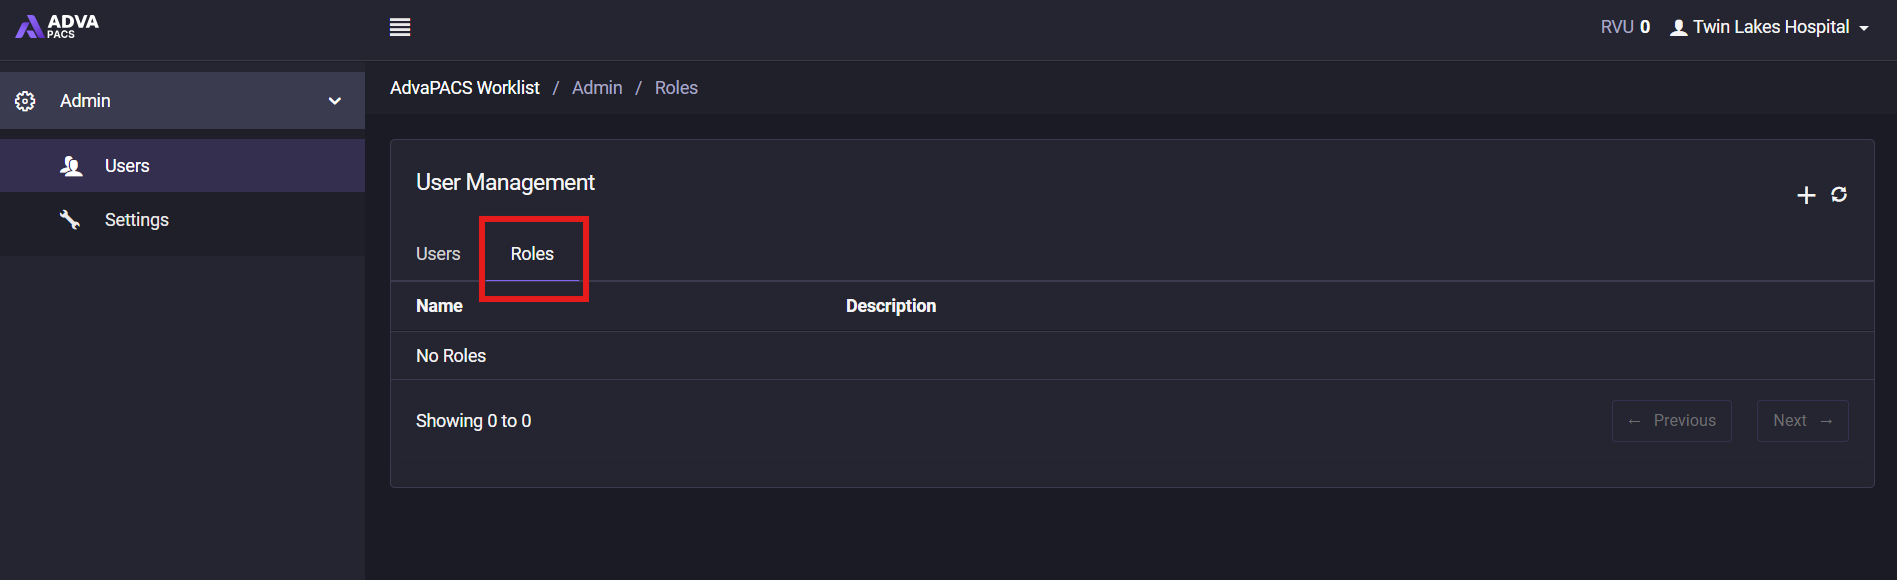
- Select the Roles tab.
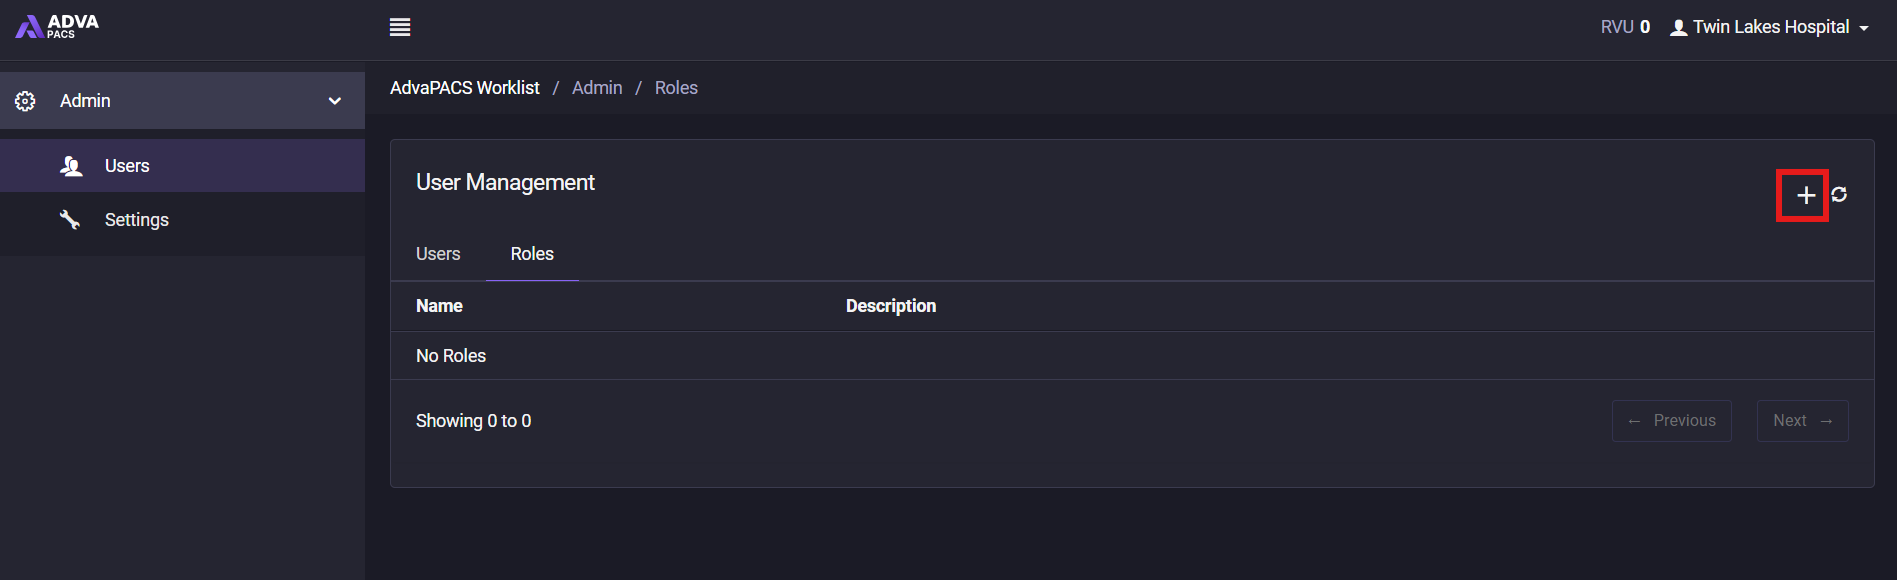
- Click Add Role.
- Enter a descriptive Name for the role.
- Select the required permissions.
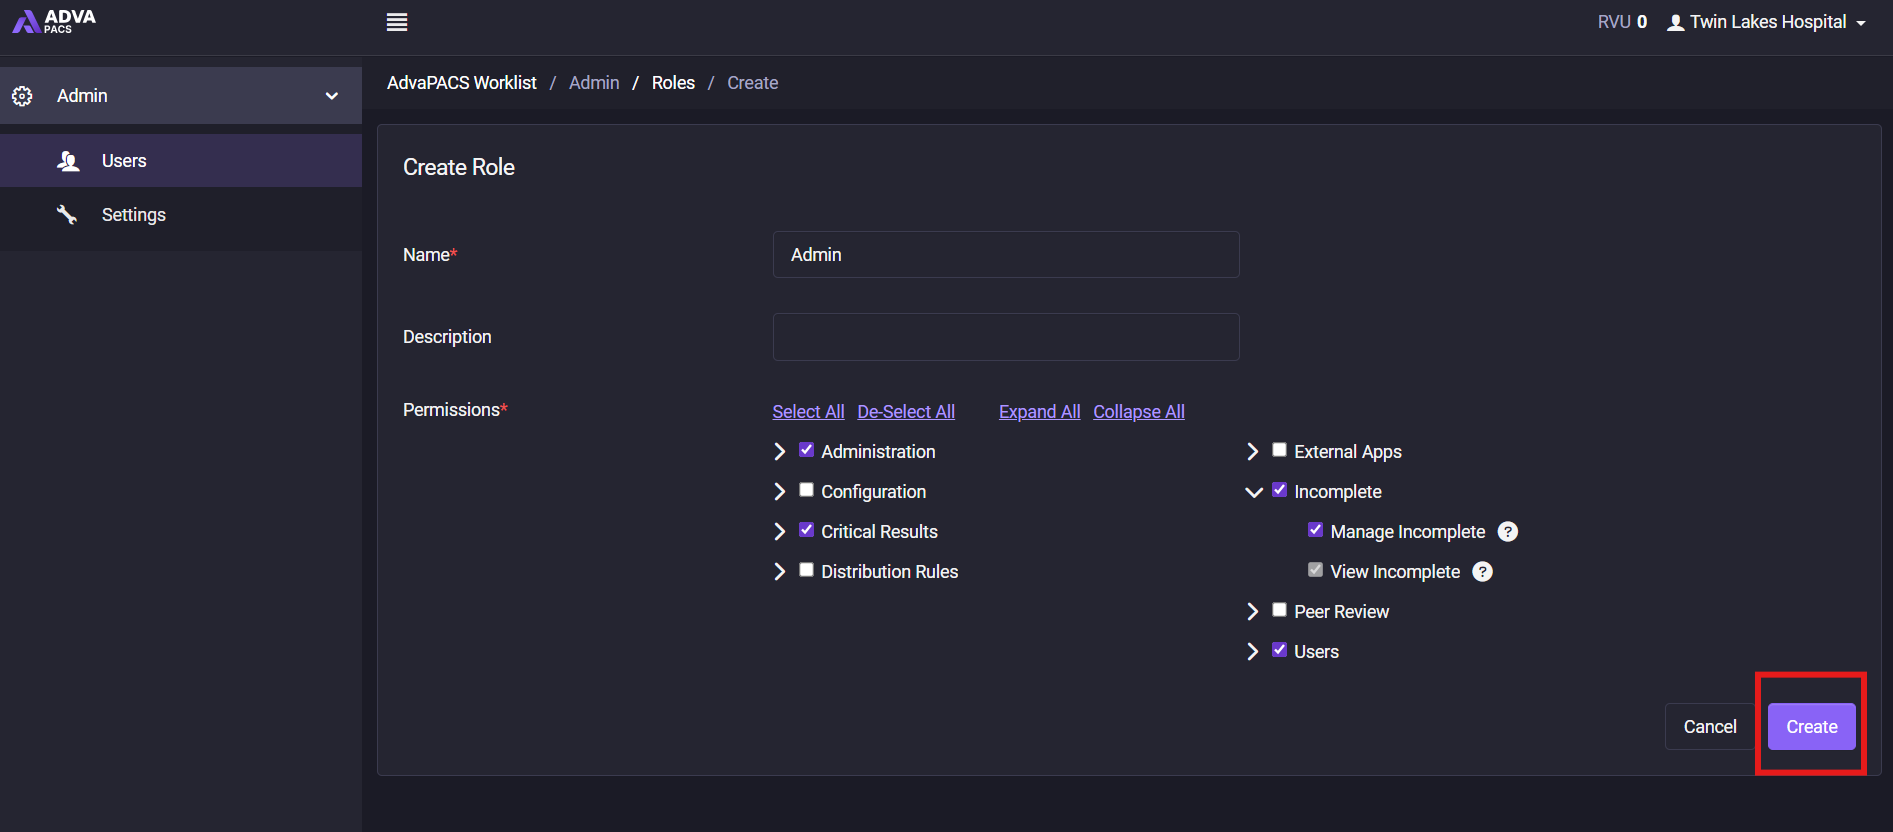
- Click Save.
The new role can now be assigned to one or more users.
Assign a Role to a User
Once a role has been created, it can be assigned to one or more users. A user may be assigned multiple roles, with their effective permissions being the combination of all assigned roles.
To assign a role to a user:
- Navigate to Administration → Users & Roles.
- Select the Users tab.
- Open the user you want to update.
- In the Roles section, select one or more roles.
- Click Update.
The changes take effect immediately, and the user will have access to the permissions granted by their assigned roles.
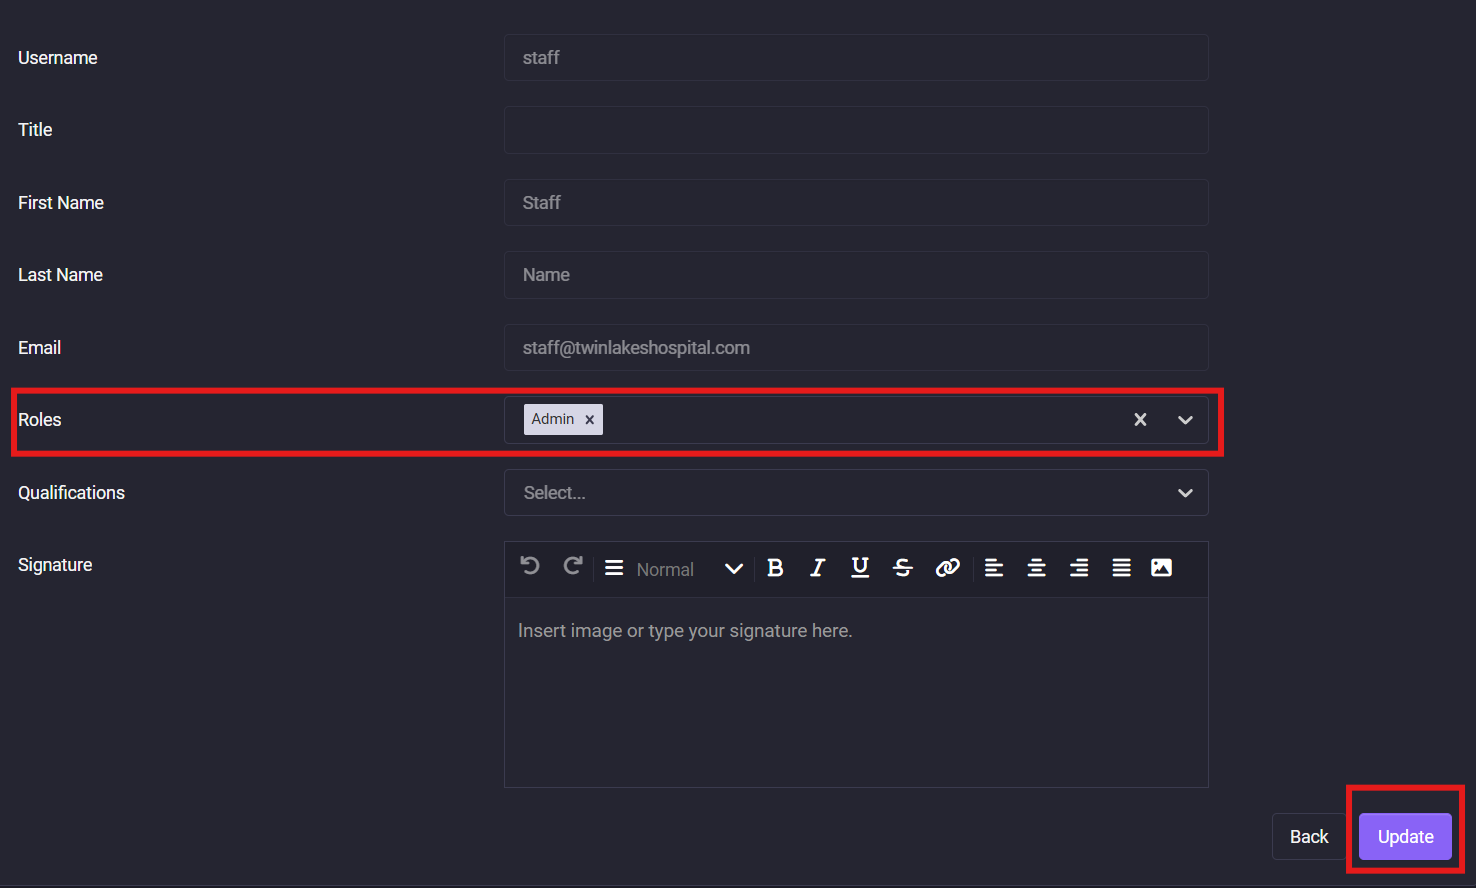
If a user can access the Reporting Worklist but does not see any studies or available actions, verify that they have been assigned the appropriate Reporting Worklist role(s).